EDITABLE 2D DRAWINGS

Image to DWG.Images into drawings you can edit.

Convert a scan, photo, or sketch into editable DWG linework. Keep the image beside your drawing while you refine the result.

See how it works

JPG, PNG, WebP · up to 20 MB

  • 1 free guest conversion daily
  • DWG + DXF + SVG + PNG
  • Files up to 20 MB
Image to DWG. — After
Image to DWG. — Before
BeforeAfter

THREE SIMPLE STEPS

From image to DWG, then back to work.

Bring your reference, create editable geometry, and take the drawing file into your own drafting workflow.

  1. 01

    Choose your image

    Upload a JPG, PNG, or WebP image up to 20 MB. Choose one drawing or object with clear edges. A focused image gives the conversion a more useful starting point than a page full of unrelated subjects.

  2. 02

    Create your DWG drawing

    The image to DWG process interprets visible features as 2D geometry. Review the result against your image, looking first at the overall outline and then at the smaller details that matter to your project.

  3. 03

    Download and keep editing

    Download your drawing and open it in a compatible CAD editor. DXF, SVG, and a PNG preview accompany the same conversion. Use a known measurement to set the scale, then check the drawing against your image before making further changes.

START WITH A REAL REFERENCE

One converter. Different starting points.

Compare an image of a plan, facade, or part with its editable DWG drawing.

A floor plan without its original file — After
A floor plan without its original file — Before
BeforeAfter

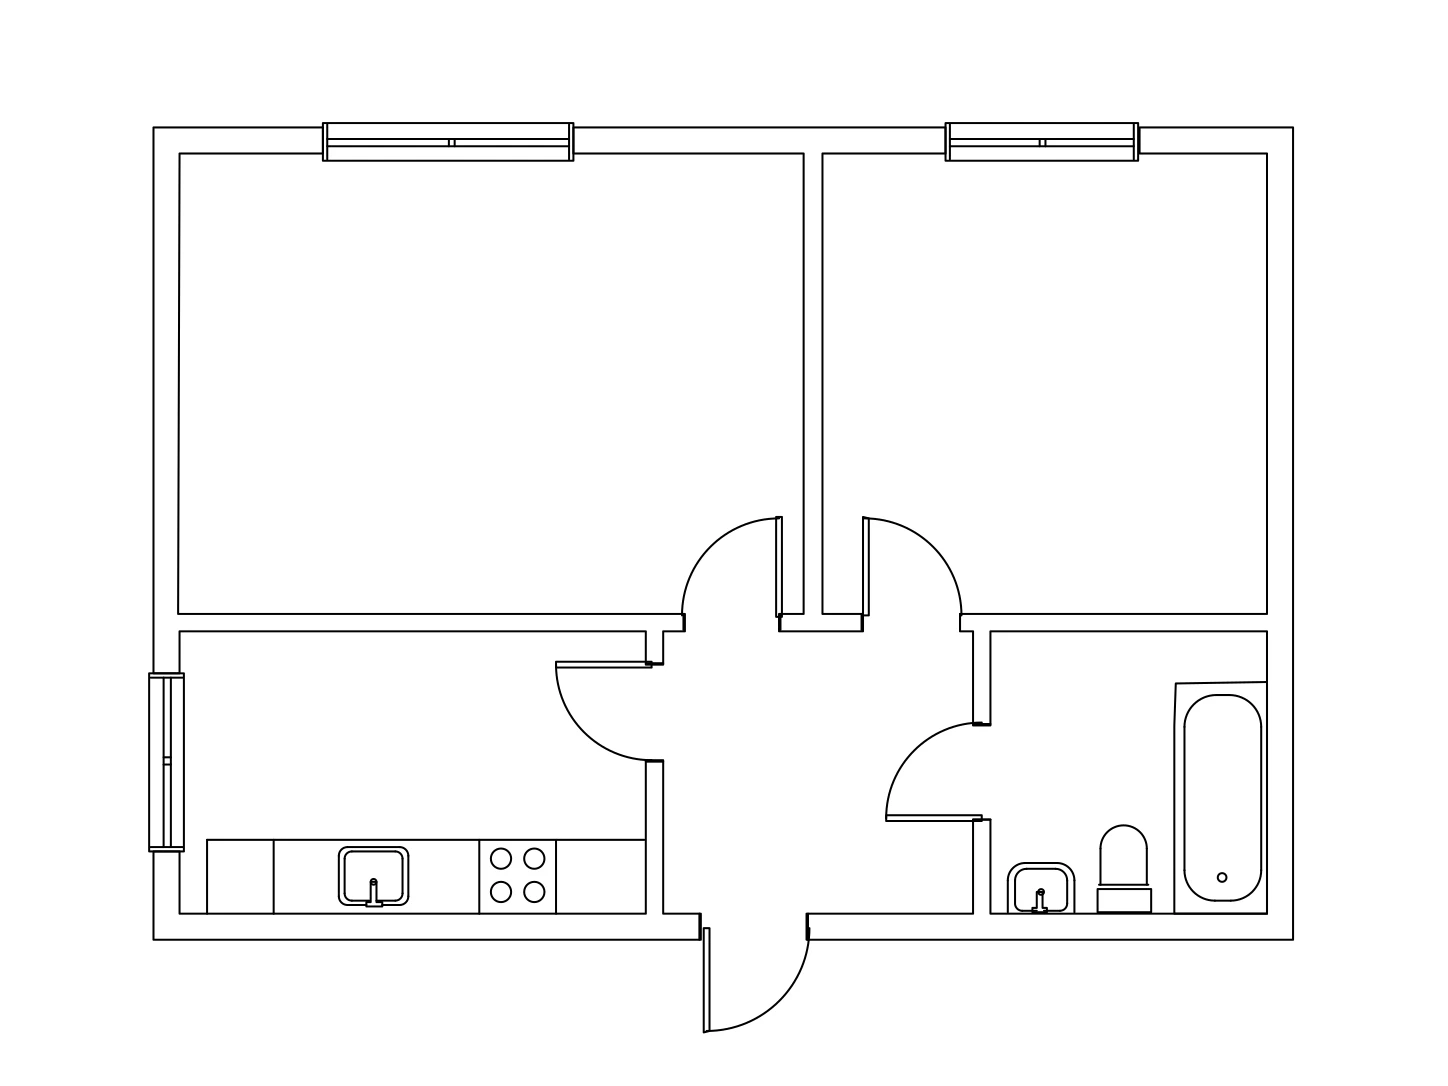
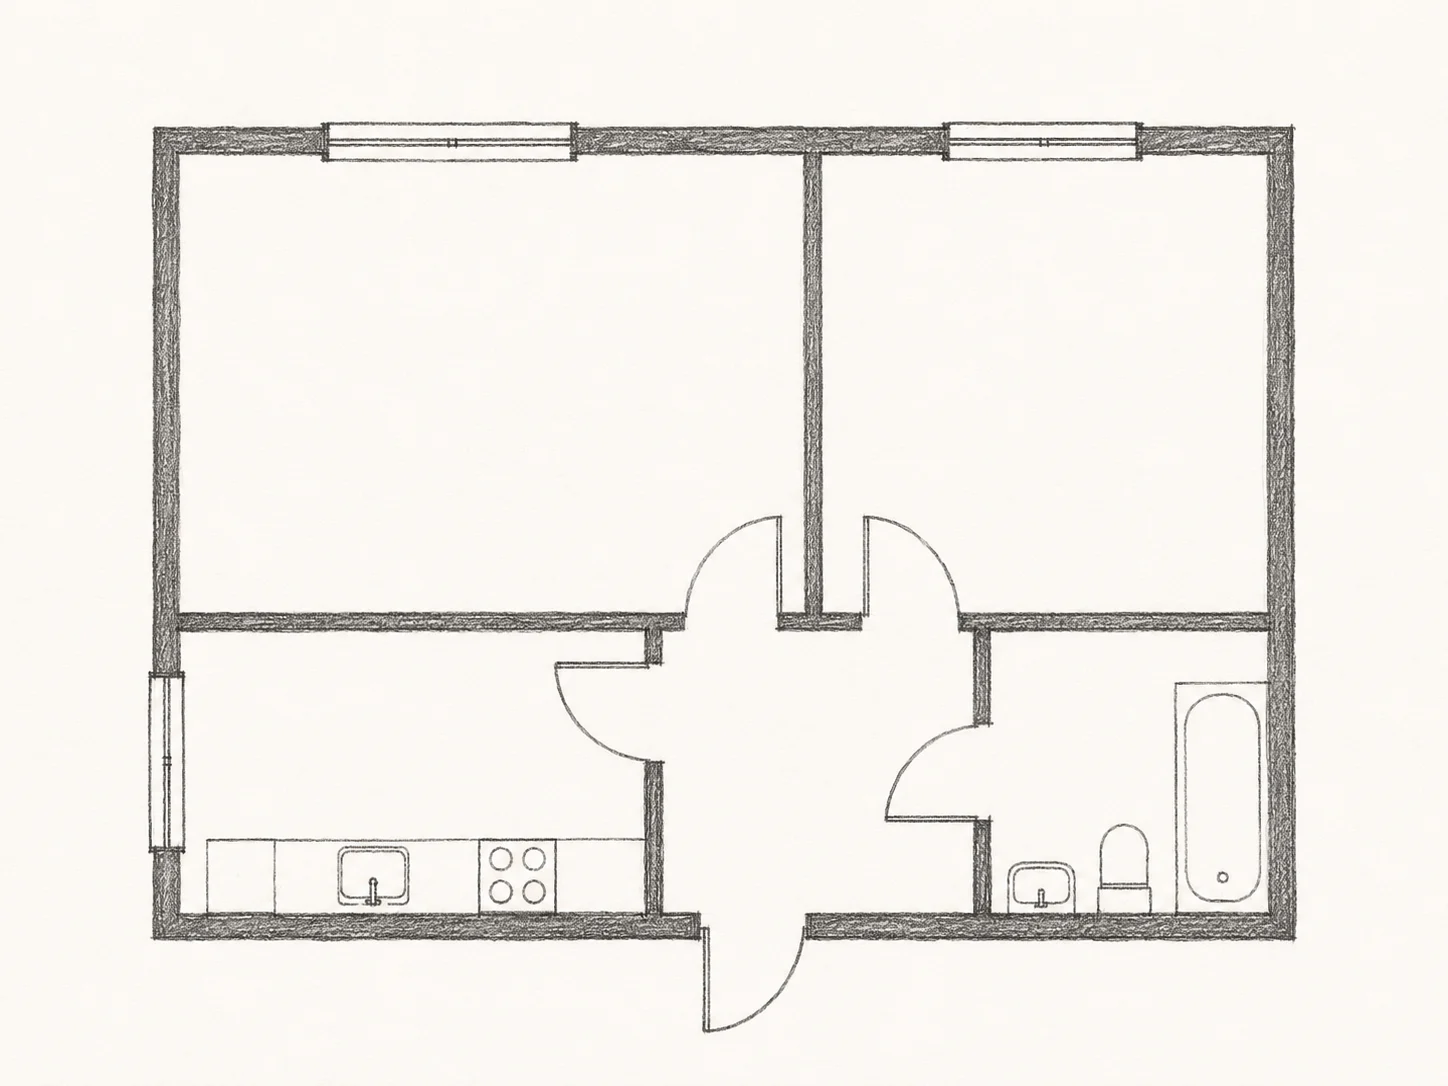
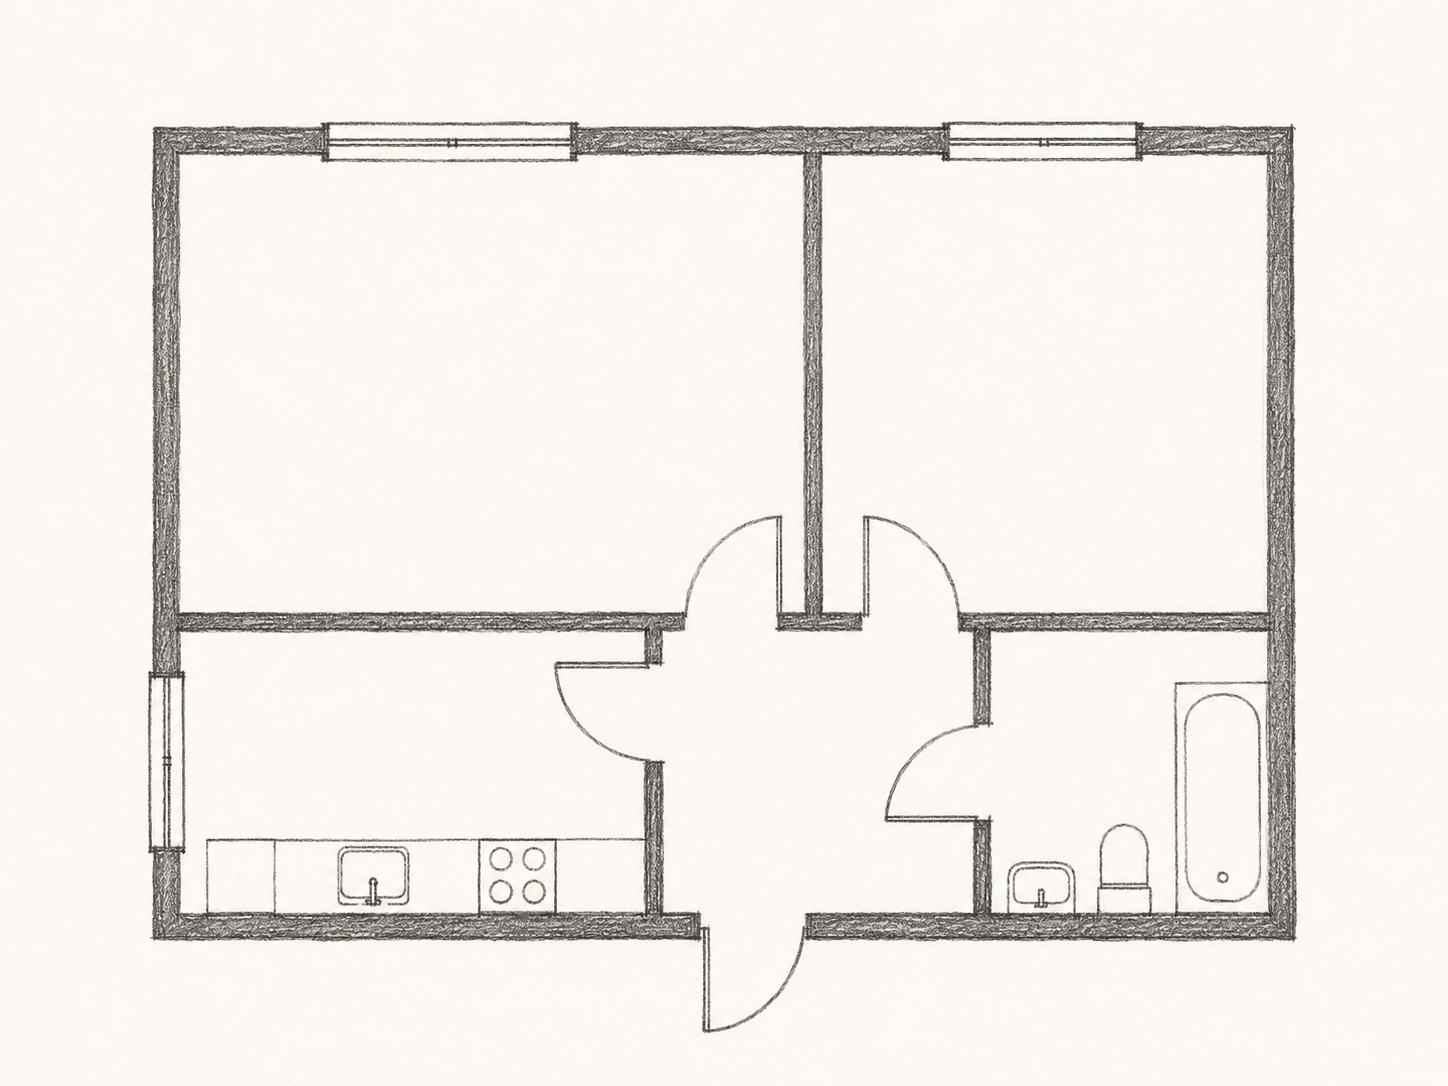
A floor plan without its original file

Use an image of a paper plan when the editable drawing is missing. Take the room boundaries into DWG, then explore furniture positions or discuss a layout change.

Keep a measured survey alongside the image. The DWG gives you geometry to work on; it does not establish the original building dimensions or replace an inspection of the space.

A facade worth documenting — After
A facade worth documenting — Before
BeforeAfter

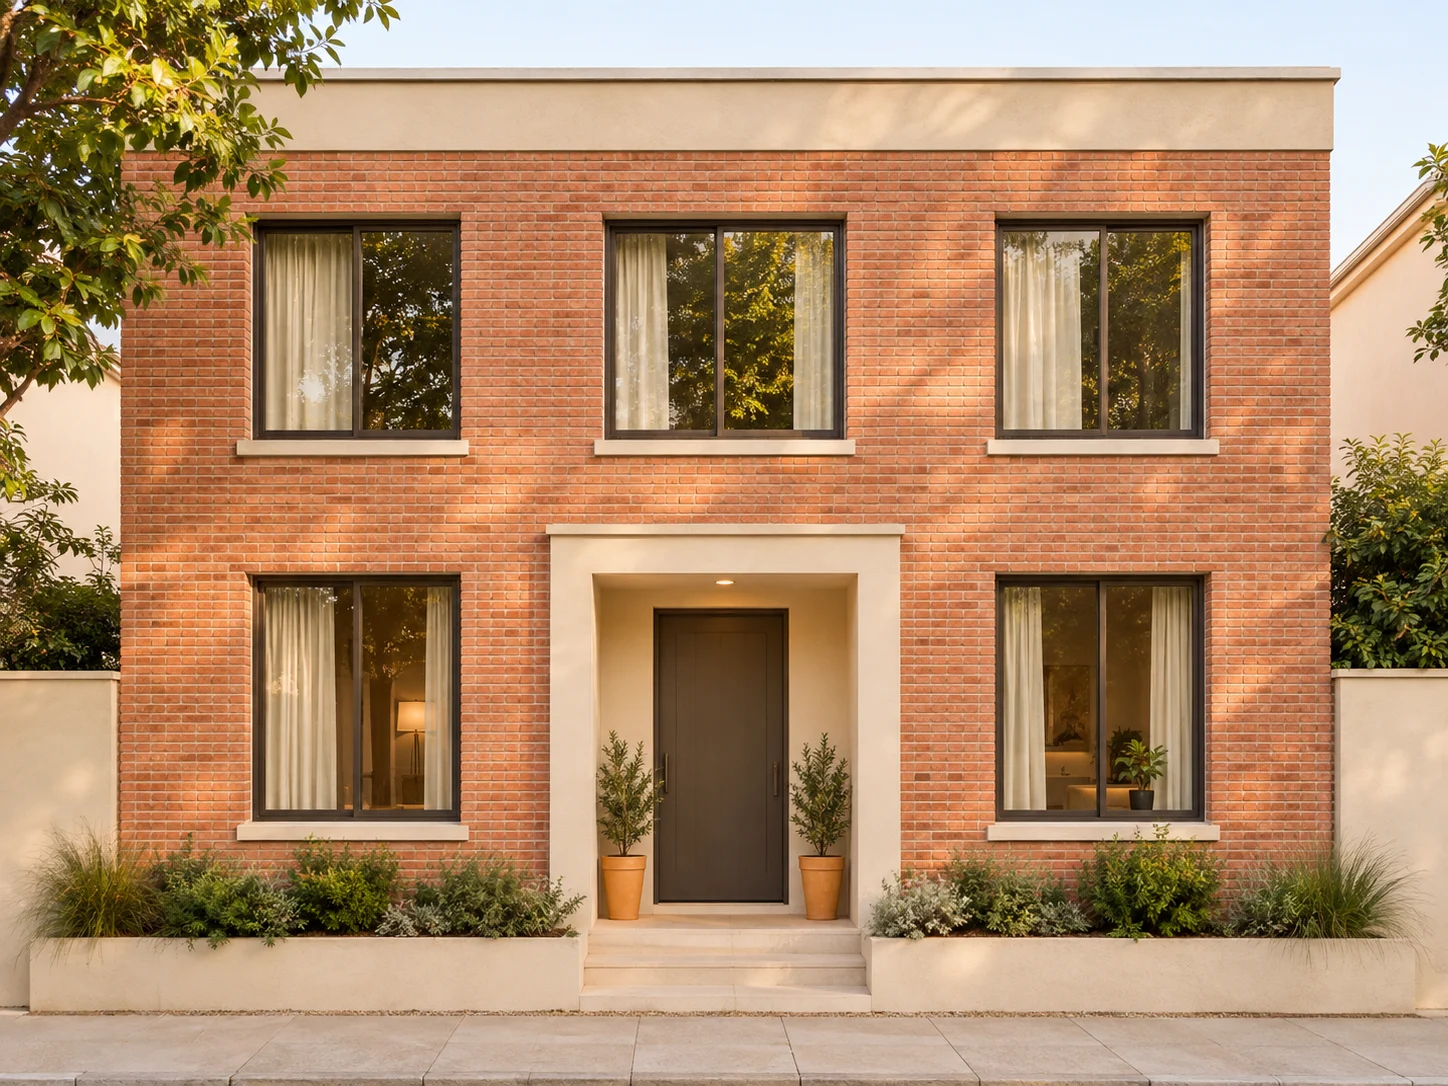
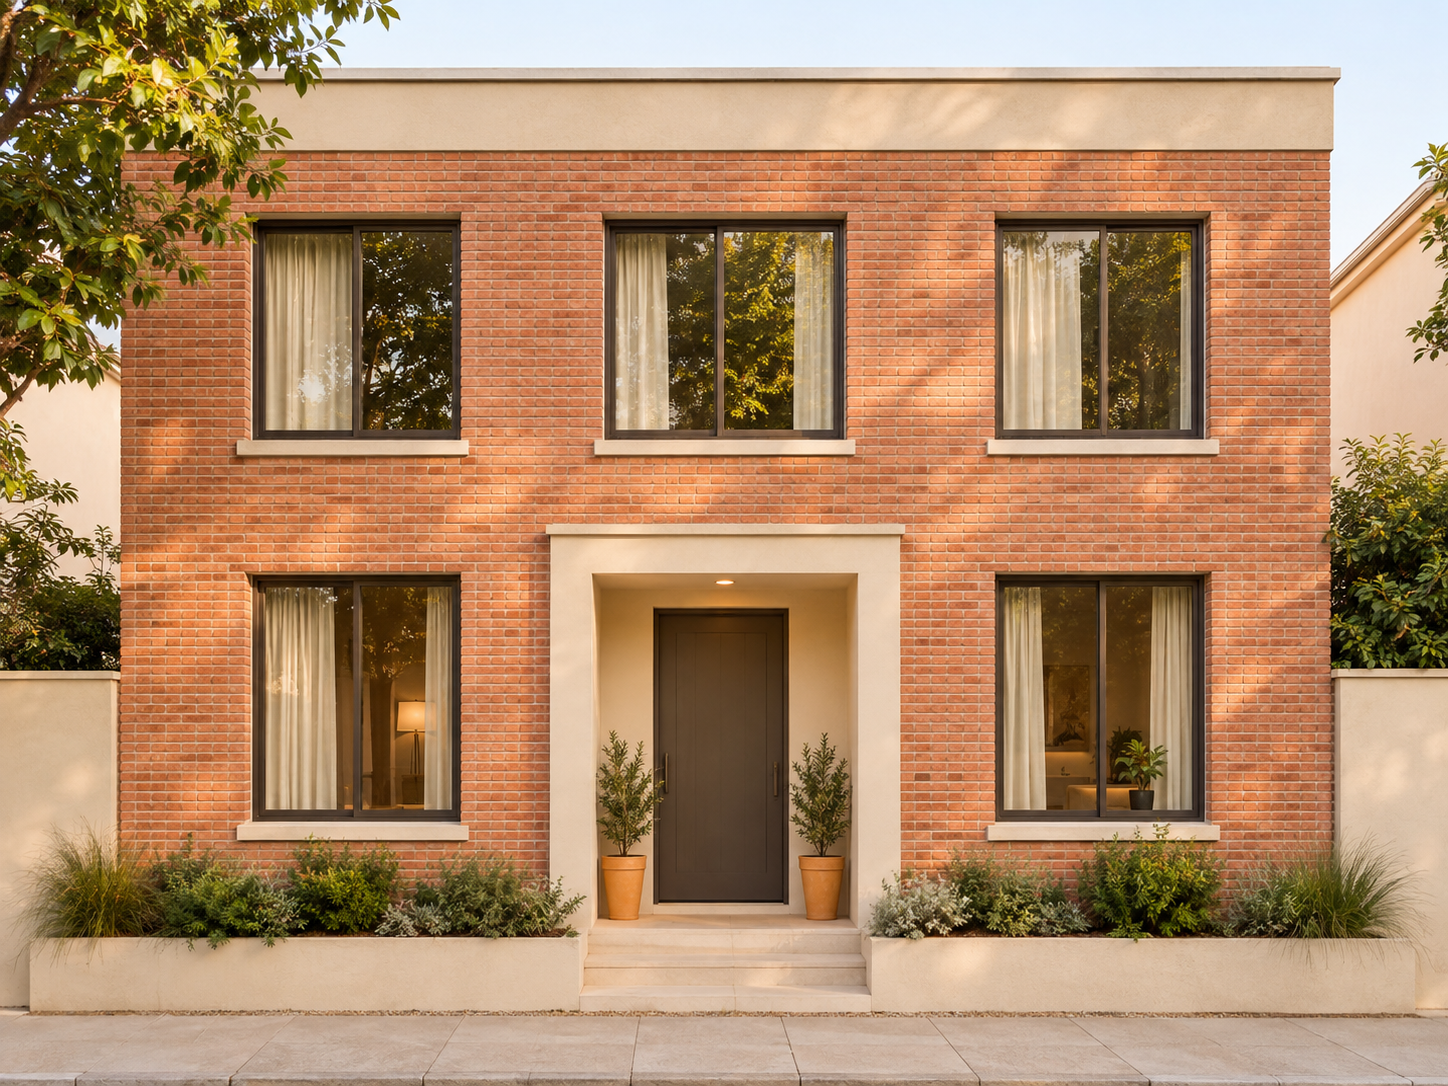
A facade worth documenting

A straight building image can provide visible outlines for a facade study. Use the DWG as a reference while developing an elevation, organizing openings, or comparing design alternatives.

A single image cannot reveal the building behind its visible face. Perspective, plants, and reflections can interrupt edges, so decide which parts to retain and which to redraw in your editor.

A part you want to develop — After
A part you want to develop — Before
BeforeAfter

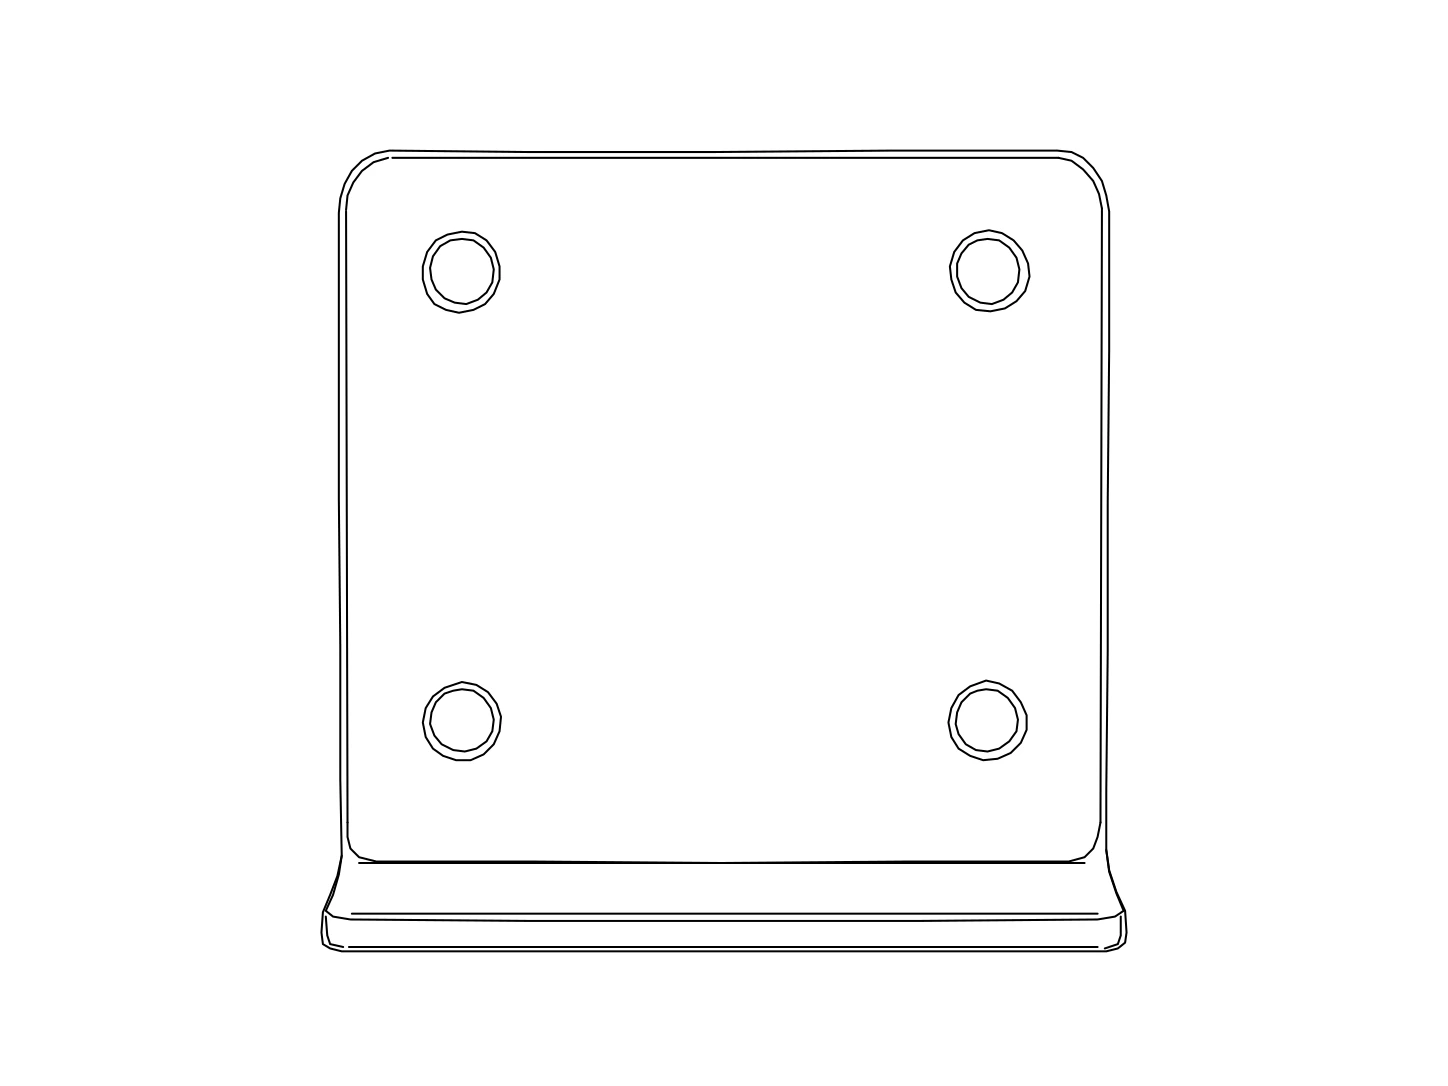
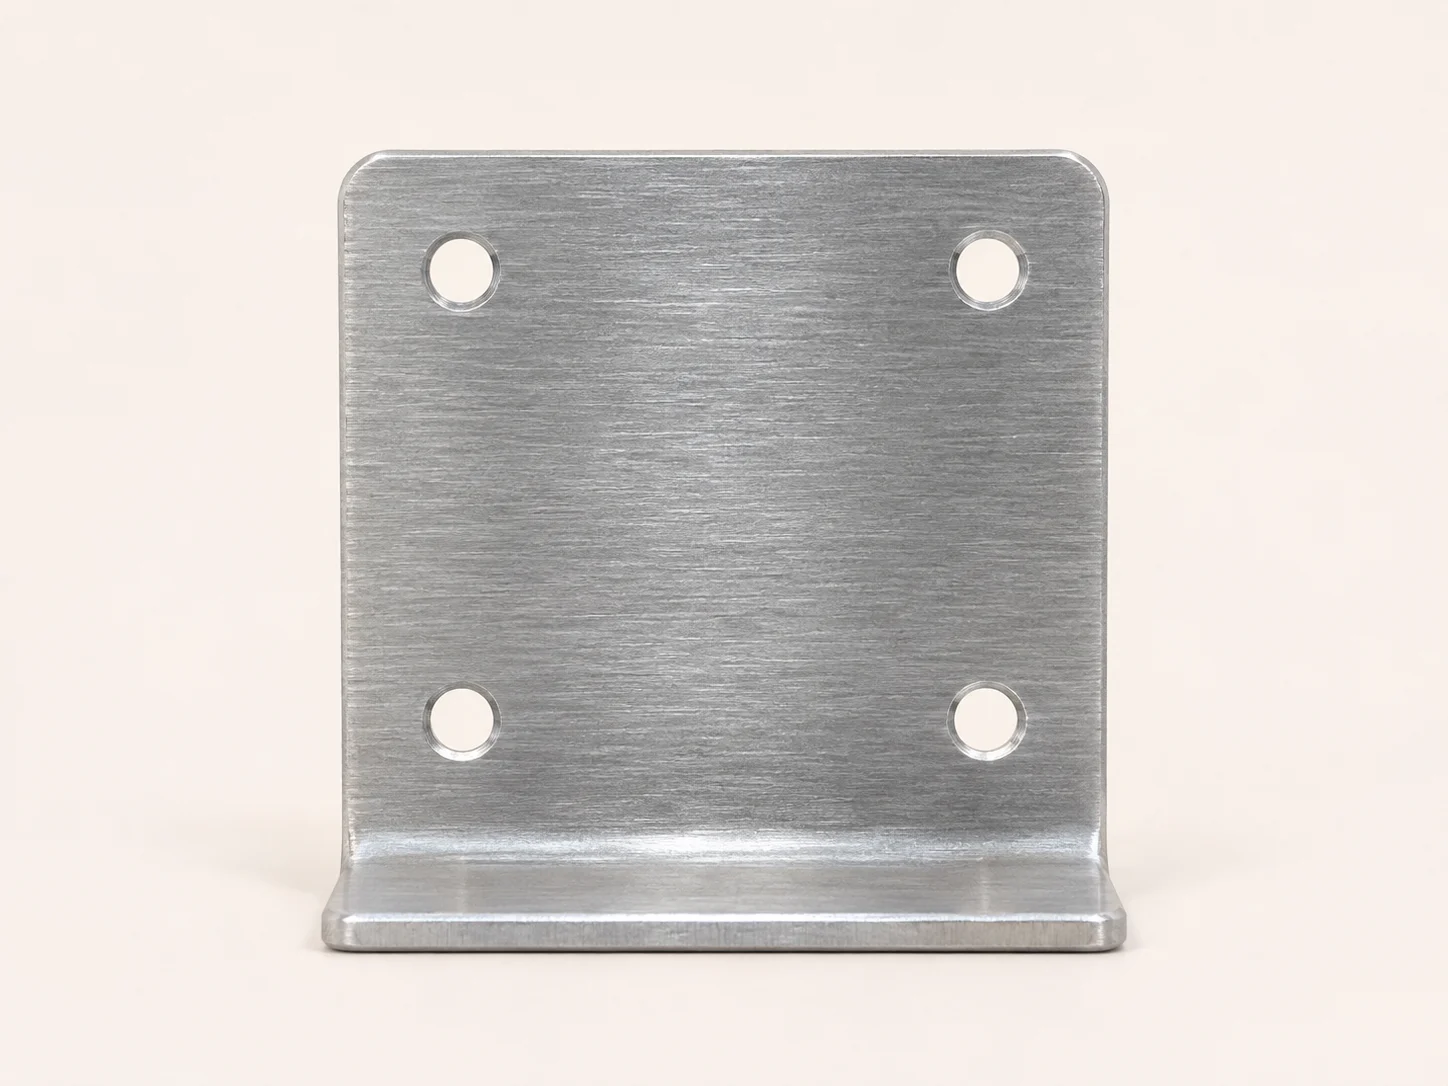
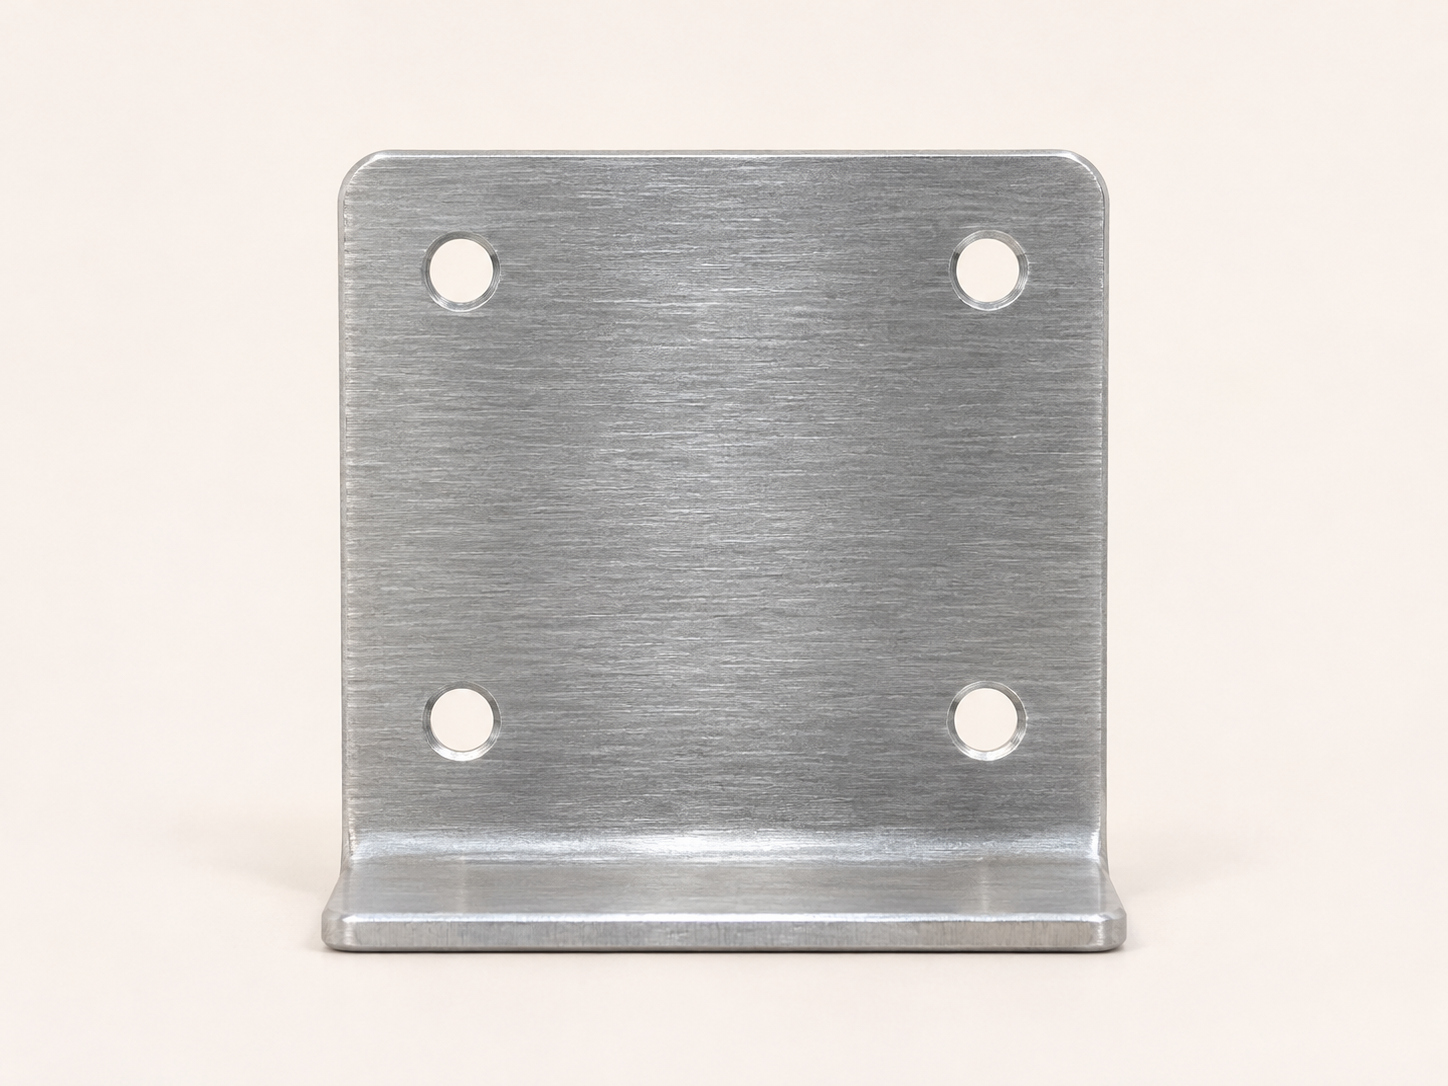
A part you want to develop

Bring a clear product image into DWG when you need a starting profile rather than another flat reference on the canvas. A simple bracket provides an outline and visible hole positions to examine.

Continue the engineering work in CAD. Use measurements to set the DWG scale and define the features that the image cannot establish, including thickness, tolerances, and any hidden geometry.

A DRAWING YOU CAN CONTINUE

What to expect from Image to DWG.

Your image supplies the reference. The DWG supplies editable geometry, ready for you to review in the application you use.

Selectable elements, not a placed picture

A image displays the appearance of a drawing. Placing that image inside a CAD document leaves you with pixels to look at. The purpose of Image to DWG is to give those visible edges an editable form.

Open the DWG to select individual lines and contours. Move an opening, adjust a profile, or redraw a junction as your project develops. Keep the original image available to compare details that may need attention.

DWG and DXF, from one conversion

Choose DWG when it is the file type your drafting workflow expects. A DXF copy is also available, so you can test another import path without asking the service to interpret your image again.

The DWG contains the same generated 2D geometry as the other exports. Converting to DWG does not restore layers, dimensions, or constraints that were lost when the original image was created.

Set the scale in your project

A image can show a clear shape without telling you its physical size. Use a known distance to scale the DWG, then check other important lengths before continuing to detailed work.

Page size, a screen resolution, or the number of pixels in a image is not a reliable substitute for a measurement. Bring the DWG into your preferred units and establish the scale from your project reference.

Check curves and lettering in context

Inspect the DWG at the size you intend to use it. Small gaps, narrow strokes, and faint edges in the image can be difficult to distinguish, even when the overall subject is recognizable.

Text that is legible in the image can become editable lettering. Font appearance may vary between applications, so check labels alongside the DWG linework rather than assuming they will match every detail of the source.

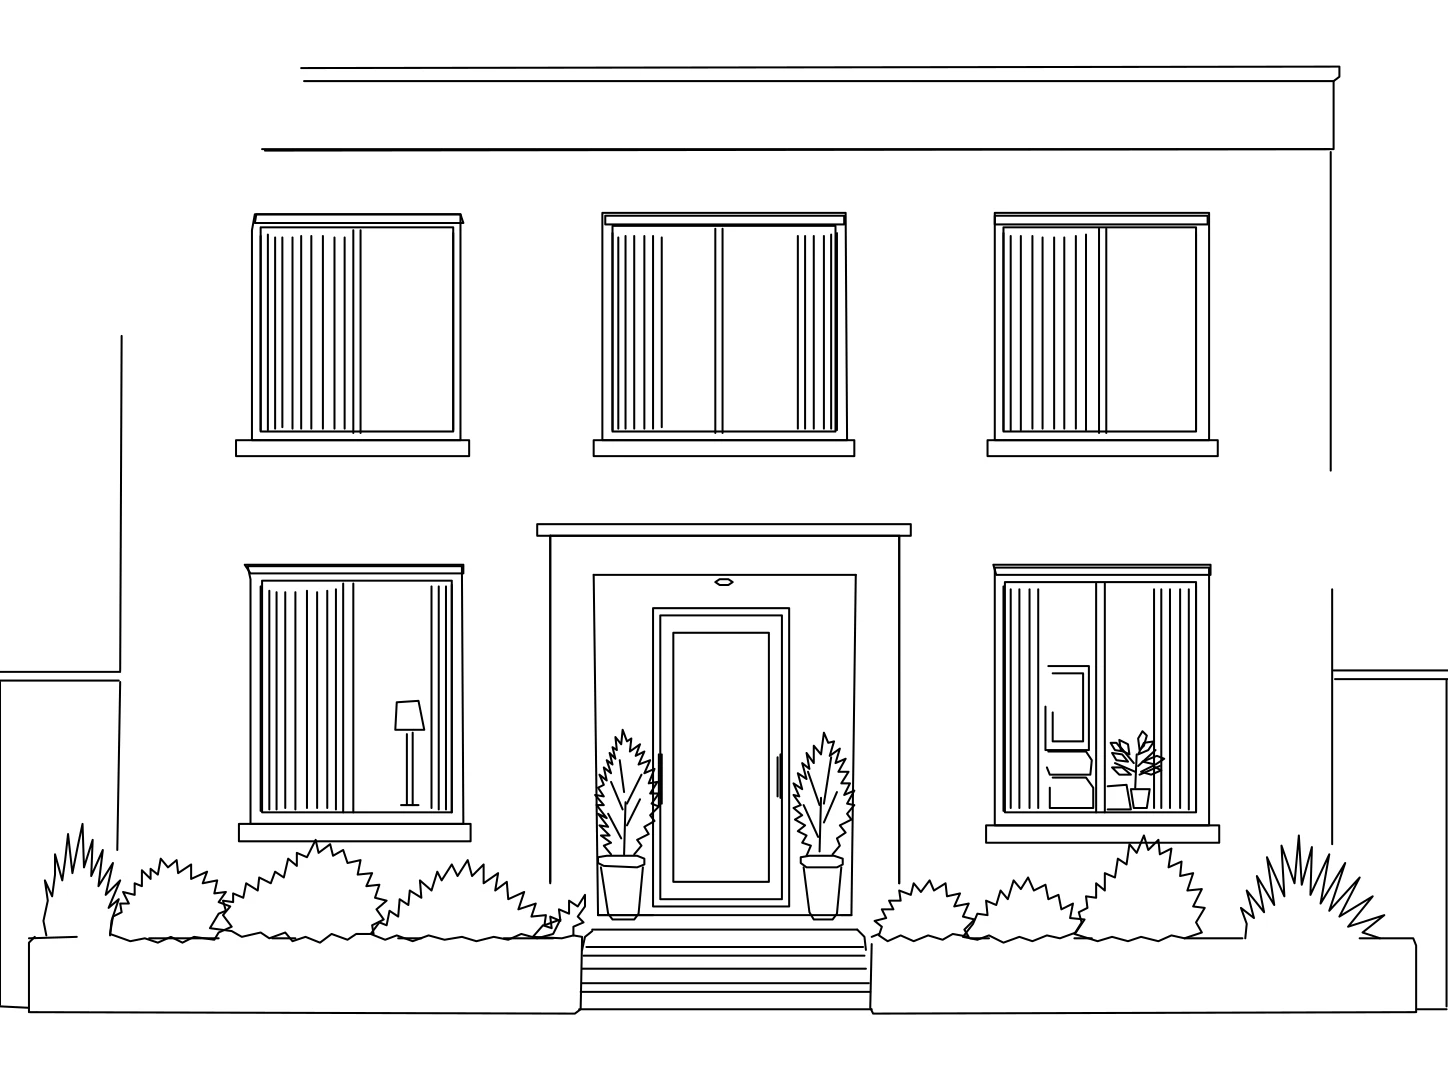
TEST THE FORMAT FIRST

Try the converted DWG.

Open this converted DWG in your CAD application. Select an outline, adjust a curve, or move a segment to see how the drawing fits your workflow.

Keep the image beside the DWG while checking small details. Use a known measurement to set the scale before adding the drawing to your project.

Download sample DWG
A facade worth documenting converted linework

Select a wall outline

Open the DWG and select an element. Confirm that your CAD application treats it as drawing geometry rather than as an inserted image.

Try one revision

Move a segment or redraw an opening. Notice how the DWG fits the editing commands you normally use, then consider the changes your own image would need.

Choose your import units

The sample is unitless. Choose appropriate units on import; use a known measurement to scale the DWG generated from your own image.

BEFORE YOUR FIRST CONVERSION

Image to DWG questions

Formats, downloads, and what to expect from your drawing.

YOUR REFERENCE. YOUR NEXT DRAWING.

Ready to turn your image into DWG?

Start with one source you know well. Open the result, make an edit, and see how it fits your work.

Guests: 1 free conversion daily. Eligible new accounts: 3 initial conversions.