FROM A FLAT MARK TO EDITABLE OUTLINES

Logo to DXF.Take your mark into a drawing.

Convert a logo image into editable DXF outlines. Start with a raster mark and refine its contours for your next design.

See how it works

JPG, PNG, WebP · up to 20 MB

  • 1 free guest conversion daily
  • DXF + SVG + PNG
  • Files up to 20 MB
Logo to DXF. — After
Logo to DXF. — Before
BeforeAfter

BRING YOUR MARK INTO THE WORKFLOW

From logo to DXF.

Keep the original logo alongside the DXF so you can review the shape, spacing, and small details before adapting the design.

  1. 01

    Choose your logo source

    Upload a logo as JPG, PNG, or WebP up to 20 MB. A clear mark on a plain background gives you an easier reference to inspect than a small logo photographed on a textured object.

  2. 02

    Create the DXF outlines

    Convert the visible logo into 2D drawing elements. Compare the DXF with the original mark and check the silhouette before looking at the gaps and smaller details that give the logo its character.

  3. 03

    Refine the mark in your editor

    Open the DXF in your CAD application to simplify an outline or prepare a new layout. SVG and a PNG preview are included when a vector editor or a quick visual reference is more useful.

START WITH A DISTINCTIVE SHAPE

A logo can have different kinds of edges.

Compare each logo with its DXF contours, including outer boundaries, internal lines, and open spaces.

A bold geometric logo — After
A bold geometric logo — Before
BeforeAfter

A bold geometric logo

A high contrast logo with broad shapes gives you a clear silhouette to inspect. Bring the DXF into a drawing to try a different arrangement, adjust the outer boundary, or prepare another use of the mark.

Check the white spaces as well as the dark shapes. A small opening can be an intentional part of the logo, so compare the DXF with the original before closing or merging outlines.

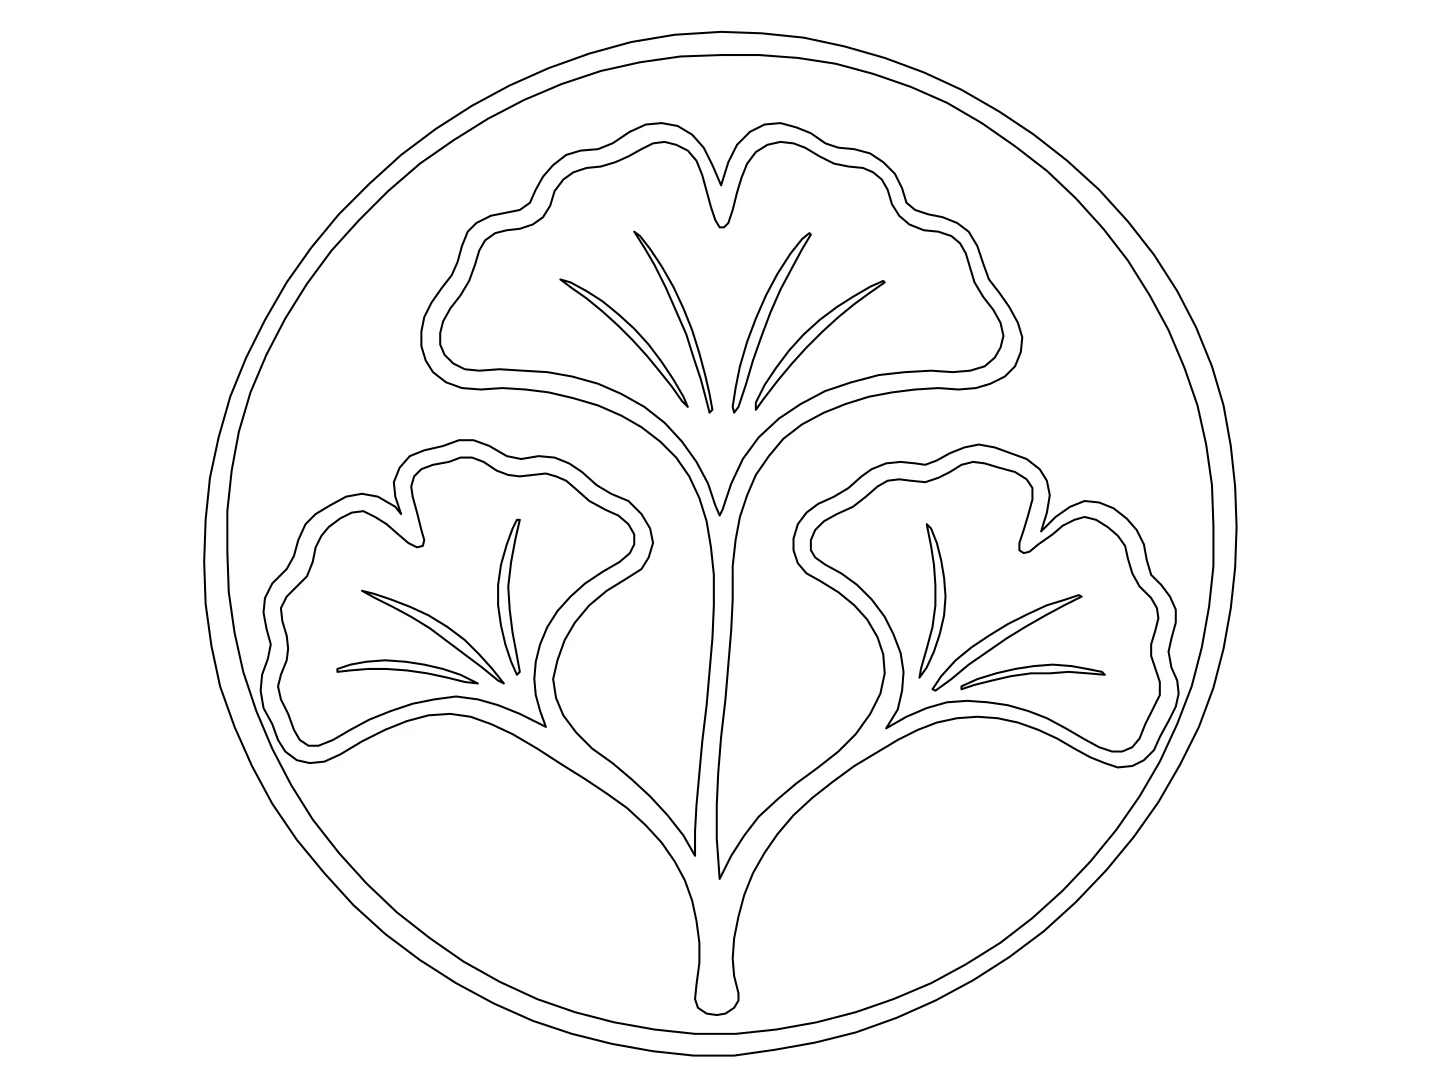
A botanical outline mark — After
A botanical outline mark — Before
BeforeAfter

A botanical outline mark

A line based logo can provide a starting point for decorative curves. Work with DXF when your next task is in CAD, or choose SVG to refine the mark in a vector editor.

Look at the stroke thickness in the source logo. A visible stroke has two edges; inspect whether the DXF matches the outline you need rather than assuming it contains a single center path.

A compact brand symbol — After
A compact brand symbol — Before
BeforeAfter

A compact brand symbol

A compact logo export can be useful when the original editable asset is not available. Start with the largest version of the logo you have and compare the DXF around corners and small details.

This symbol is our own raster brand asset. If you already have the original vector logo, use that master file where possible instead of tracing a smaller image through a new conversion.

LOOK BEYOND THE OUTER CONTOUR

Keep what makes the logo recognizable.

The useful DXF is the one you can refine for the next task. A logo still needs decisions about contours, spacing, and its intended use.

Solid shapes and line based marks

A solid logo uses its filled silhouette to define the mark. An outlined logo uses visible strokes, which can create separate inner and outer boundaries in a DXF interpretation.

Choose the geometry your project actually needs. A logo to DXF conversion does not automatically create a centerline, merge thick strokes, or decide which boundary should become a cutting path.

Negative space belongs to the design

The blank spaces inside a logo can be as important as its outer contour. Compare counters, gaps, and small openings in the DXF with the source before simplifying the drawing.

When adapting a logo for a small size, inspect those features again. A proportion that works on screen may need adjustment for another process, and the DXF does not make those production choices for you.

Lettering needs its own review

A logo may combine a symbol with carefully drawn letters. Inspect the DXF around tight spacing and small details, especially when the source contains antialiasing or compression artifacts.

Exact fonts and original typography are not guaranteed. Use the original logo master when available; if the image is your only reference, review the resulting DXF lettering against the mark you intend to reproduce.

A design outline is not a toolpath

A logo in DXF can support sign layout, decorative work, or further fabrication preparation. It does not establish material allowances, tool dimensions, cut order, or machine settings.

Inspect the logo for open contours and duplicate edges in your editing software. Scale the DXF to your intended size, then prepare the files required by the specific process you will use.

TEST THE FORMAT FIRST

Try the converted DXF.

Open this converted DXF in your CAD application. Select an outline, adjust a curve, or move a segment to see how the drawing fits your workflow.

Keep the logo beside the DXF while checking small details. Use a known measurement to set the scale before adding the drawing to your project.

Download emblem DXF
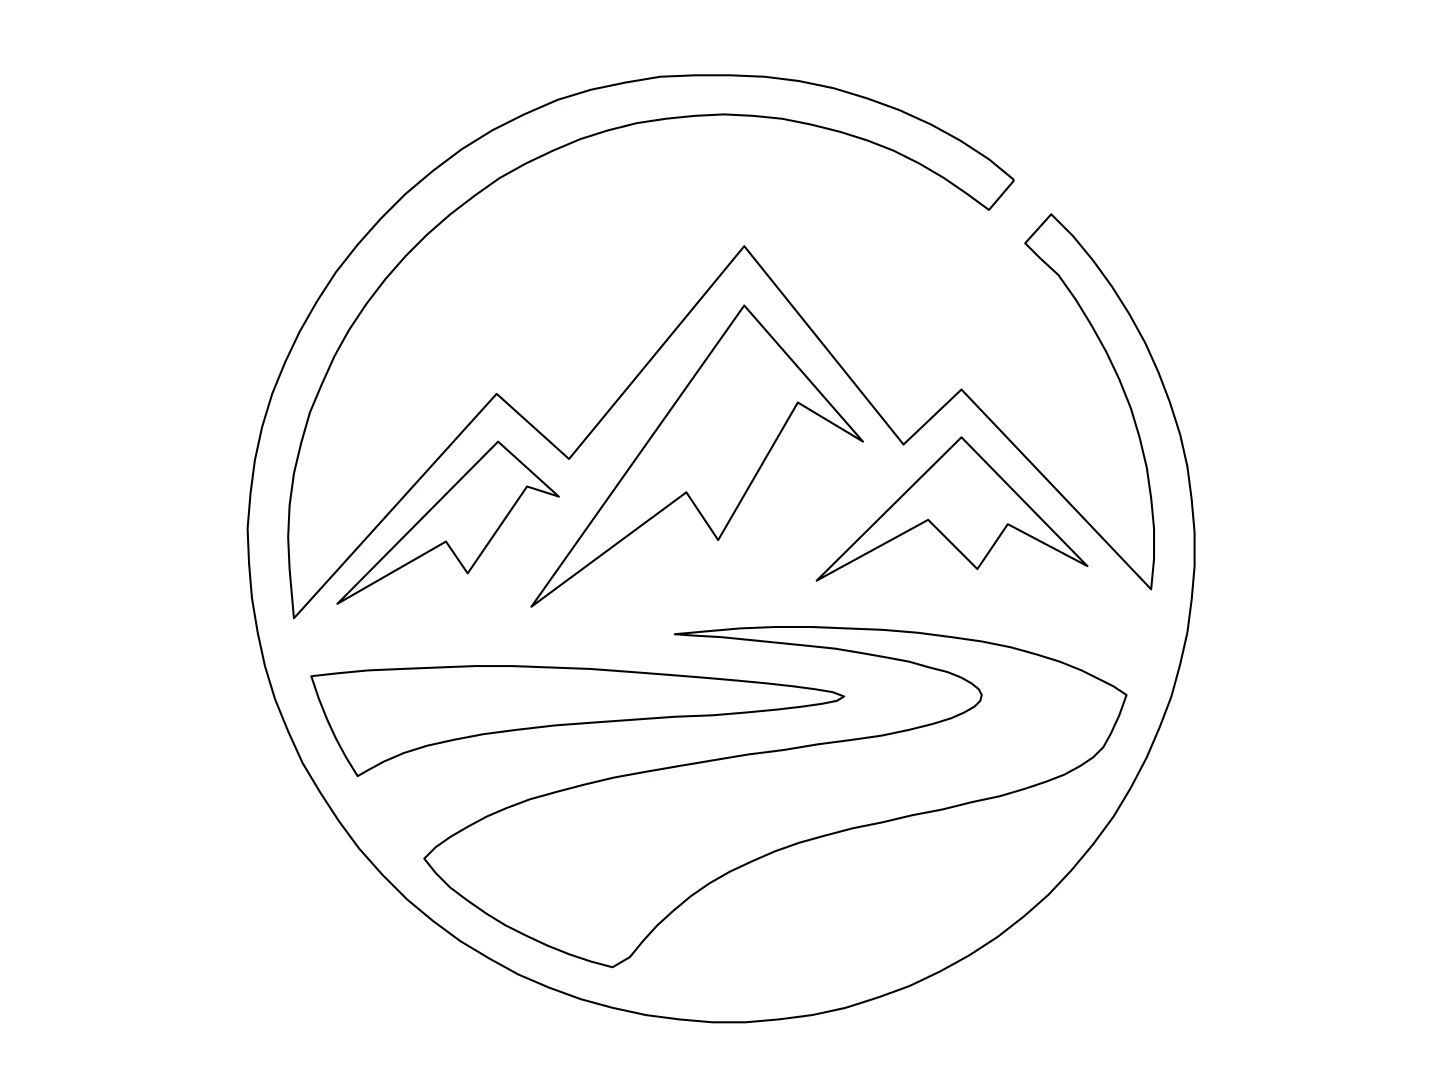
A bold geometric logo converted linework

Inspect a contour

Select an element in the DXF and compare that experience with placing a flat logo image on the canvas. Look at how your editor exposes the geometry.

Try one small edit

Move a line or adjust a circle. Think about which details of your logo would need the same kind of refinement after you open the DXF.

Set the intended size

The sample is unitless. Choose appropriate import units and scale the DXF to the size required for your logo layout or next design task.

BEFORE YOUR FIRST CONVERSION

Logo to DXF questions

Raster marks, editable outlines, and the checks before using a logo in another project.

YOUR REFERENCE. YOUR NEXT DRAWING.

Give your logo another use.

Bring one logo into DXF, check its contours, and adapt the mark in your own editor.

Guests: 1 free conversion daily. Eligible new accounts: 3 initial conversions.