FROM PIXELS TO EDITABLE CONTOURS

PNG to SVG.Make the outline yours to change.

Convert a PNG into editable SVG linework. Bring a raster graphic, scanned drawing, or transparent mark into your vector editor.

See how it works

PNG · up to 20 MB

  • 1 free guest conversion daily
  • SVG + DXF + PNG
  • Files up to 20 MB
PNG to SVG. — After
PNG to SVG. — Before
BeforeAfter

START WITH THE FILE YOU HAVE

Take your PNG to SVG.

Keep the original PNG nearby as you inspect the SVG. Work from the main shape to the small details that matter in your next graphic.

  1. 01

    Choose your PNG

    Upload a PNG up to 20 MB. Use the clearest version you have, whether it is a graphic export or a scanned drawing. A PNG with visible boundaries gives you an easier reference than a tiny thumbnail.

  2. 02

    Create the SVG linework

    The PNG to SVG process interprets visible shapes as editable drawing elements. Compare the result with the PNG, checking the silhouette and the blank spaces inside the design before making changes.

  3. 03

    Refine the paths in your editor

    Download the SVG and open it in a vector application. Simplify a curve, change an outline, or adapt the graphic for another layout. DXF and a PNG preview accompany the SVG when another export suits the next task.

A FORMAT FOR DIFFERENT SOURCES

What is inside your PNG?

Compare PNG artwork with its SVG paths, from simple marks to detailed line illustrations.

A bold graphic export — After
A bold graphic export — Before
BeforeAfter

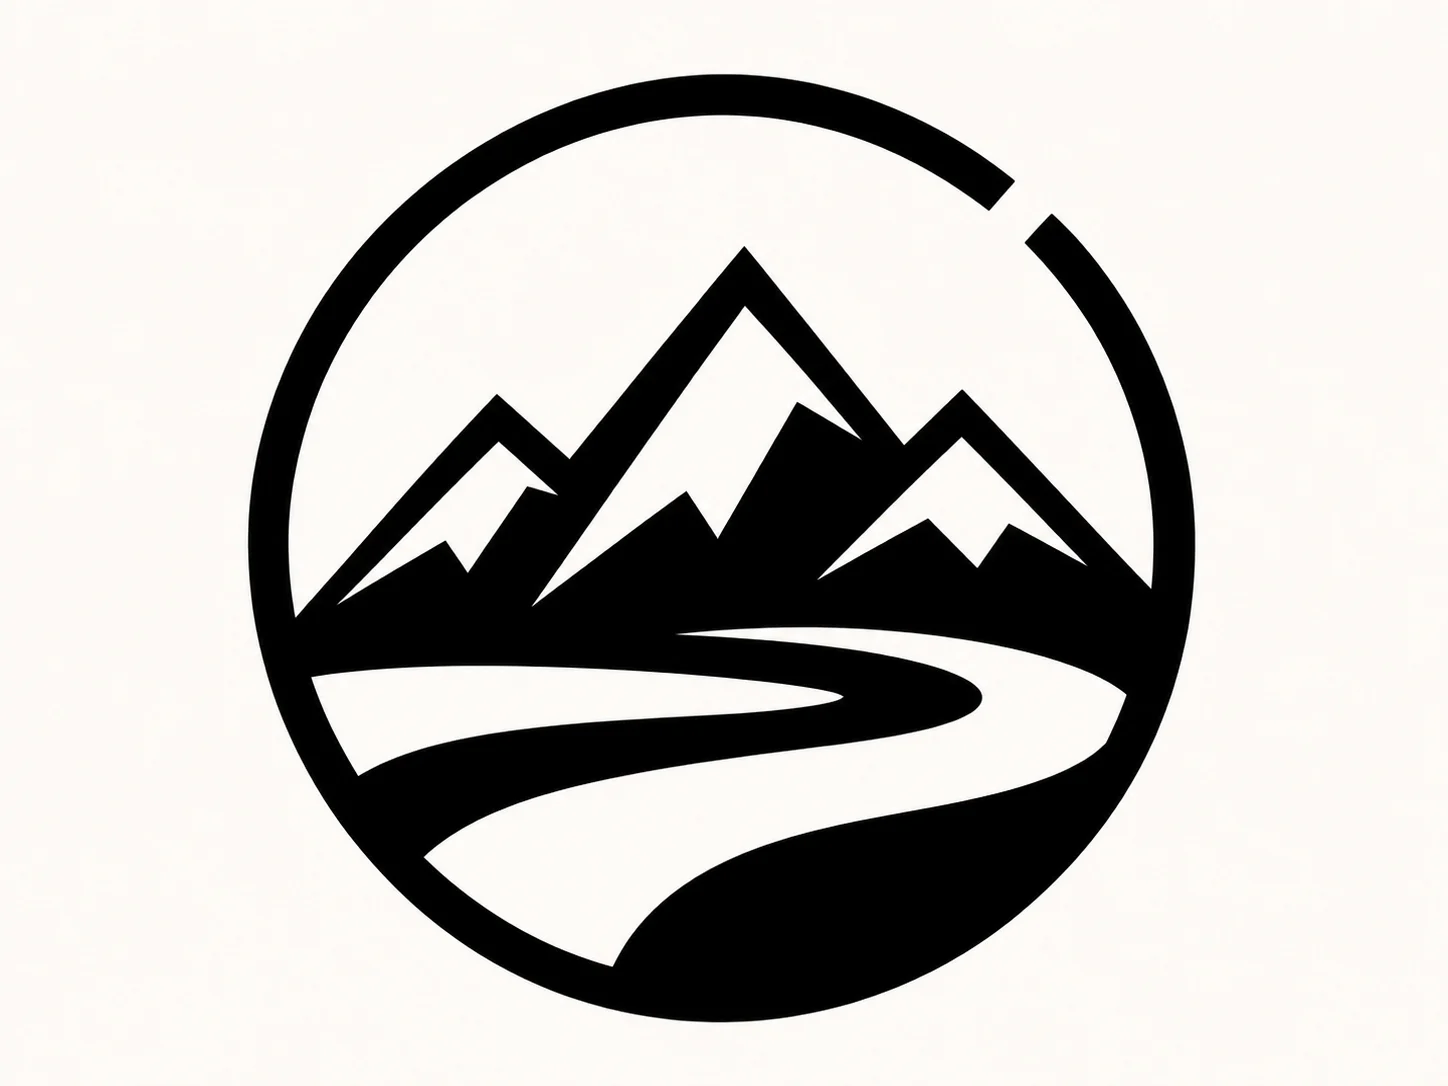
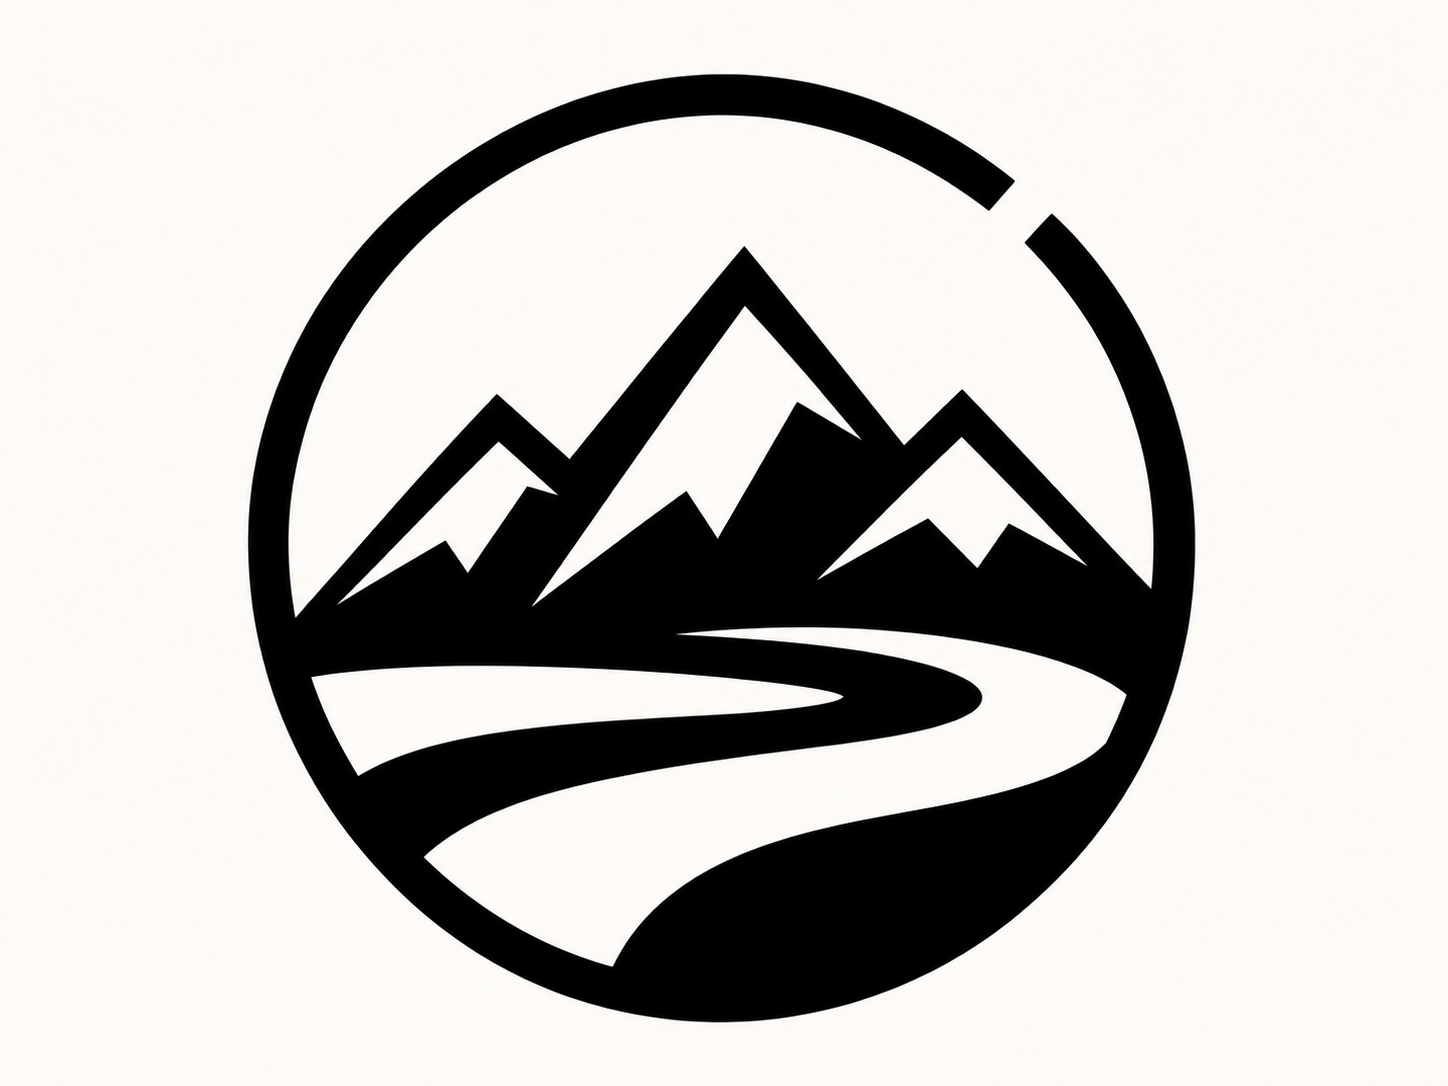
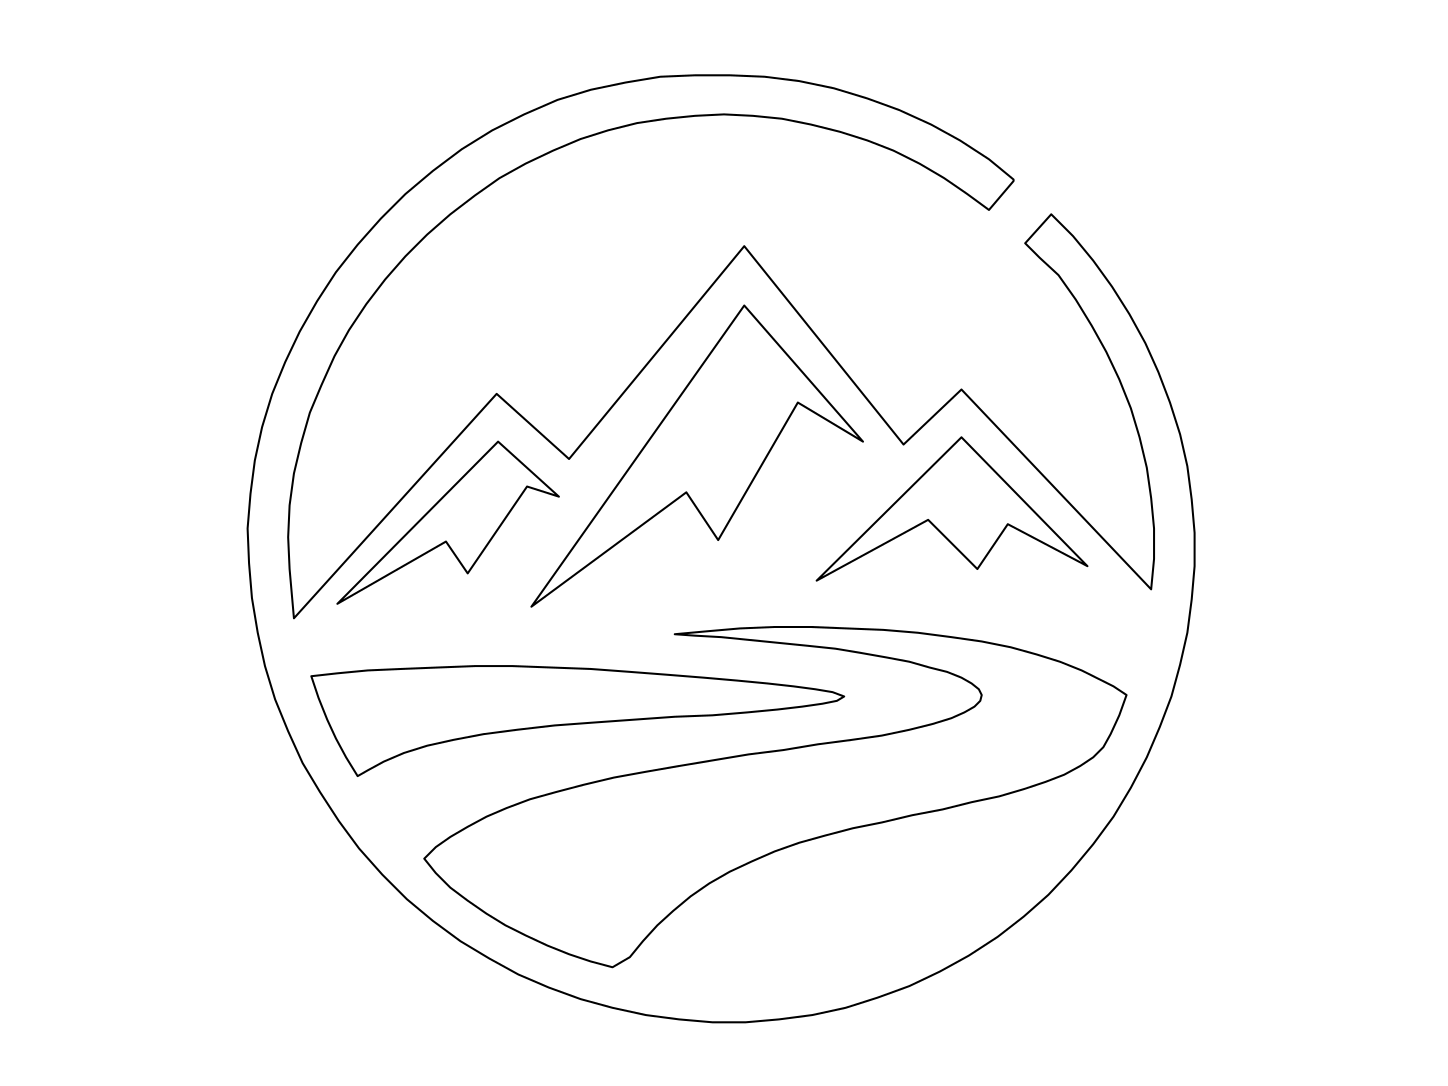
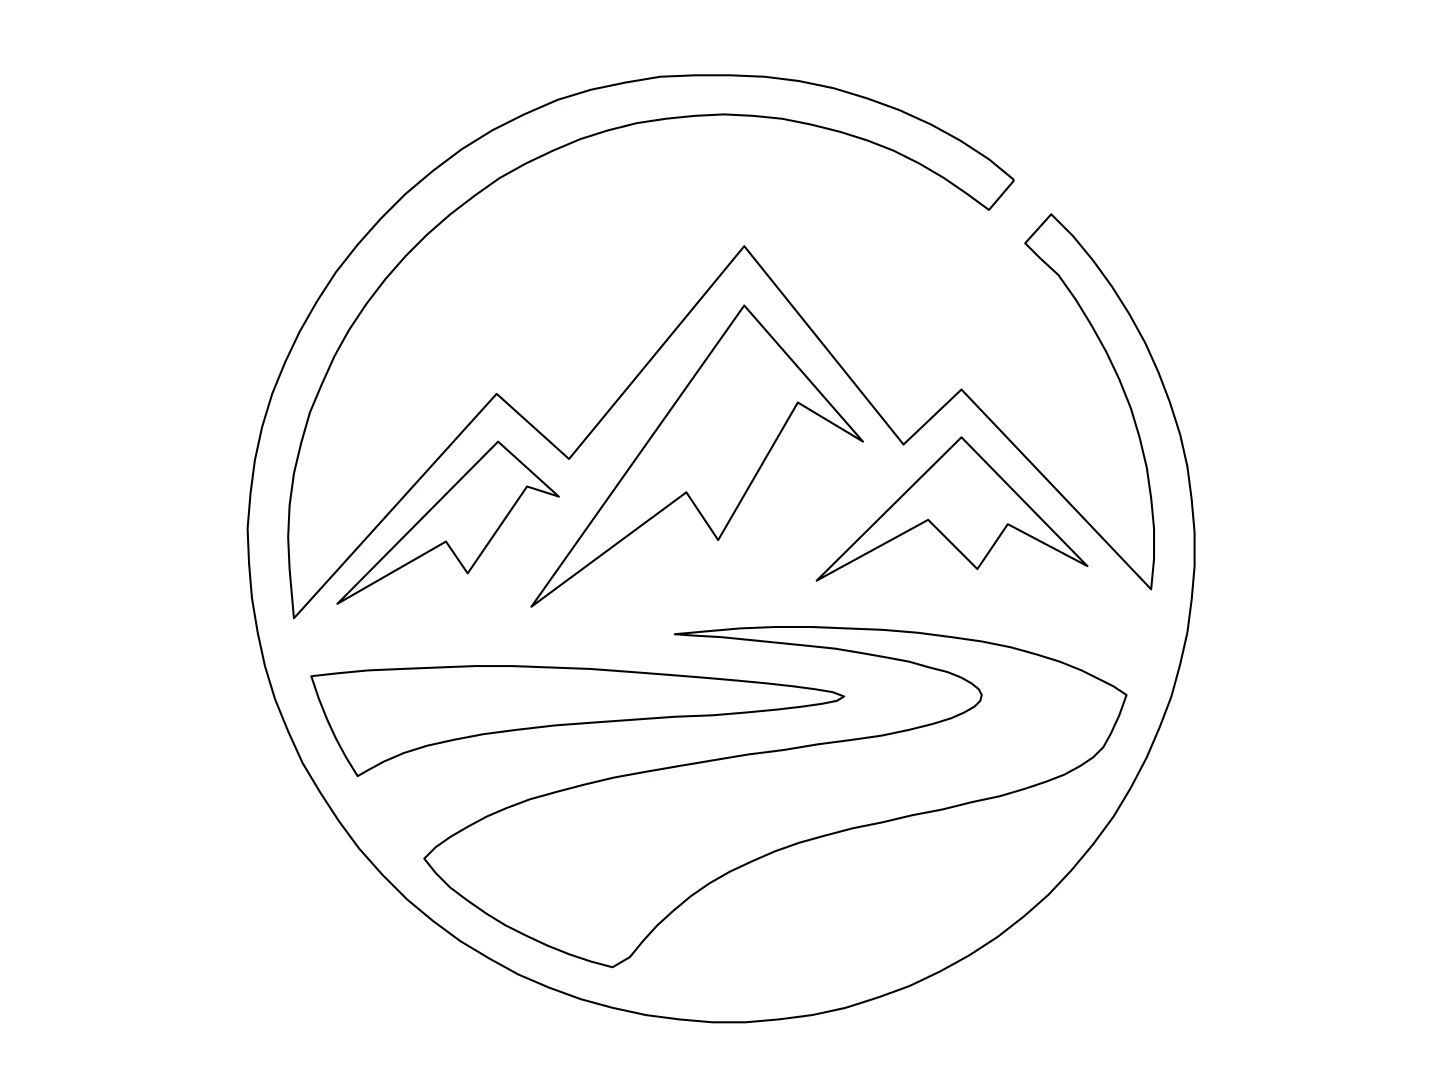
A bold graphic export

A PNG emblem with large shapes and clear negative space is a focused source for SVG editing. Use the result to adjust the outside contour or try the mark in another composition.

Review the SVG around deliberate gaps in the PNG. Closing every opening can change the design, so compare the paths with the original before merging or simplifying them.

A transparent brand symbol — After
A transparent brand symbol — Before
BeforeAfter

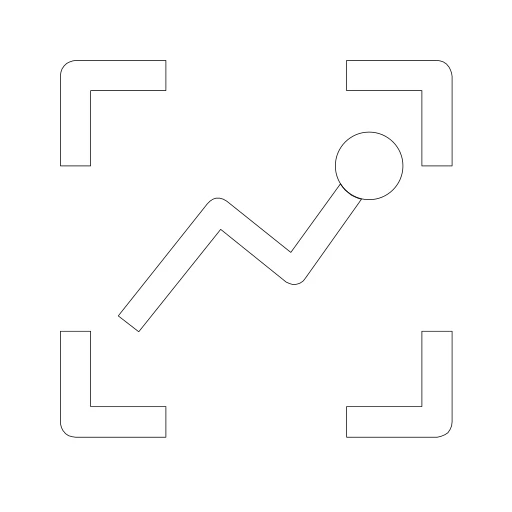
A transparent brand symbol

A PNG can store a logo without a solid background. Inspect the mark against both light and dark surfaces before converting it to SVG, especially when small details use a pale color.

This PNG is our own brand symbol. If you already have the original vector master for a graphic, use that file where possible instead of rebuilding paths from a smaller PNG export.

A scanned outline drawing — After
A scanned outline drawing — Before
BeforeAfter

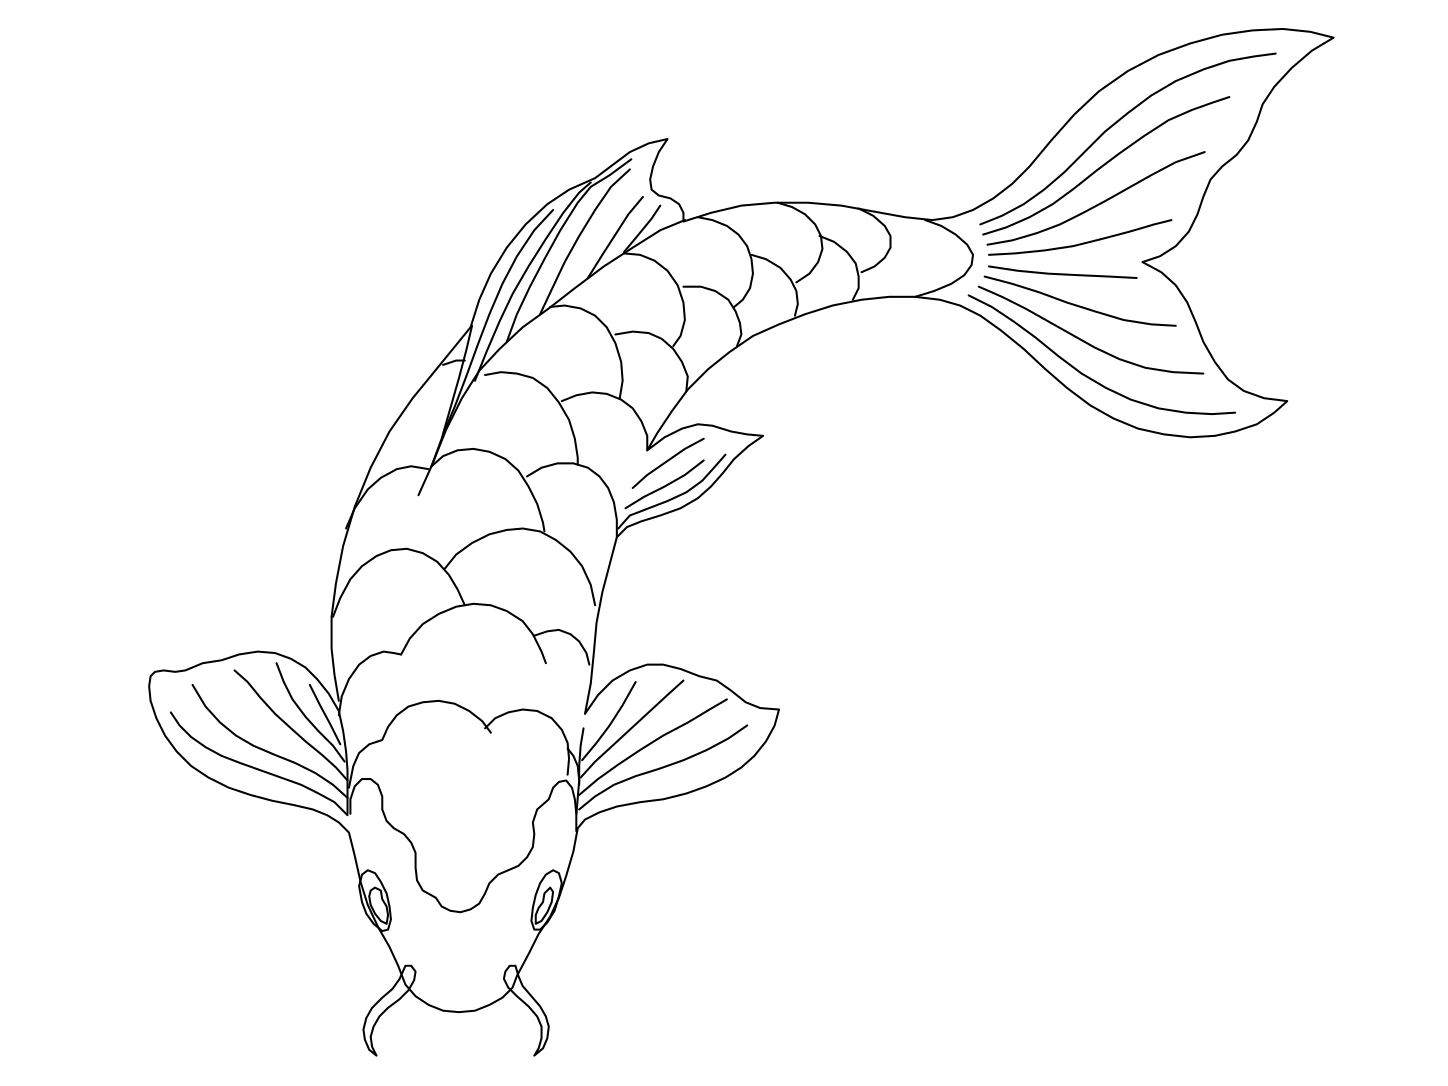
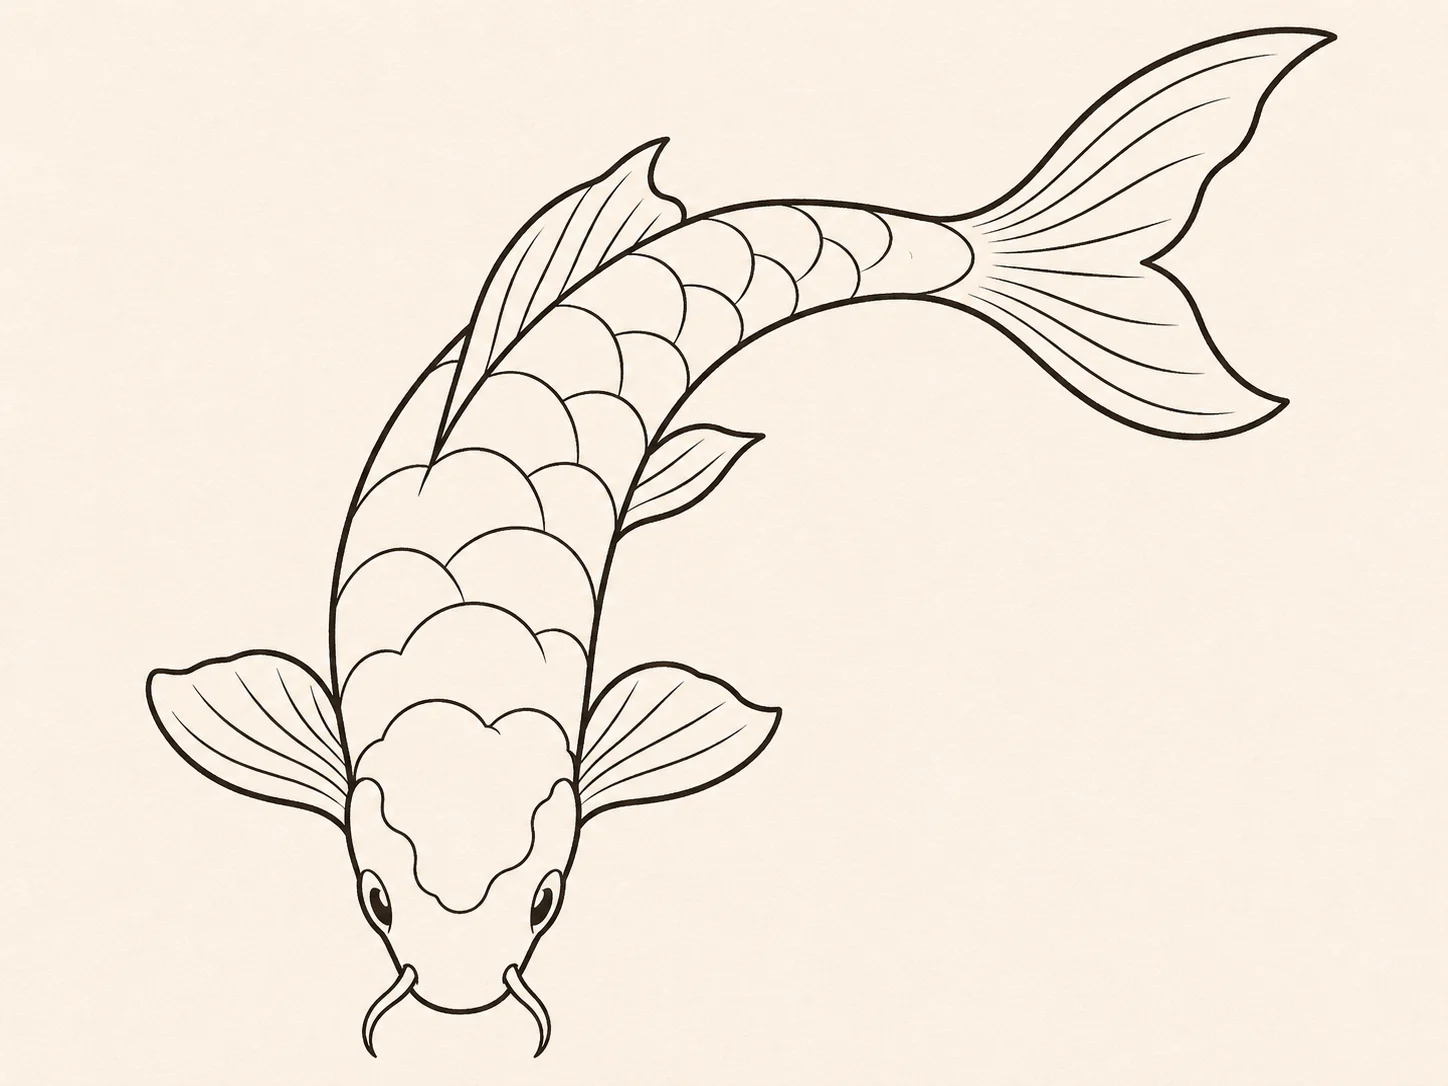
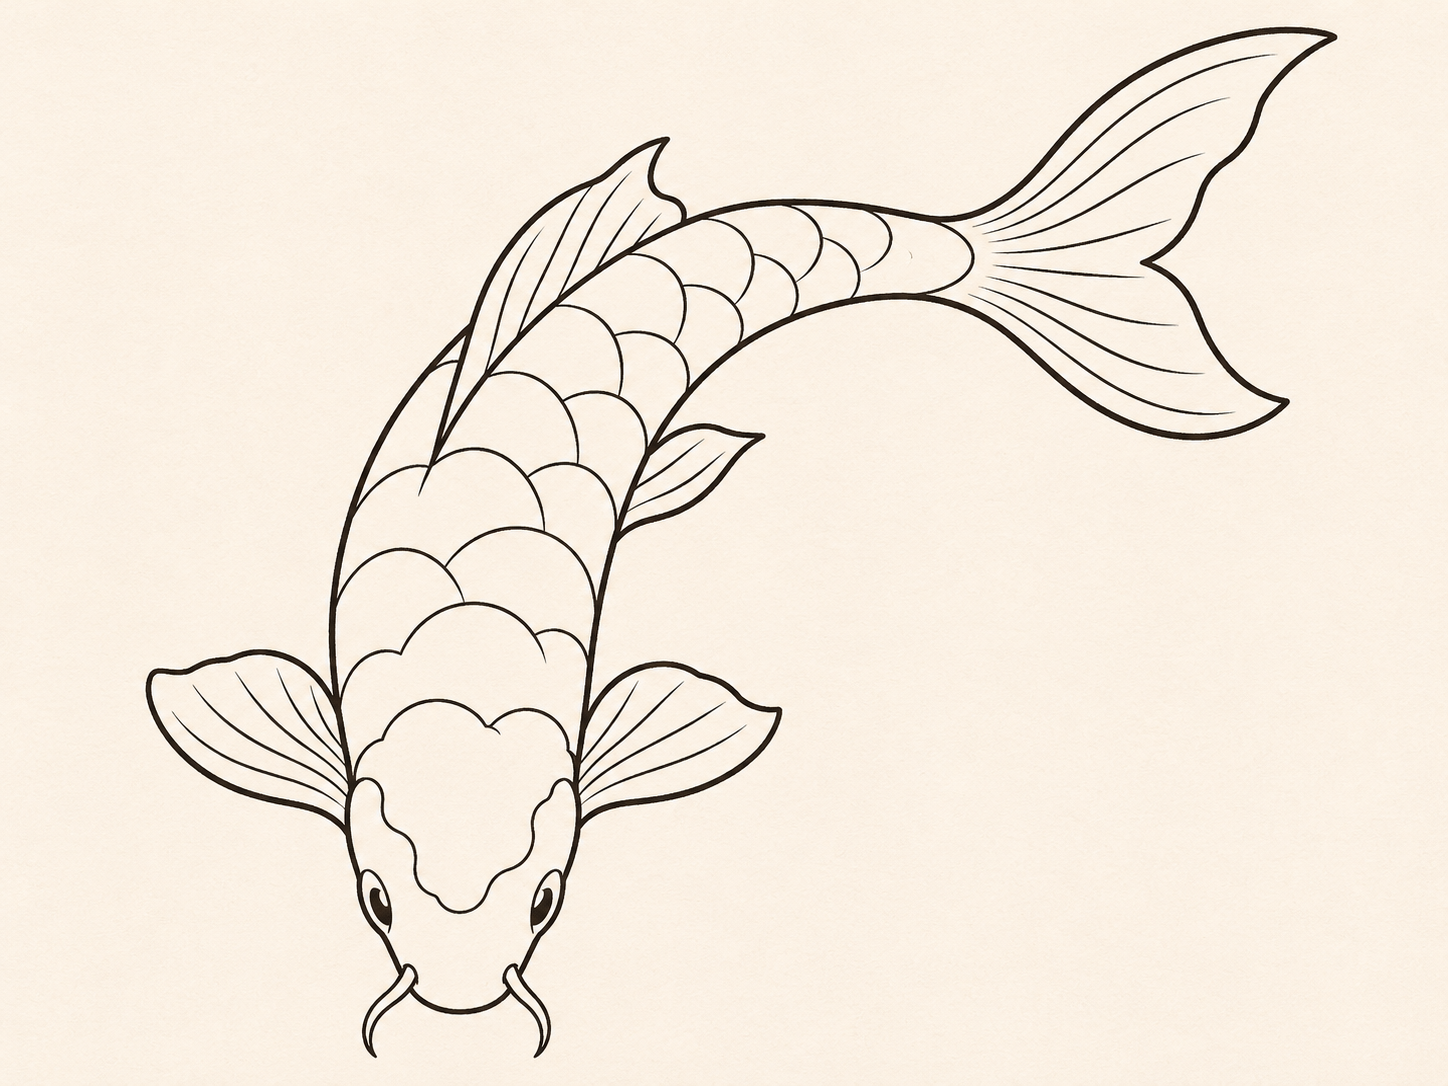
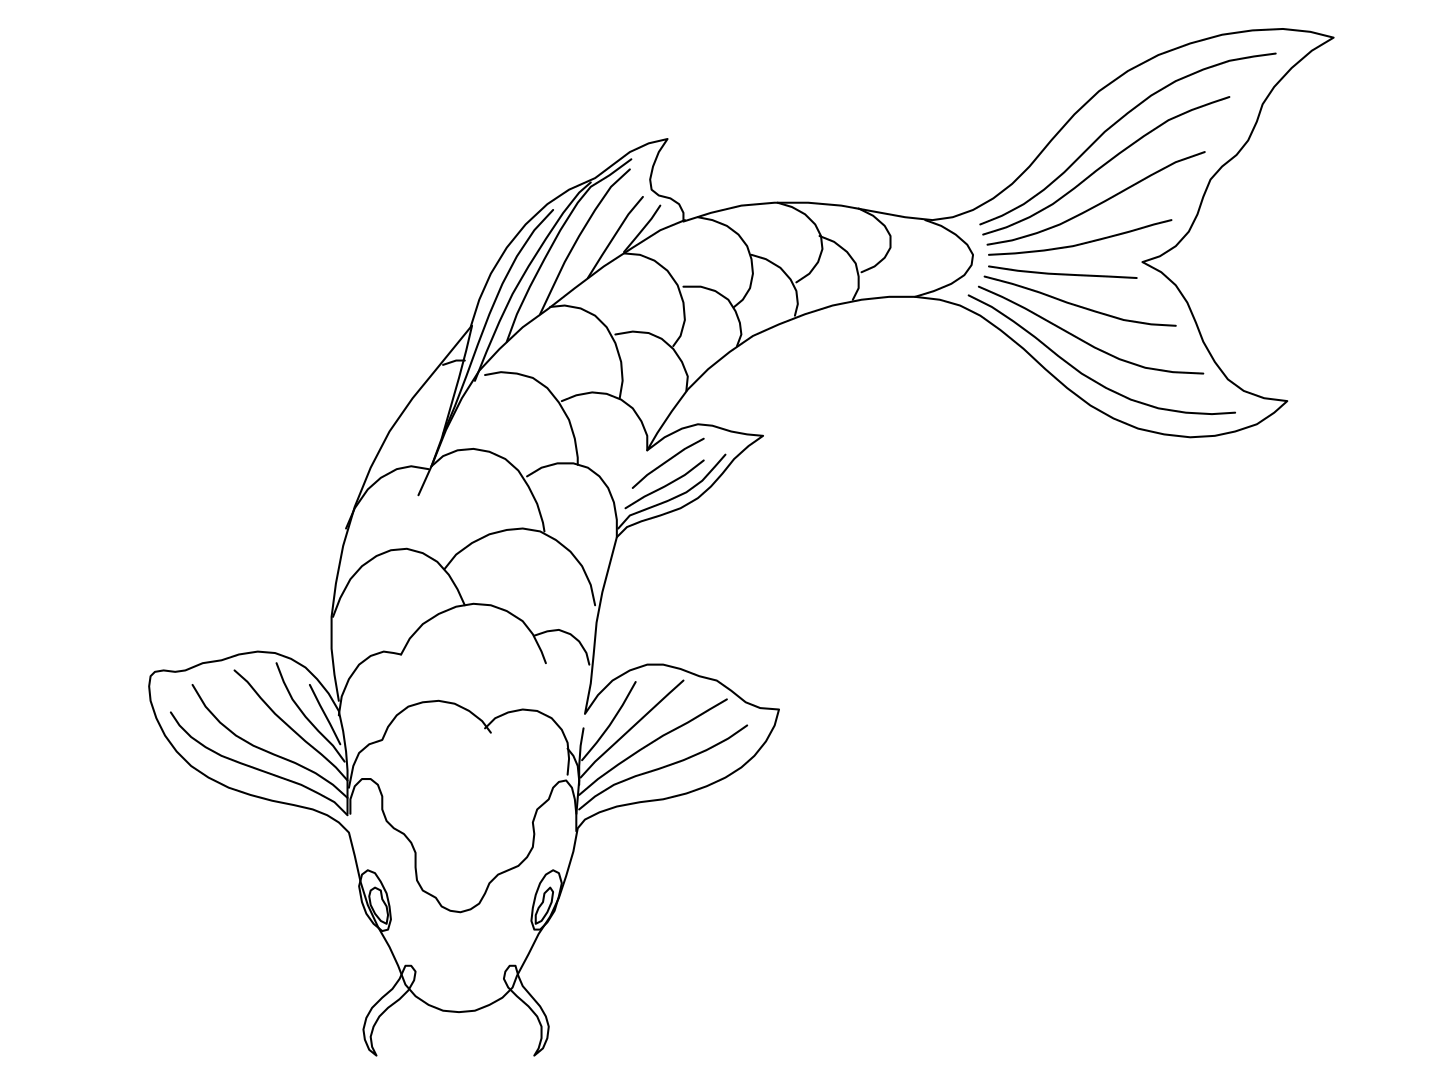
A scanned outline drawing

A PNG scan can preserve an ink drawing as a clear source for SVG linework. Compare the outer contour with your reference while deciding how much interior detail belongs in the next graphic.

A stroke in the PNG has width as well as direction. Inspect the SVG to see whether its boundaries match your intended outline, rather than assuming the result is a single path through every stroke.

LOOK AT THE SOURCE, NOT ONLY THE EXTENSION

PNG keeps pixels. SVG gives you paths to edit.

A PNG can be crisp or blurred, opaque or transparent. Those differences shape the reference you supply; the SVG still needs a design review.

Transparency is not an outline

A PNG can separate a subject from its background using transparent pixels. That information is useful to inspect, but it does not establish which contour you want to keep in SVG.

Check the PNG on a contrasting surface so that light strokes remain visible. After conversion, review the SVG for missing edges or unwanted regions instead of assuming transparency created a ready-made boundary.

Lossless storage does not add detail

PNG preserves the pixels stored in the file without JPEG-style lossy compression. A clean graphic export can therefore remain a useful reference through repeated saves.

A small PNG still contains only the detail it was given. Enlarging a thumbnail will not reveal a new contour for the SVG, and saving a blurred photo as PNG does not make its outline precise.

An SVG wrapper is still a picture

It is possible to put a PNG inside an SVG document while leaving it as a single bitmap. Changing the extension alone does not make the visible features separately editable.

Open the SVG and select an element to inspect what you received. Download the converted sample below to explore its paths and decide which details to edit.

Choose the graphic at its intended size

A PNG may look clear when enlarged on screen while its smallest details disappear in a compact layout. Review the SVG at the size where it will actually be used.

Compare the SVG with the PNG as you simplify small marks and adjust spacing. Scalable paths give you editing room, but the conversion does not decide which features are essential to the design.

TEST THE FORMAT FIRST

Try the converted SVG.

Open this converted SVG in your vector editor. Select an outline, adjust a curve, or move a segment to see how the drawing fits your workflow.

Keep the PNG beside the SVG while checking small details. Use a known measurement to set the scale before adding the drawing to your project.

Download sample SVG
A bold graphic export converted linework

Select an element

Click a line or circle in the SVG. Check that it behaves as editable geometry rather than a PNG placed inside another file.

Change a small detail

Adjust a stroke or move an element in the SVG. Consider which features of your PNG would need similar decisions when developing the graphic.

Review the resized graphic

Scale the SVG in your layout and inspect its details. Keep your PNG nearby so you can simplify deliberately instead of preserving every tiny mark.

BEFORE YOUR FIRST CONVERSION

PNG to SVG questions

Transparent backgrounds, editable paths, and the details worth checking.

YOUR REFERENCE. YOUR NEXT DRAWING.

Give your PNG an editable outline.

Start with one PNG, create an SVG, and refine the paths in your own tools.

Guests: 1 free conversion daily. Eligible new accounts: 3 initial conversions.