EDITABLE 2D DRAWINGS

JPG to DXF.Put a photo back to work.

Convert a JPG or JPEG into editable DXF linework. Start with a product photo, photographed drawing, or building reference.

See how it works

JPG / JPEG · up to 20 MB

  • 1 free guest conversion daily
  • DXF + SVG + PNG
  • Files up to 20 MB
JPG to DXF. — After
JPG to DXF. — Before
BeforeAfter

THREE SIMPLE STEPS

From JPG to DXF, then back to work.

Bring your reference, create editable geometry, and take the DXF file into your own drafting workflow.

  1. 01

    Choose a JPG or JPEG

    Upload a JPG up to 20 MB. JPG and JPEG use the same format, so either extension works here. Choose the sharpest original photo you have rather than a small copy downloaded from a message thread.

  2. 02

    Create the DXF drawing

    The JPG to DXF process interprets visible outlines as 2D drawing elements. Compare the result with your photo, paying attention to parts hidden by shadows, reflections, or other objects in the frame.

  3. 03

    Take the next step in CAD

    Download the DXF and continue editing in your own application. Use measurements to size the drawing, refine the profile, and add the details your photo cannot establish. SVG and PNG downloads are included too.

START WITH A REAL REFERENCE

Photos with a next step.

Compare each JPG reference with its DXF linework, from a photographed facade to a component sketch.

A photographed building facade — After
A photographed building facade — Before
BeforeAfter

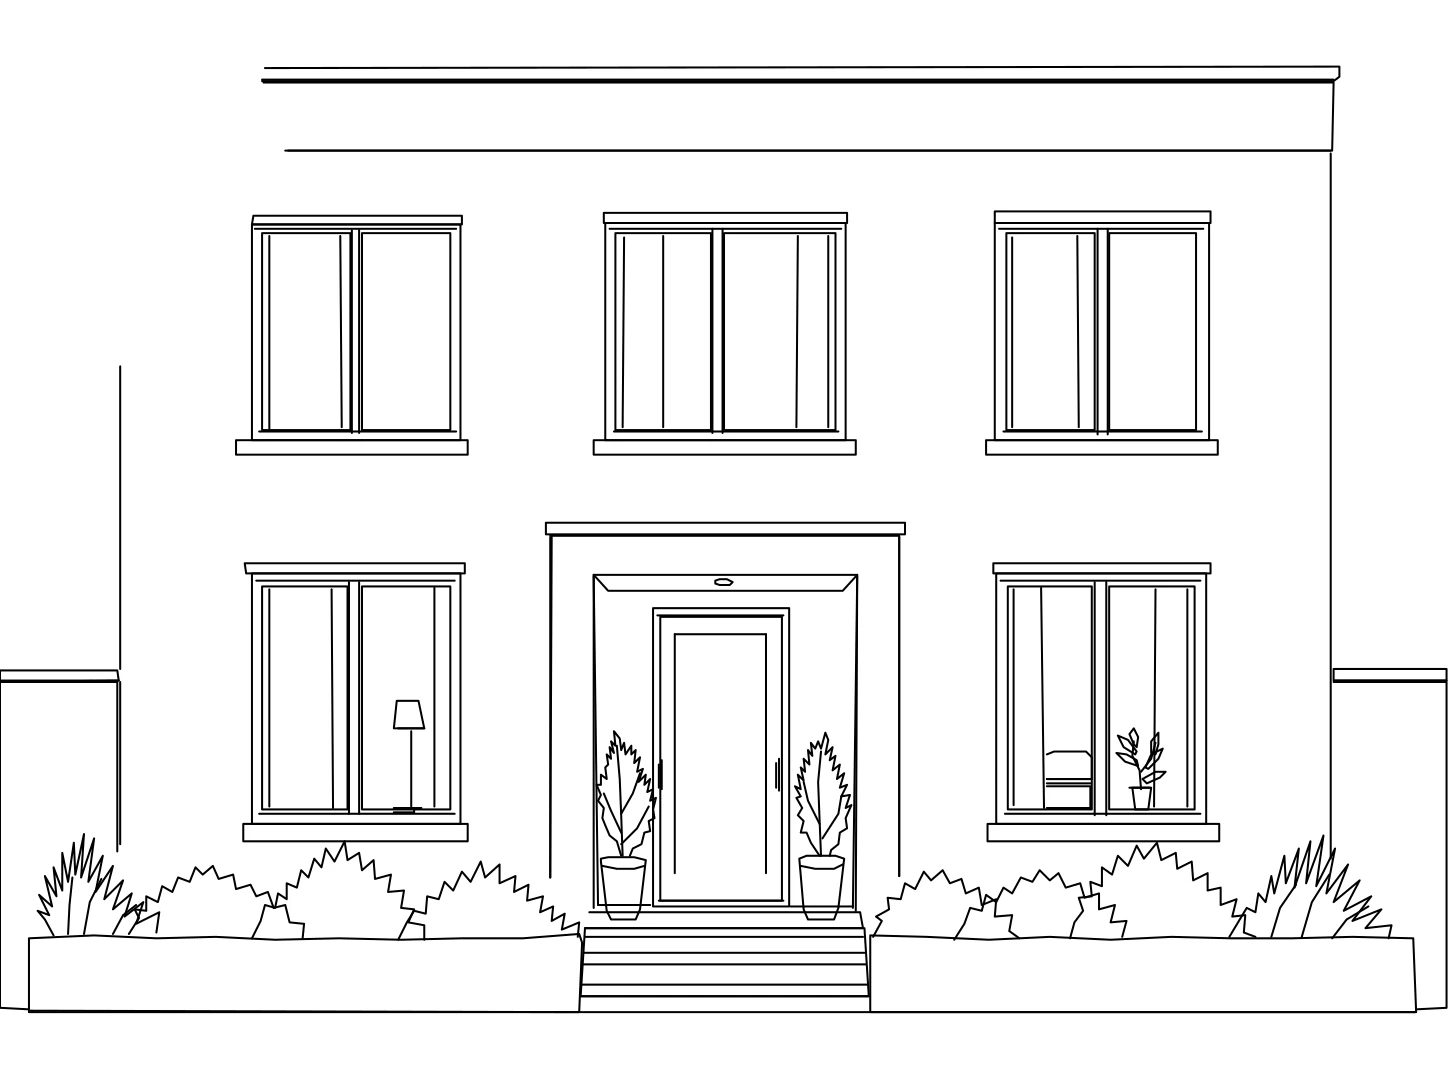
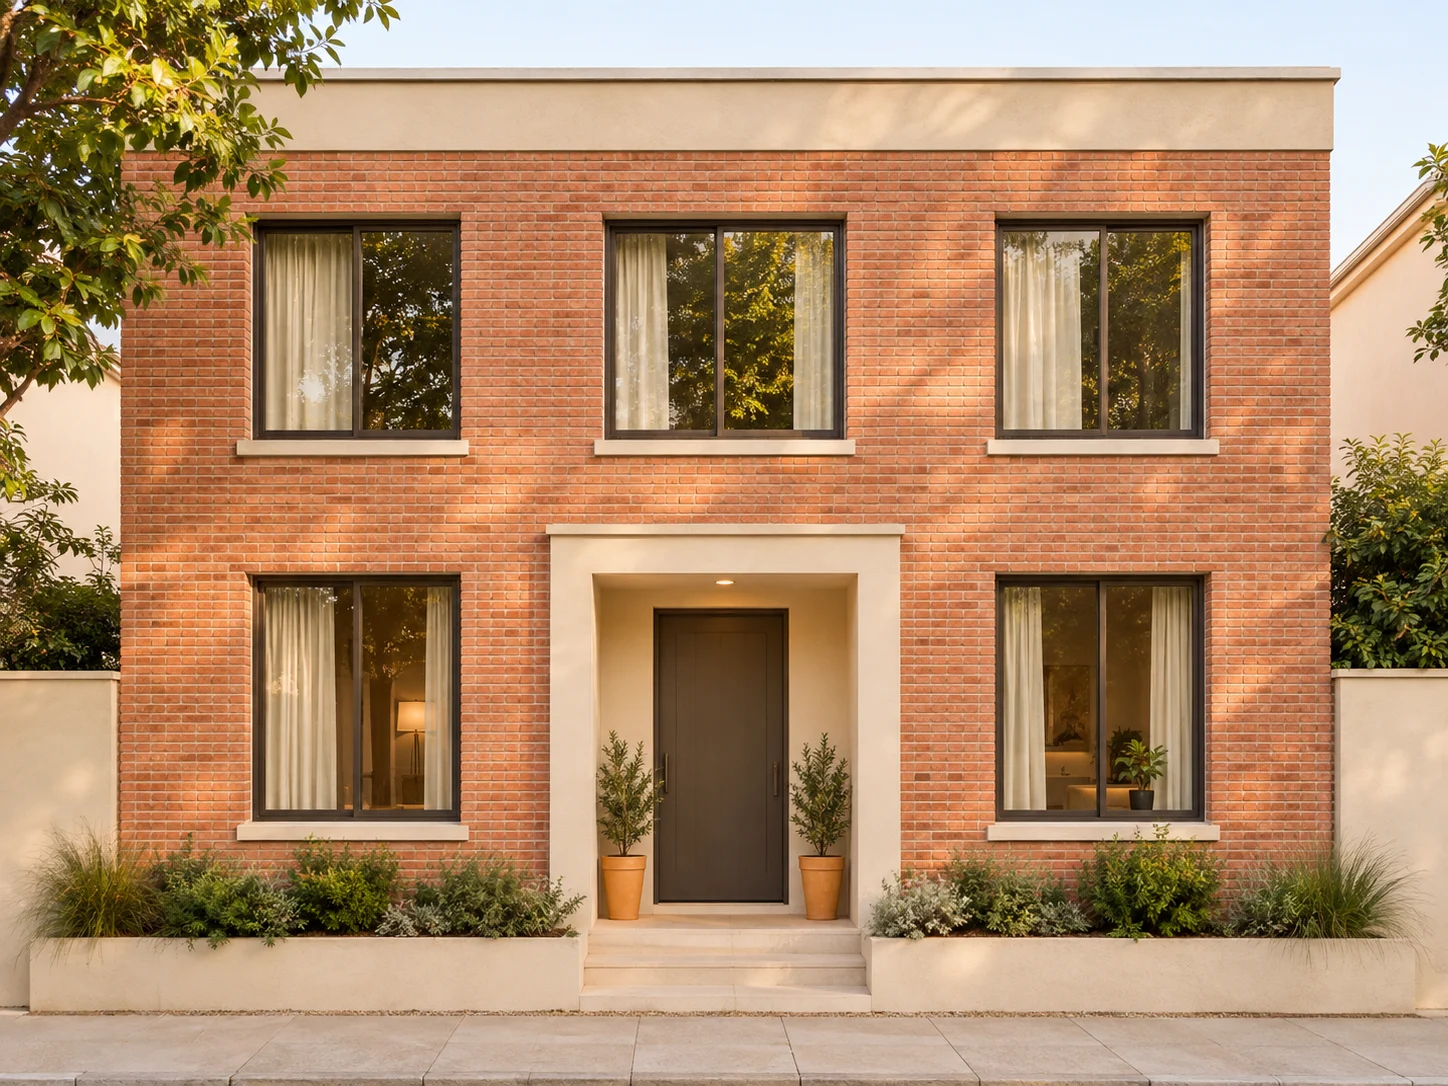
A photographed building facade

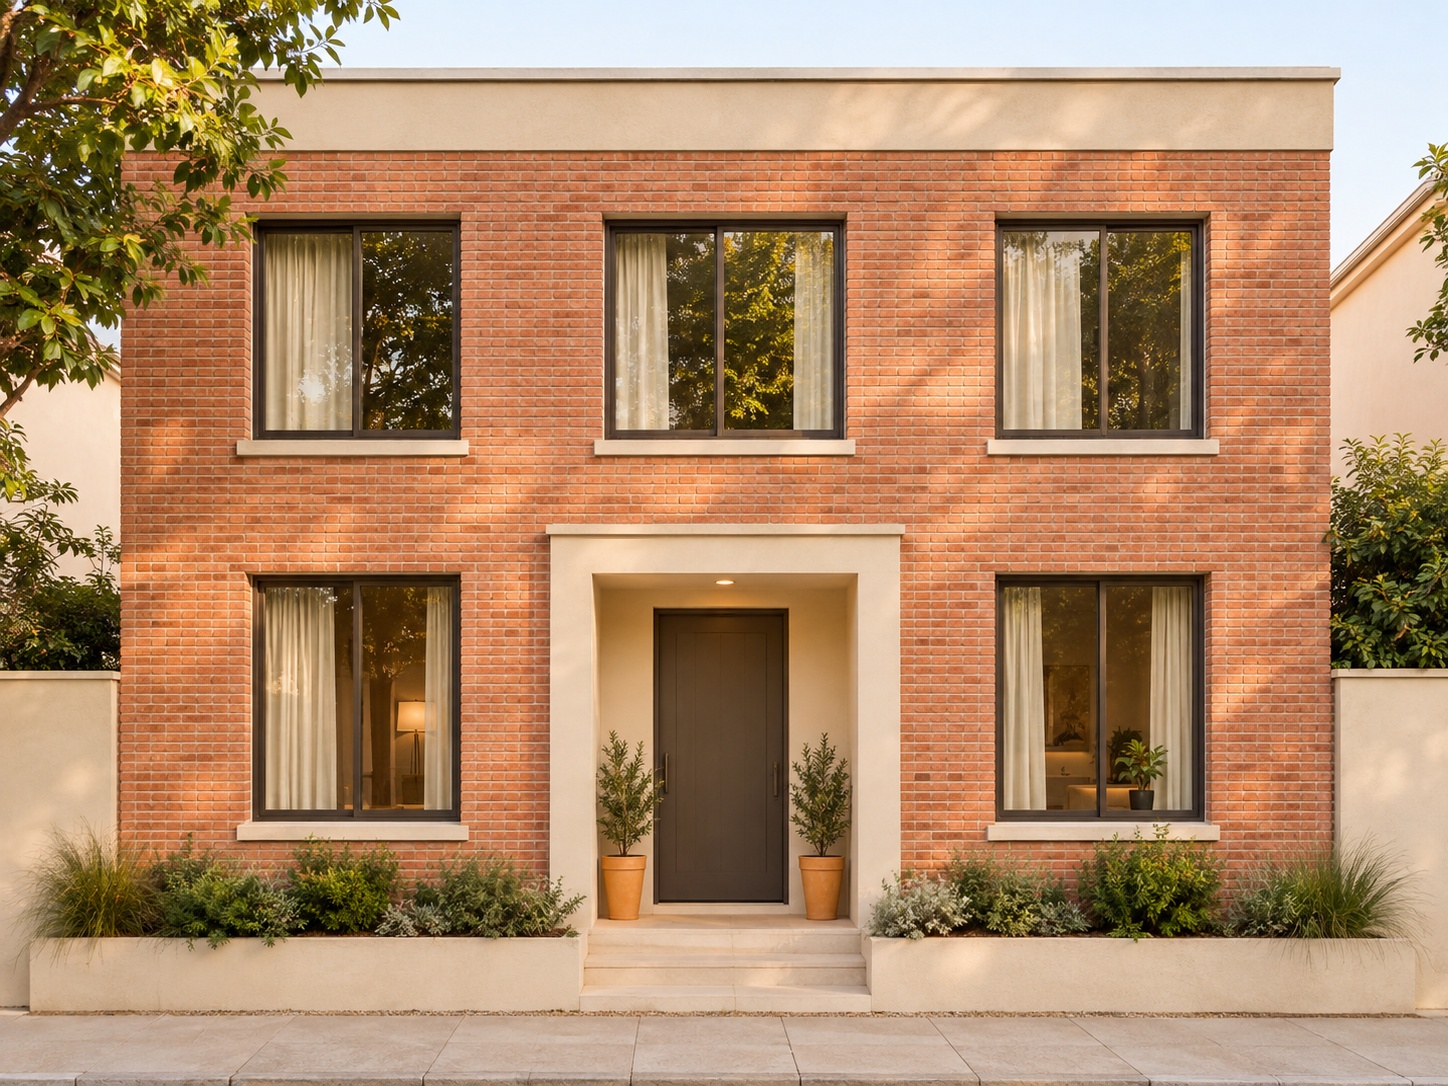
Use a JPG of a building when you need a reference for an elevation study. Open the DXF to develop window outlines, organize openings, or compare a proposed change against the visible facade.

Try a straight view with the whole subject in frame. A JPG taken from one side compresses distant features; the DXF does not establish a measured elevation from that perspective.

A product with a useful profile — After
A product with a useful profile — Before
BeforeAfter

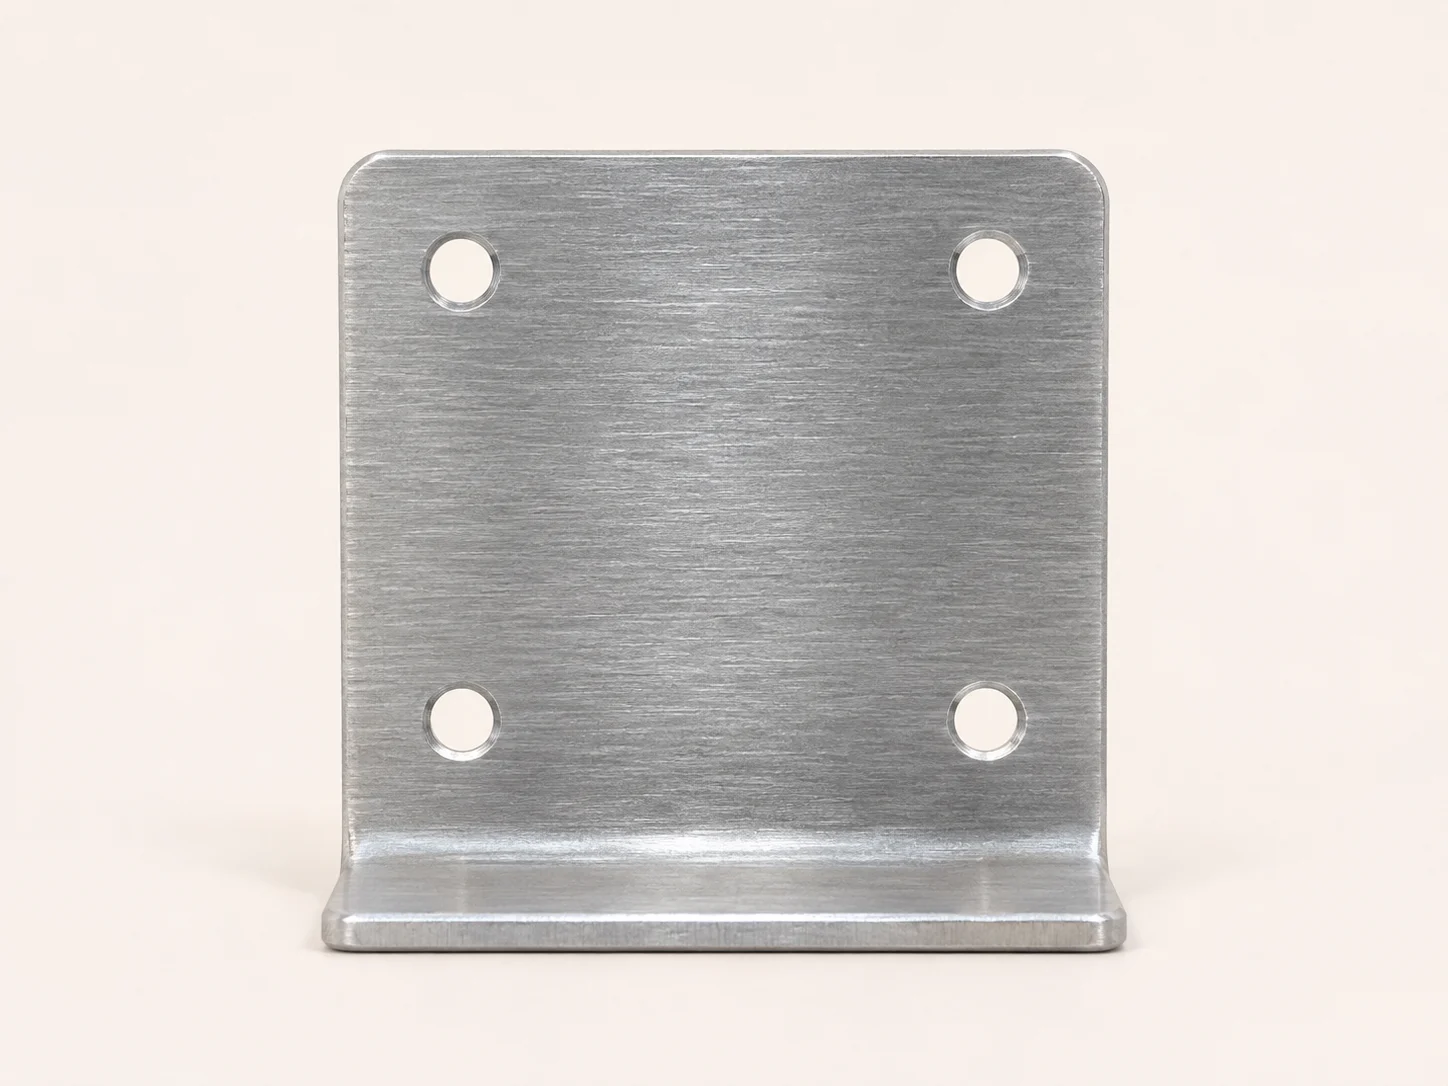
A product with a useful profile

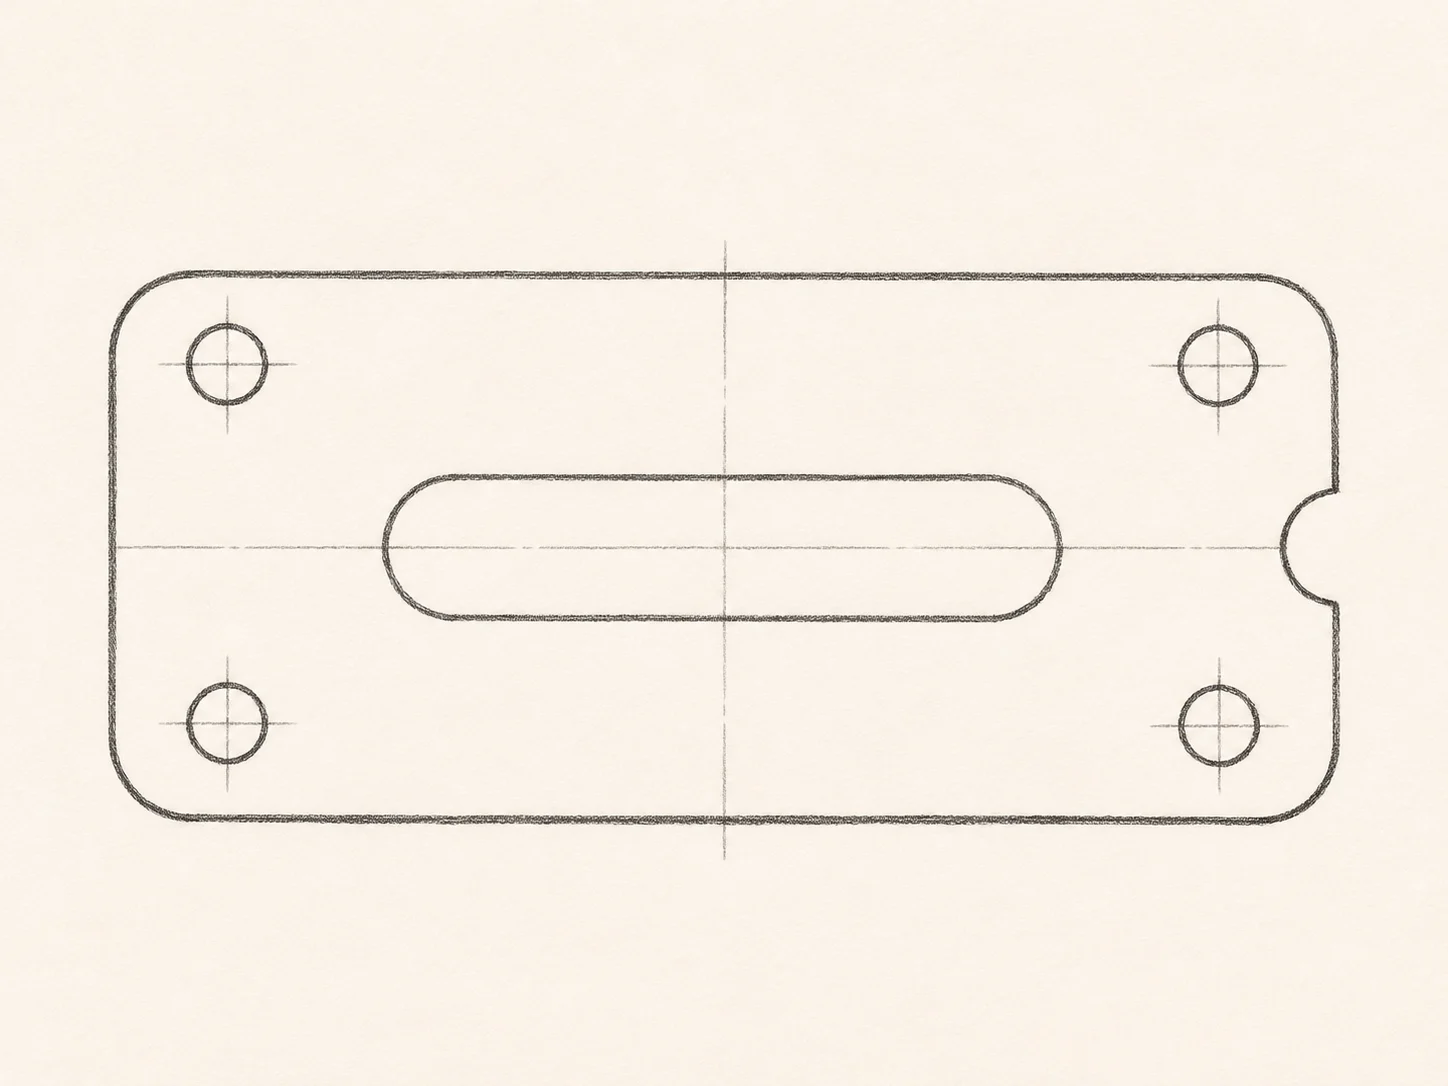
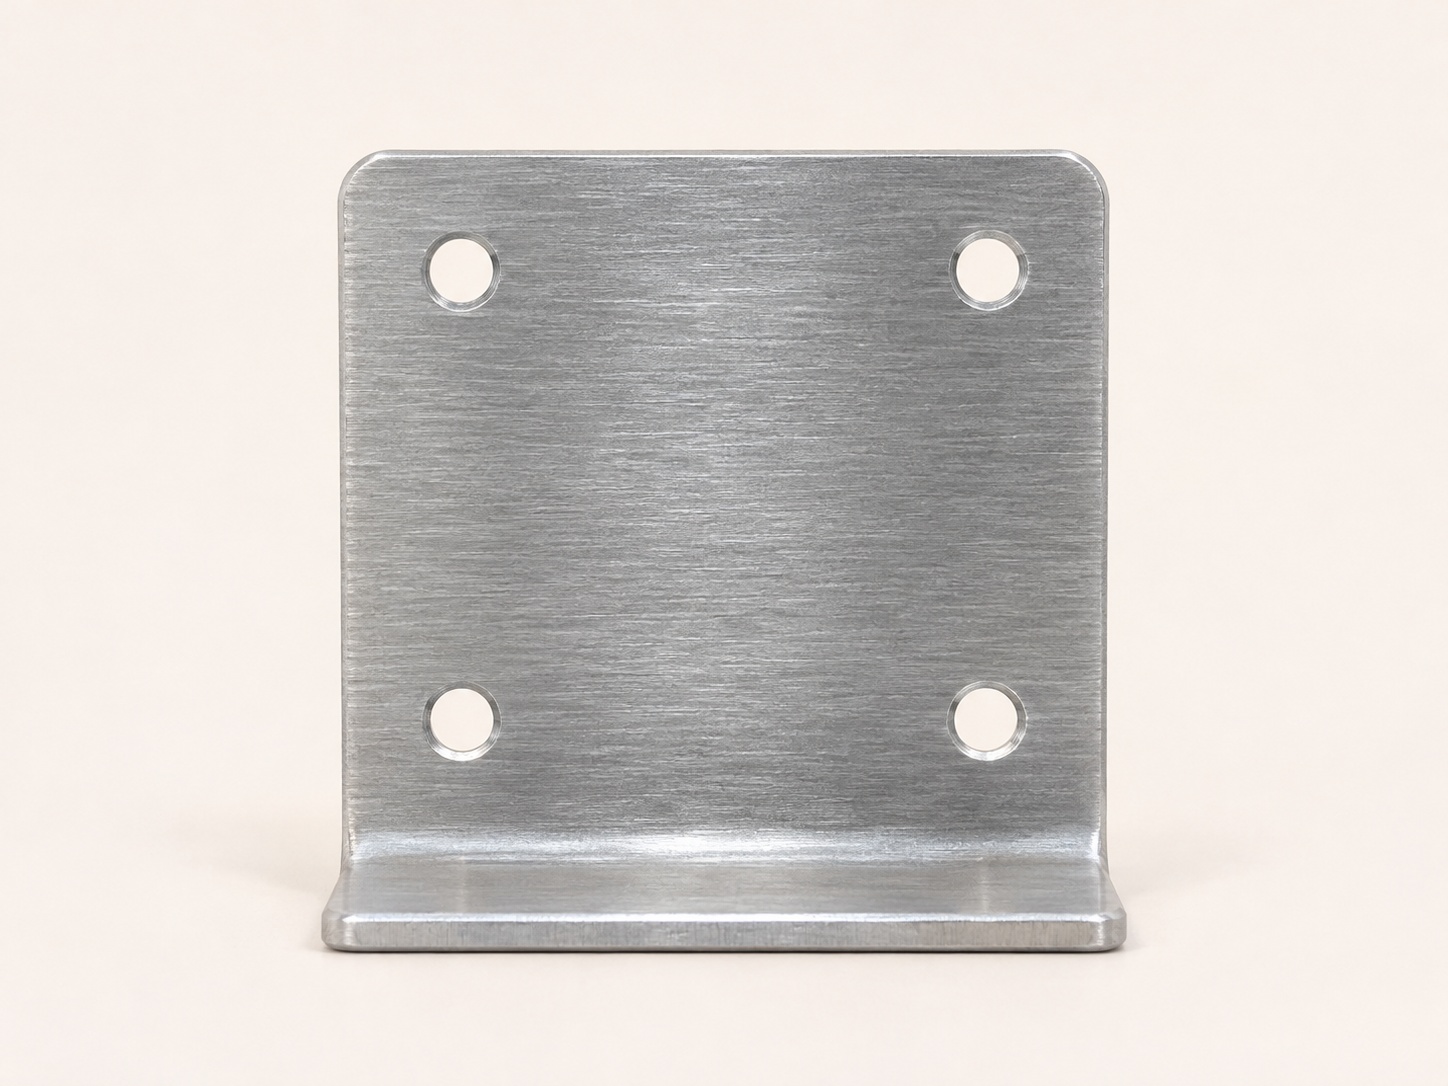
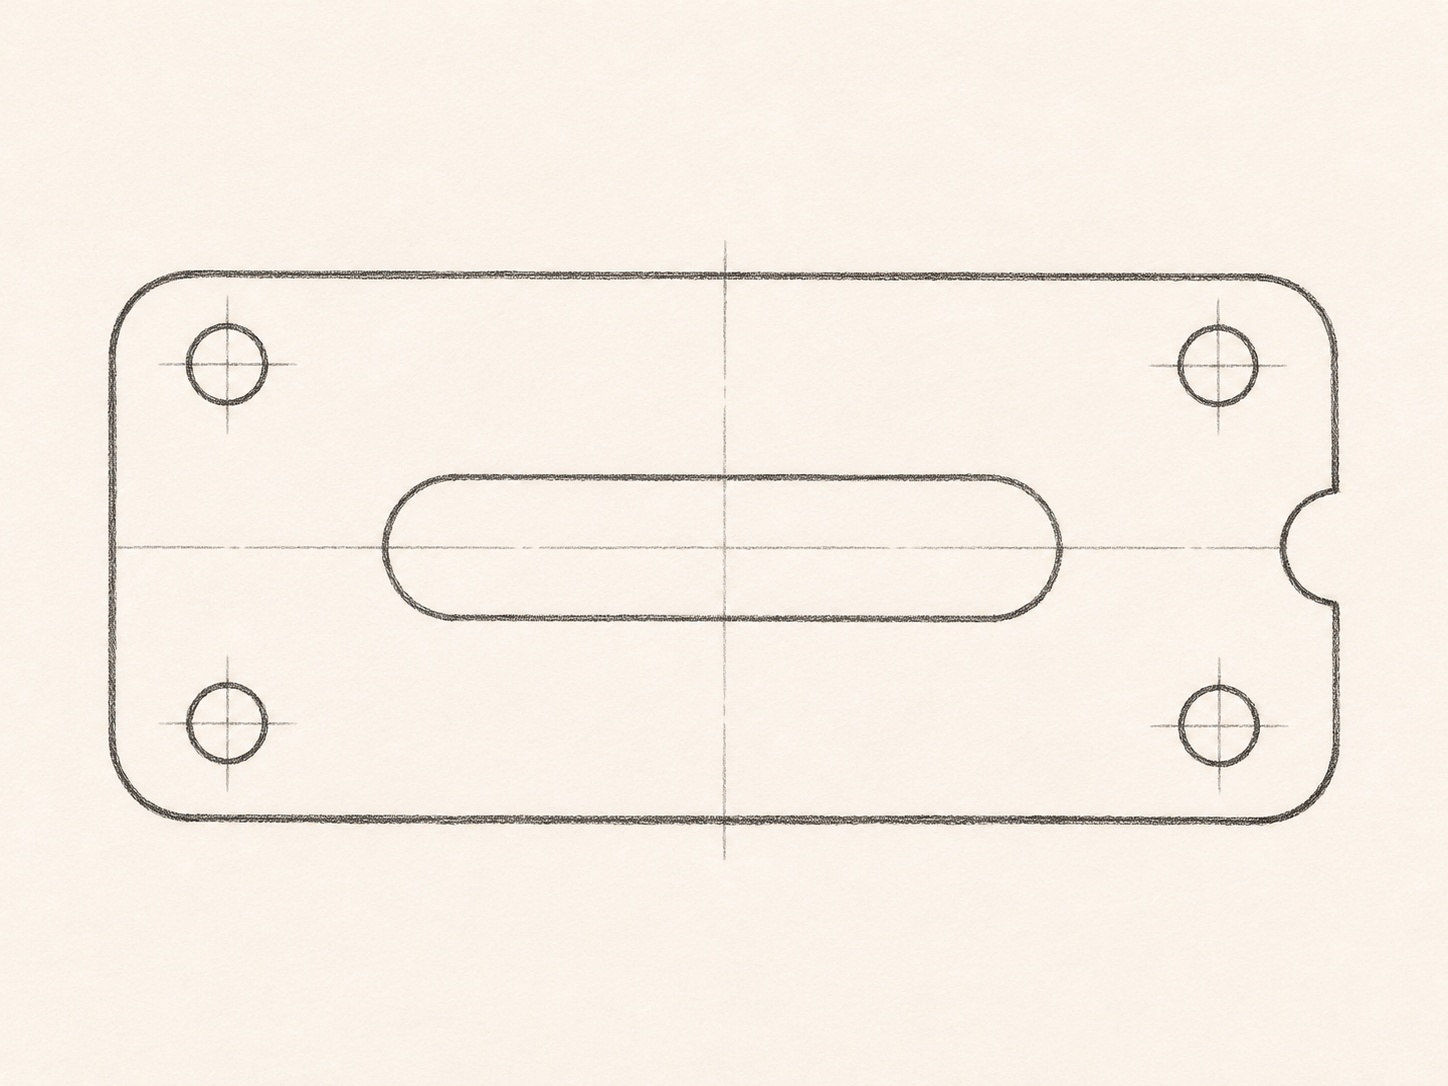
A JPG product photo can offer an outer profile and visible mounting holes when a drawing is unavailable. Use the DXF as a starting reference for documenting the part or developing another design.

Check reflective edges and recesses against the photo. Thickness, tolerances, and hidden holes need measurements or additional references, even when the visible JPG outline looks straightforward.

A sketch captured on your phone — After
A sketch captured on your phone — Before
BeforeAfter

A sketch captured on your phone

A clear JPG of a notebook sketch can help move an idea into CAD before you lose its context. Keep the page flat, include the complete outline, and avoid a shadow across the drawing.

After opening the DXF, check the sketch details you care about most. Use written measurements as references to verify independently, rather than assuming the JPG preserves the original scale.

A CLOSER LOOK AT JPG

Work with the photo you actually have.

A JPG can record a useful reference without recording its true dimensions. Start with the visible outline and make the remaining decisions in CAD.

JPG and JPEG are the same input

A JPG file and a JPEG file describe the same image format. You do not need to rename the photo or convert between these extensions before starting a DXF conversion.

Use the original JPG when available. Repeated saves and messaging apps can reduce image quality, leaving small boundaries less distinct than they were in the camera file.

Compression can soften small details

JPG uses lossy compression. Strong compression may introduce blocks or halos around fine lines, especially in a drawing with small text or closely spaced contours.

A DXF conversion cannot reliably recover information that is no longer visible. Choose a larger JPG with readable edges rather than enlarging a tiny thumbnail and expecting it to produce additional detail.

A camera records perspective

A JPG taken at an angle changes the apparent proportions of the subject. When possible, face the drawing or flat object directly and keep its main surface parallel to the camera.

Use the DXF as a drafting reference rather than a calibrated survey. A building photo and a photographed paper plan both need known measurements before their geometry can represent real dimensions.

Lighting changes the visible outline

Shadows, reflections, and textured backgrounds can create edges that do not belong to the object itself. A JPG taken under even light gives you a clearer reference to compare with the DXF.

For a metal part, check the actual silhouette rather than a bright reflection on its face. For a drawing, avoid glare from the page and keep the complete outline within the photo.

TEST THE FORMAT FIRST

Try the converted DXF.

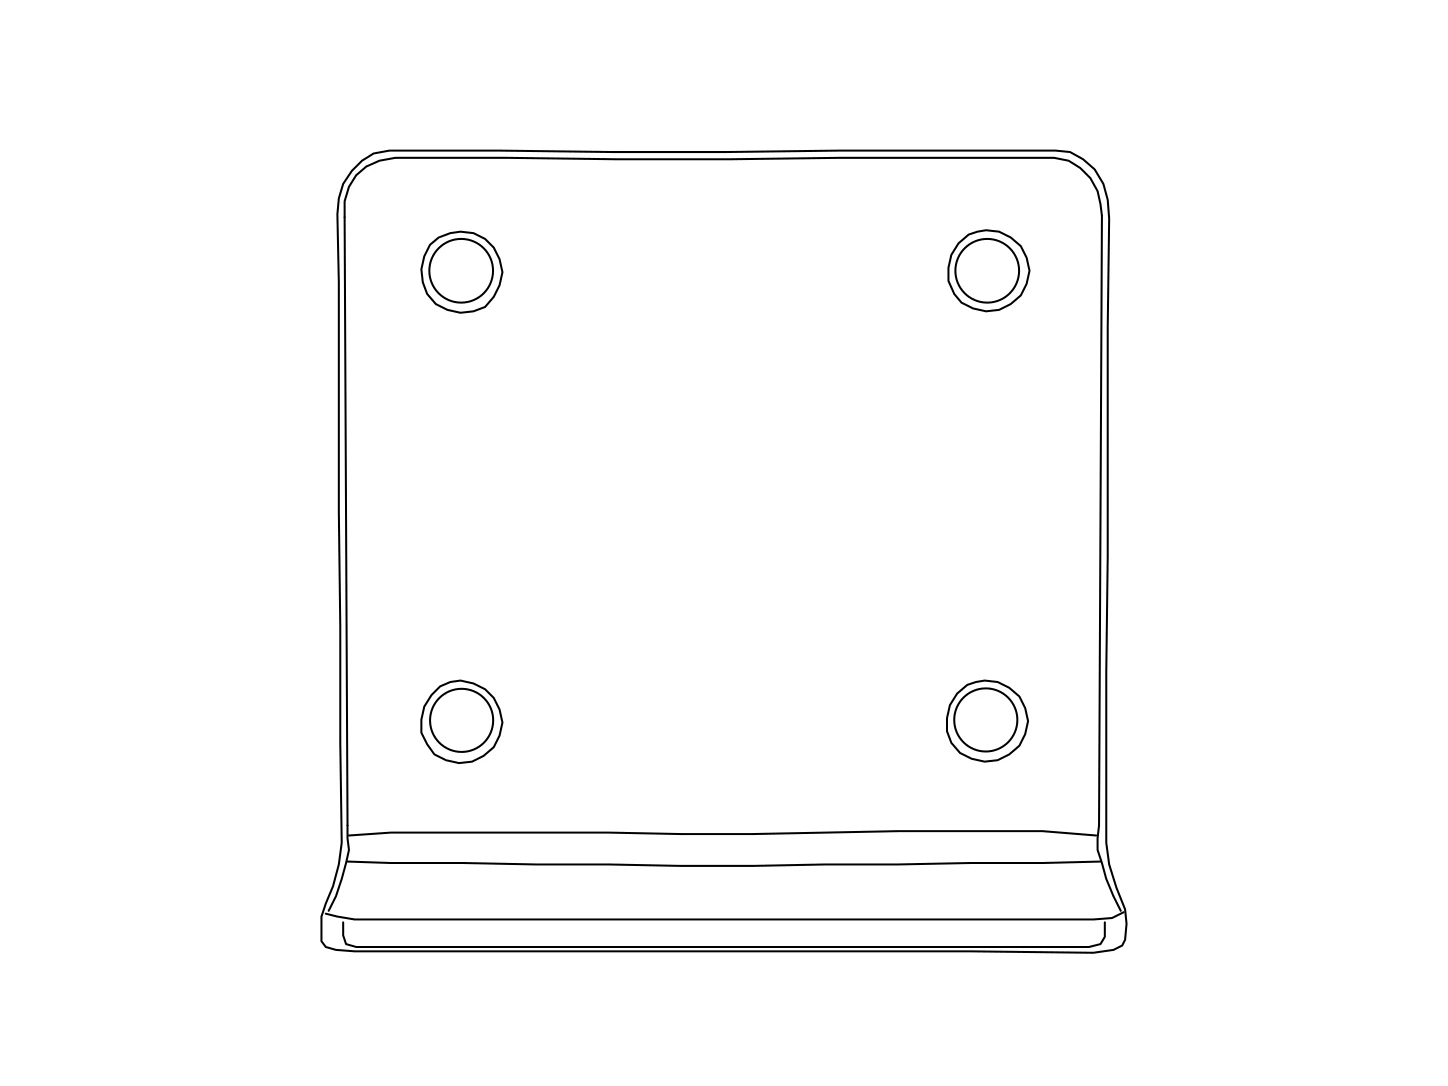
Open this converted DXF in your CAD application. Select an outline, adjust a curve, or move a segment to see how the drawing fits your workflow.

Keep the JPG beside the DXF while checking small details. Use a known measurement to set the scale before adding the drawing to your project.

Download sample DXF
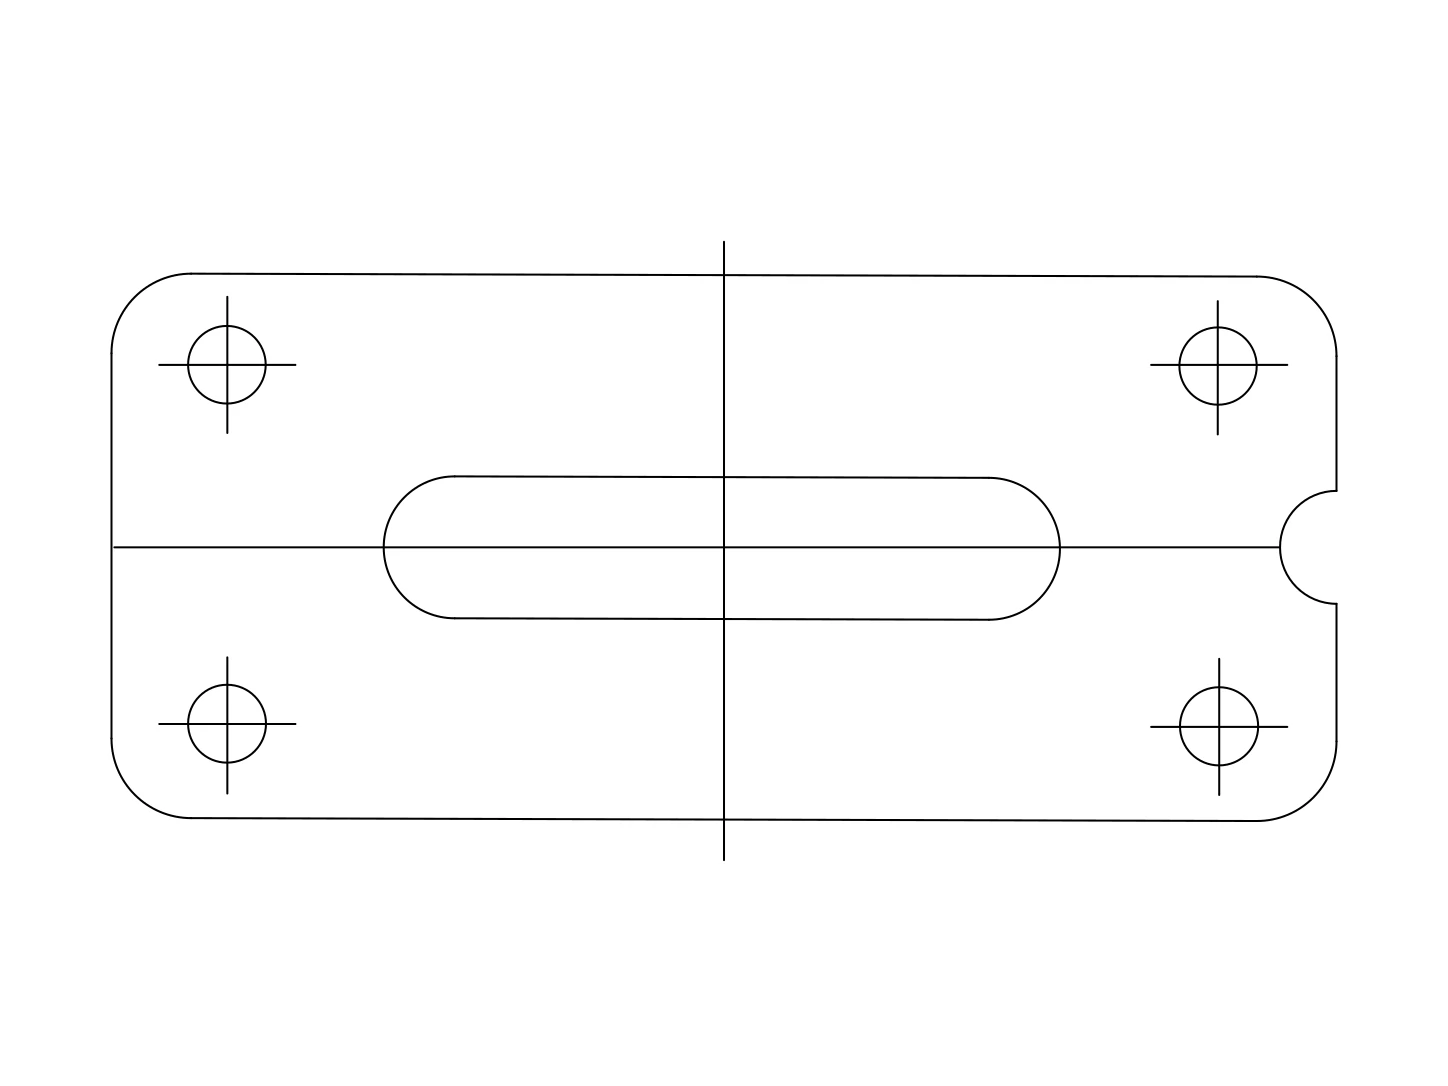
A product with a useful profile converted linework

Select a contour

Open the DXF and select its outer profile. Confirm that you can work with geometry rather than a JPG placed behind the drawing as a visual reference.

Change a feature

Try adjusting a circle or moving an element in the DXF. Consider which visible features of your JPG would need similar cleanup when developing the design.

Establish the scale

The sample DXF is unitless. Choose appropriate import units and use a known measurement when sizing the drawing created from your JPG. Photo pixels are not physical dimensions.

BEFORE YOUR FIRST CONVERSION

JPG to DXF questions

Formats, downloads, and what to expect from your drawing.

YOUR REFERENCE. YOUR NEXT DRAWING.

Ready to turn your JPG into DXF?

Start with one source you know well. Open the result, make an edit, and see how it fits your work.

Guests: 1 free conversion daily. Eligible new accounts: 3 initial conversions.