LET YOUR OUTLINES DO MORE

Line Art to DXF.Keep the drawing. Develop the contours.

Convert line art into editable DXF geometry. Start with an ink drawing or outline image and continue in CAD or a vector editor.

See how it works

JPG, PNG, WebP · up to 20 MB

  • 1 free guest conversion daily
  • DXF + SVG + PNG
  • Files up to 20 MB
Line Art to DXF. — After
Line Art to DXF. — Before
BeforeAfter

FROM INK TO EDITABLE ELEMENTS

Take your line art to DXF.

Keep the original line art beside the drawing so you can review its character while deciding what belongs in the DXF.

  1. 01

    Choose your line art

    Upload line art as JPG, PNG, or WebP up to 20 MB. Choose a clear drawing on a plain background. A focused line art image gives you a useful reference without a surrounding page of unrelated marks.

  2. 02

    Create the DXF geometry

    The line art to DXF process interprets visible contours as 2D drawing elements. Compare the result with your line art, checking the overall silhouette before reviewing small curves, gaps, and interior details.

  3. 03

    Edit for the next use

    Open the DXF in your CAD application to simplify an outline or adapt a layout. SVG and PNG downloads are also included, so your line art can continue in a vector editor or become a shareable preview.

A FEW LINES. MANY POSSIBILITIES.

What kind of line art do you have?

Explore line art beside its DXF contours. Look closely at fine strokes, curves, and separate outlines.

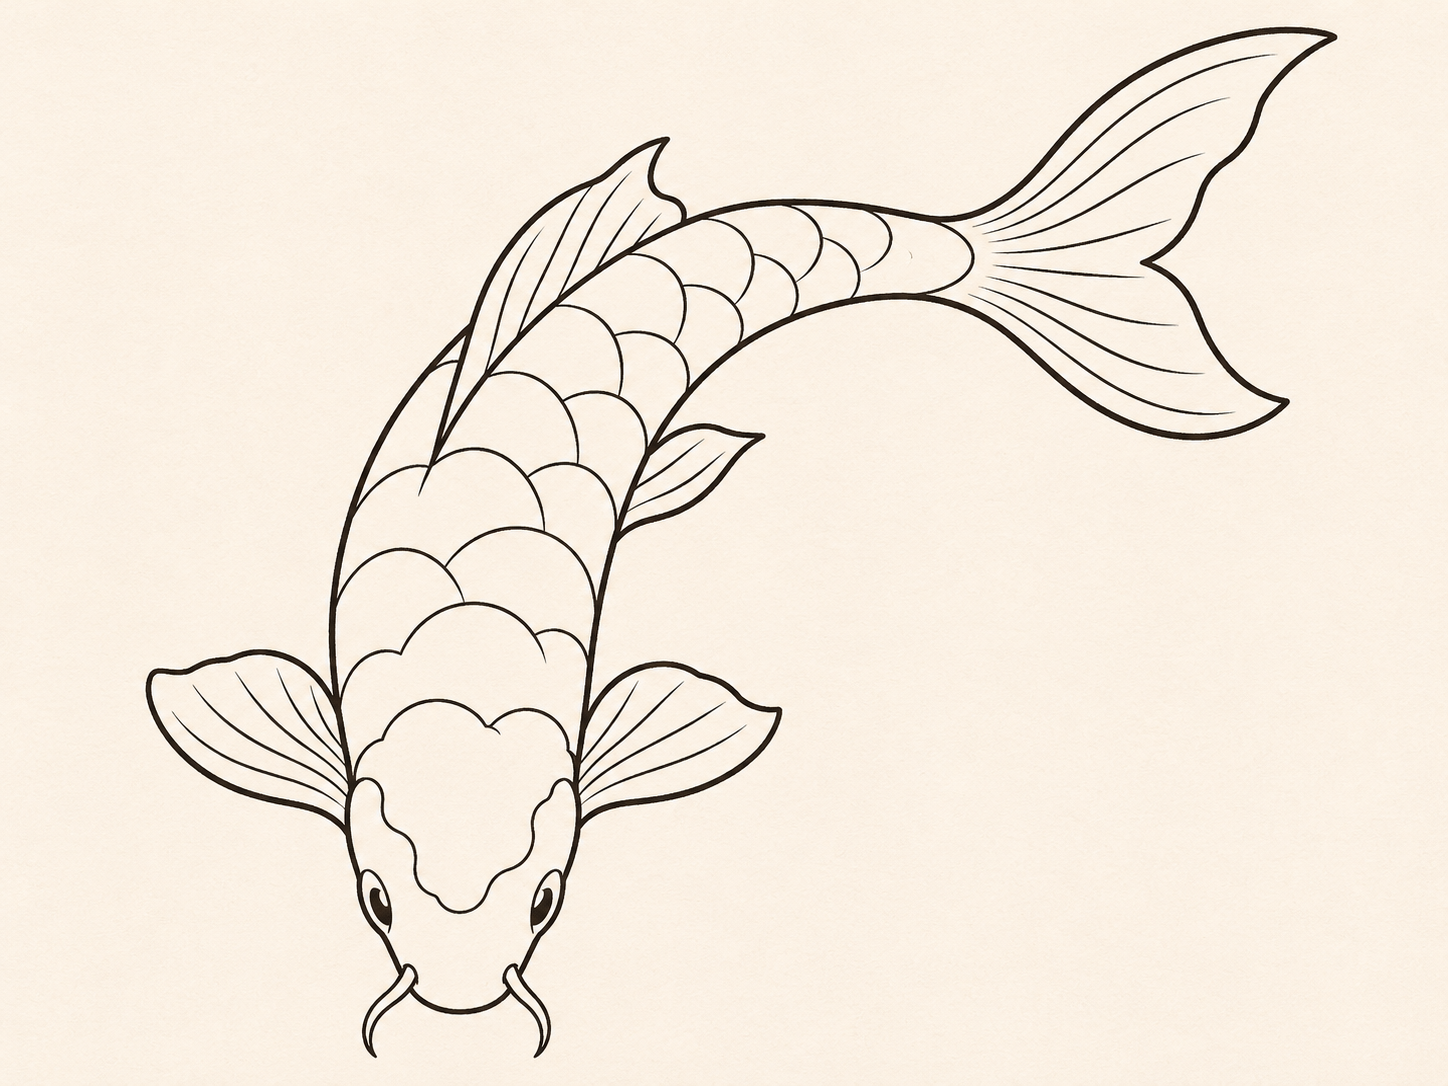
An animal contour in ink — After
An animal contour in ink — Before
BeforeAfter

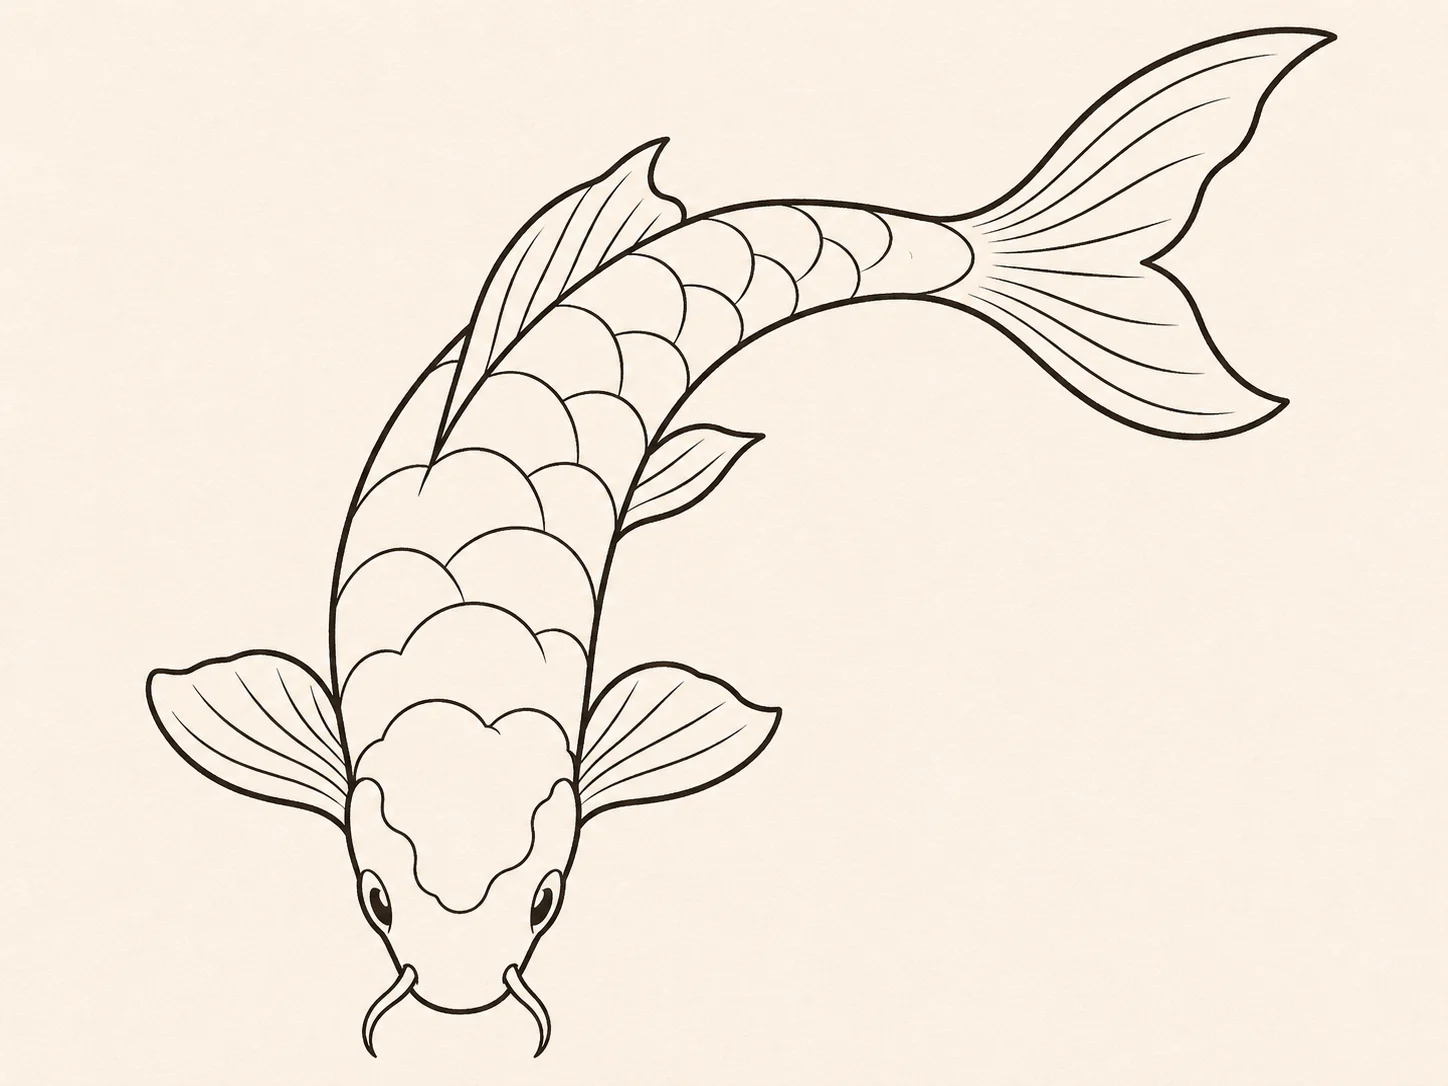
An animal contour in ink

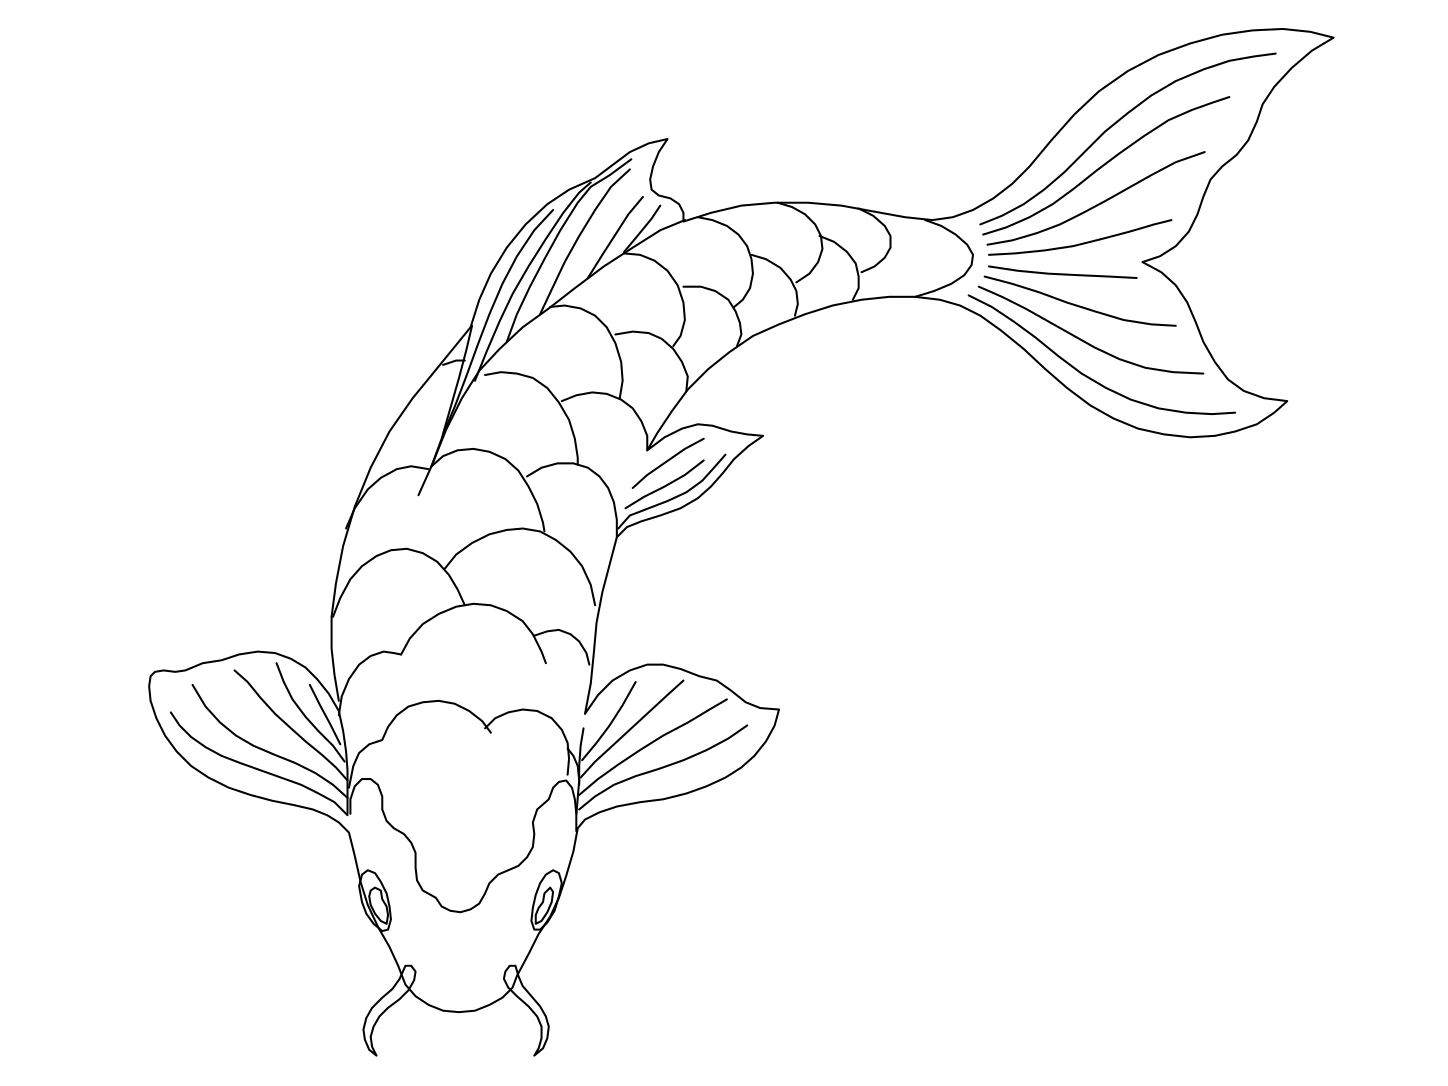
A line art animal drawing can provide a silhouette, fins, and a few internal marks to develop in DXF. Keep the source close while simplifying the curves or adjusting the design for a new layout.

Decide which details matter to the line art rather than keeping every visible mark. The DXF is a starting drawing, so you can remove a small stroke without treating it as an essential part of the outline.

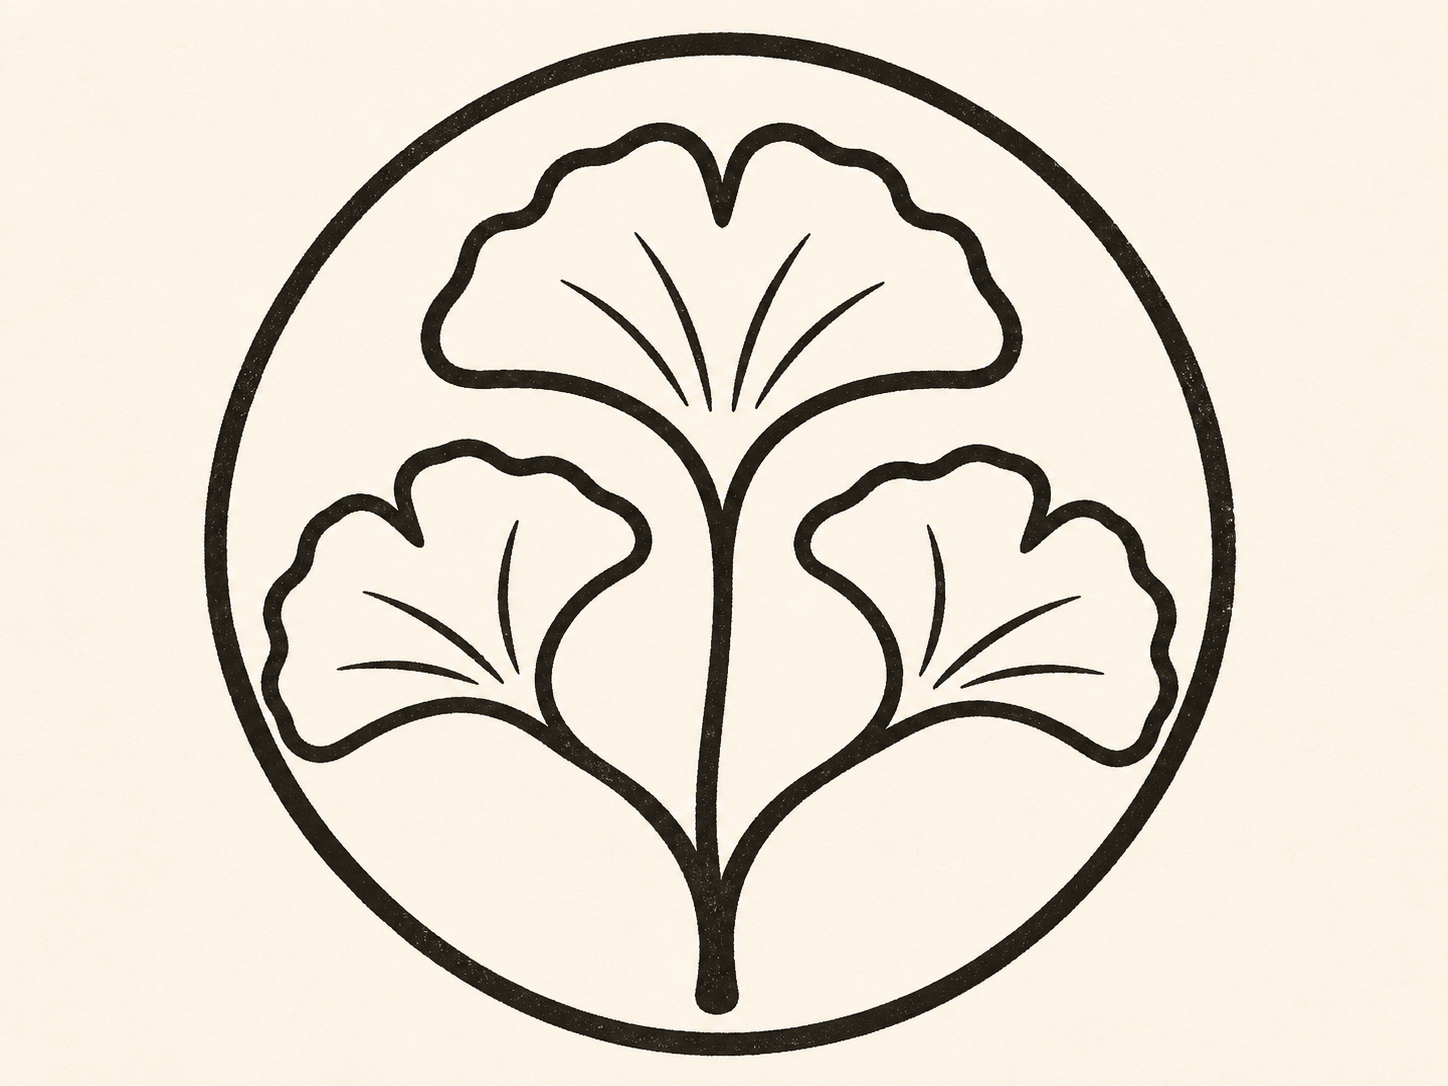
A botanical outline motif — After
A botanical outline motif — Before
BeforeAfter

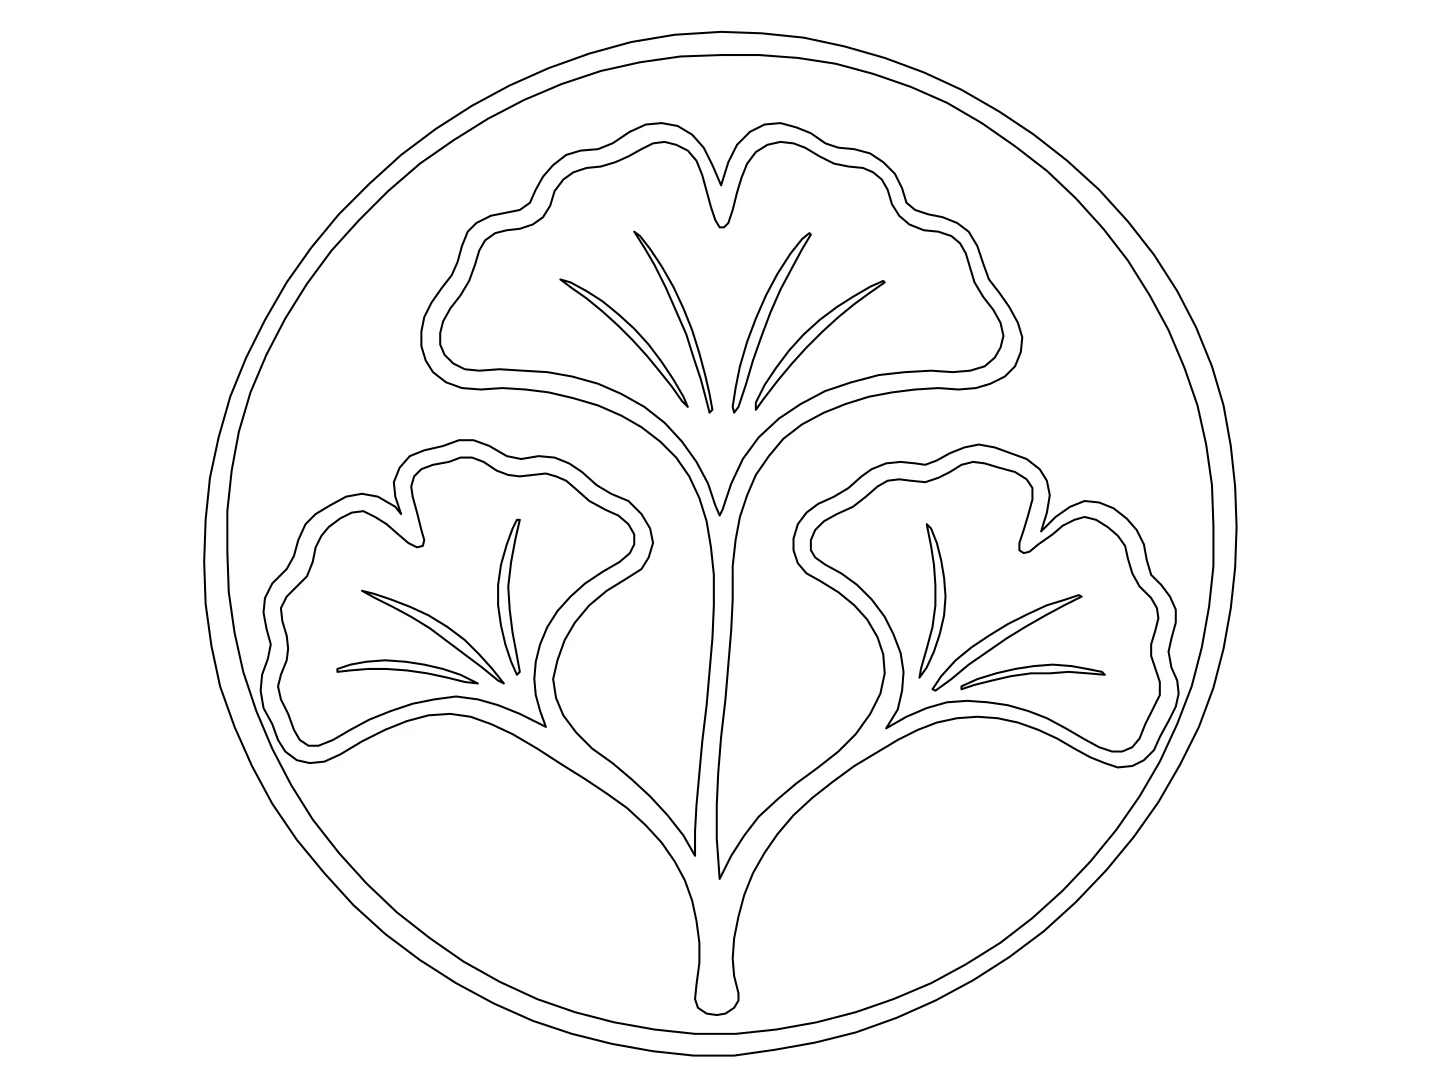
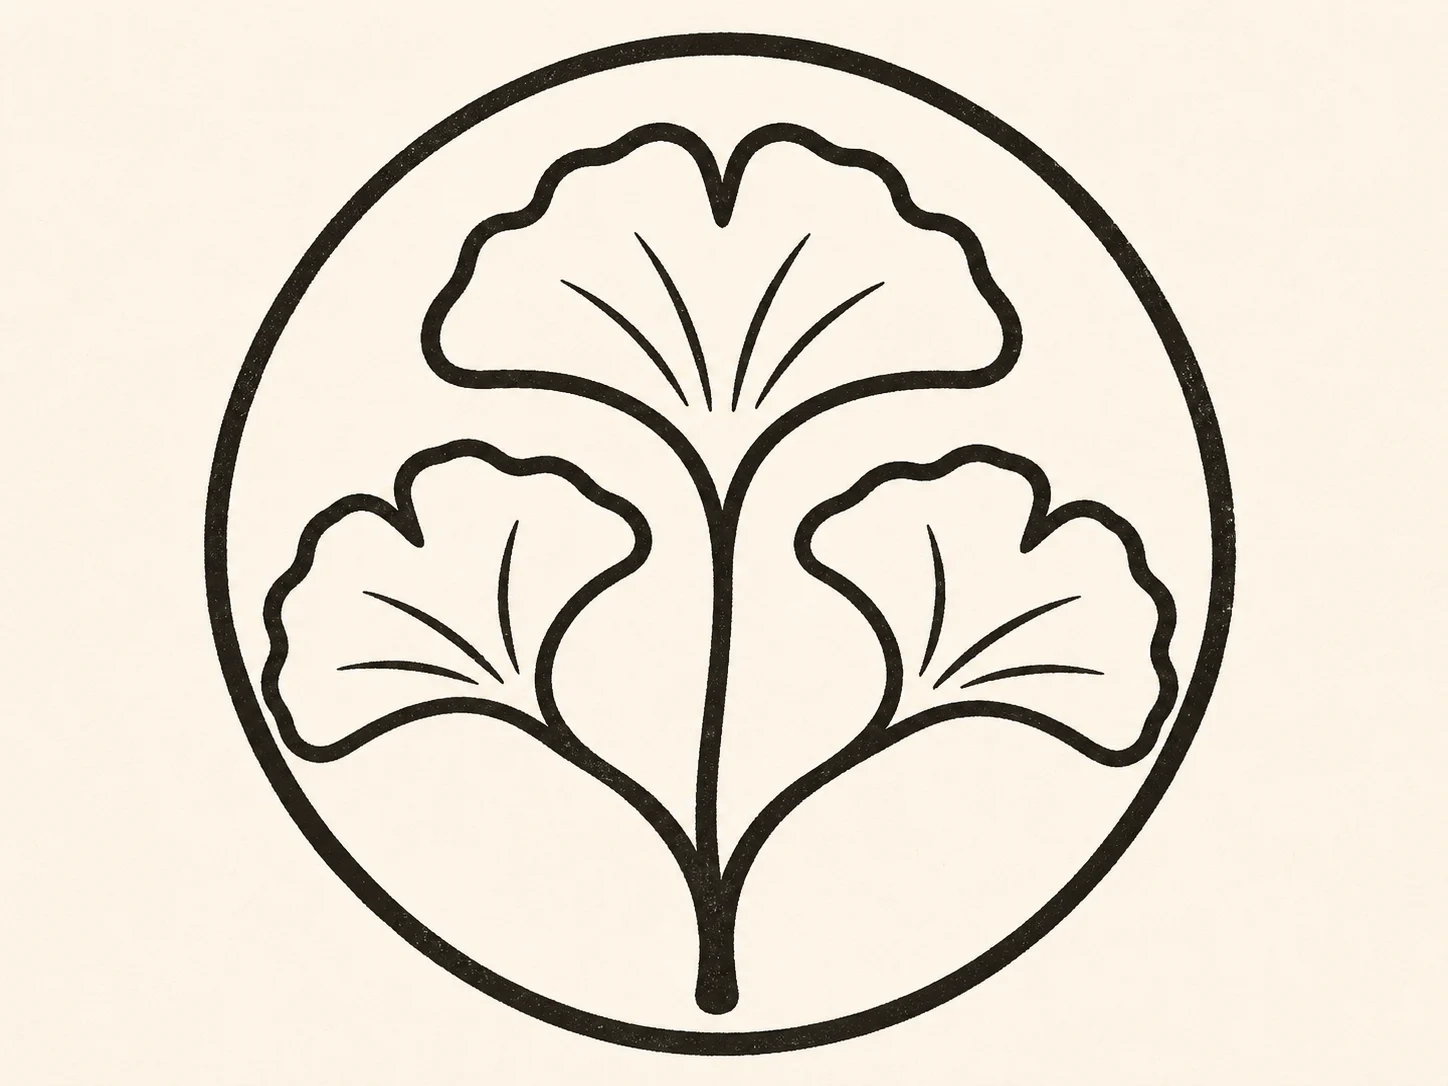
A botanical outline motif

Botanical line art often combines an outer leaf contour with delicate interior veins. Use the DXF to inspect those elements separately while deciding how the motif should work at another size.

A thick stroke in the line art has two visible edges. Check the DXF around those boundaries if your next task requires a single path rather than a traced outline of the stroke.

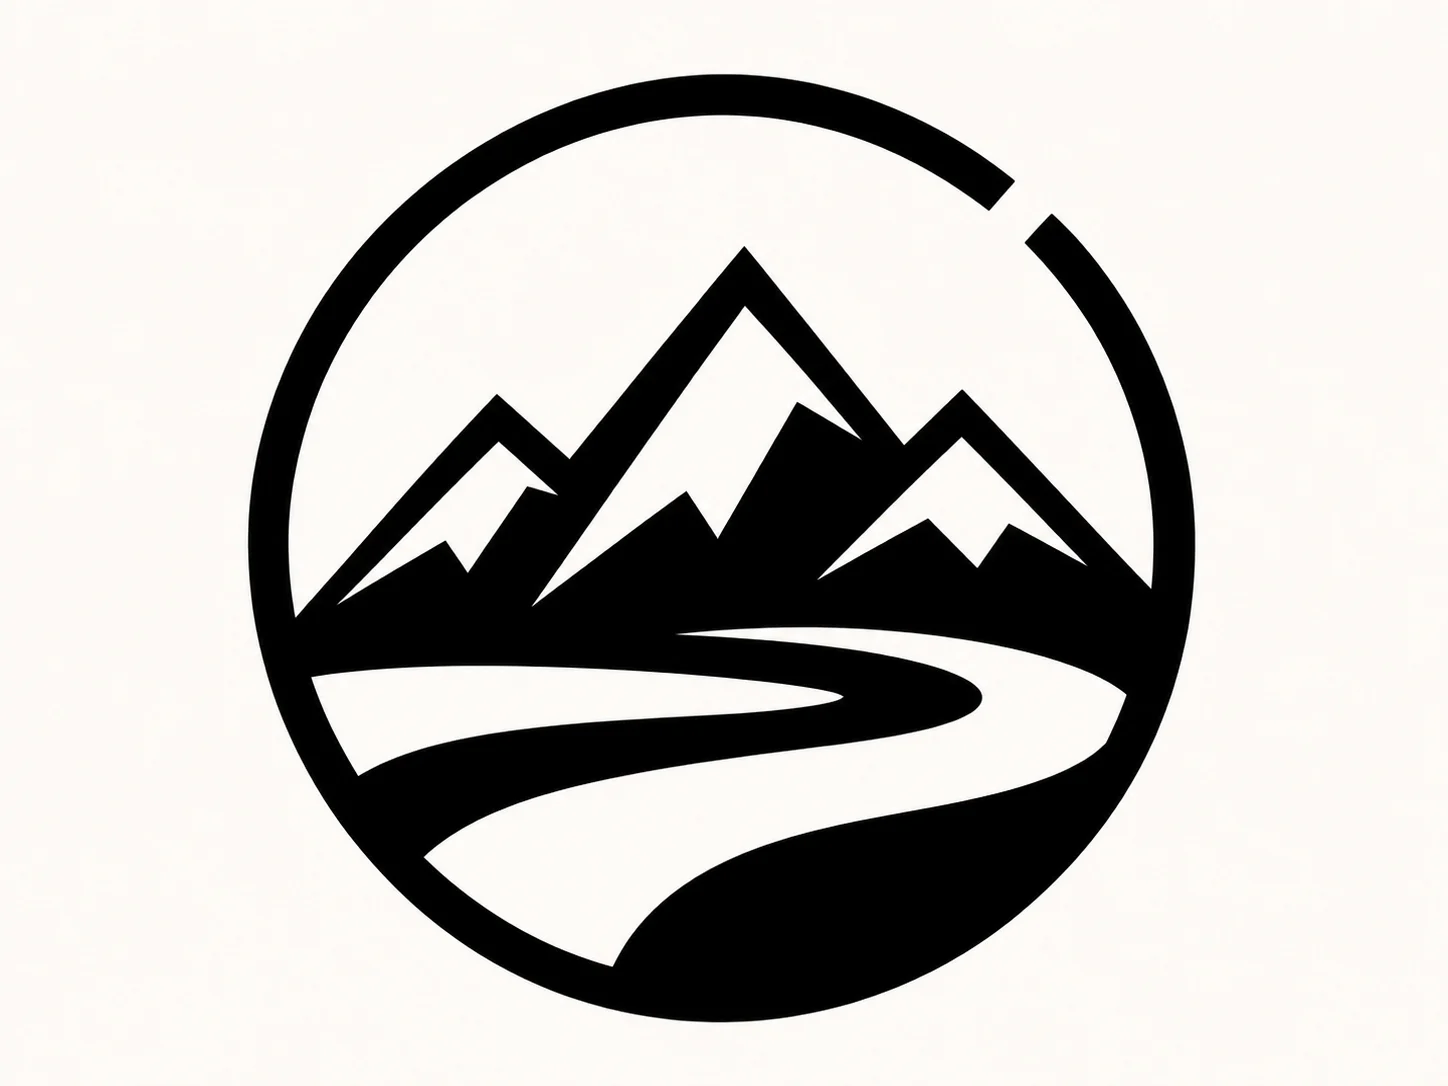
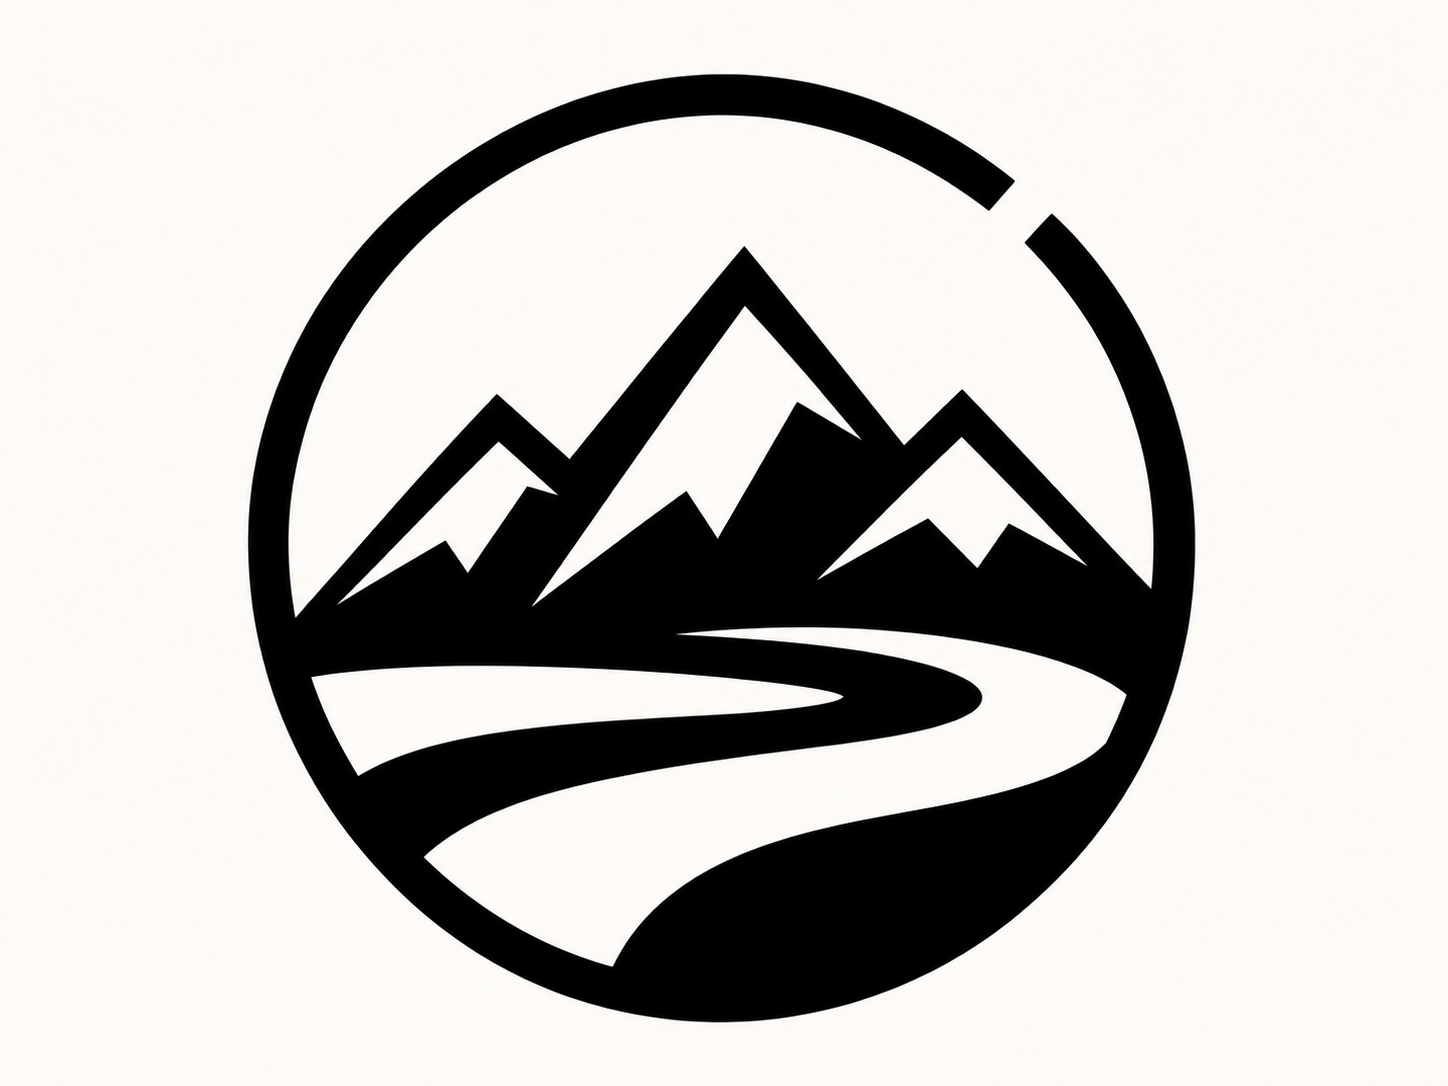
A geometric mark with open space — After
A geometric mark with open space — Before
BeforeAfter

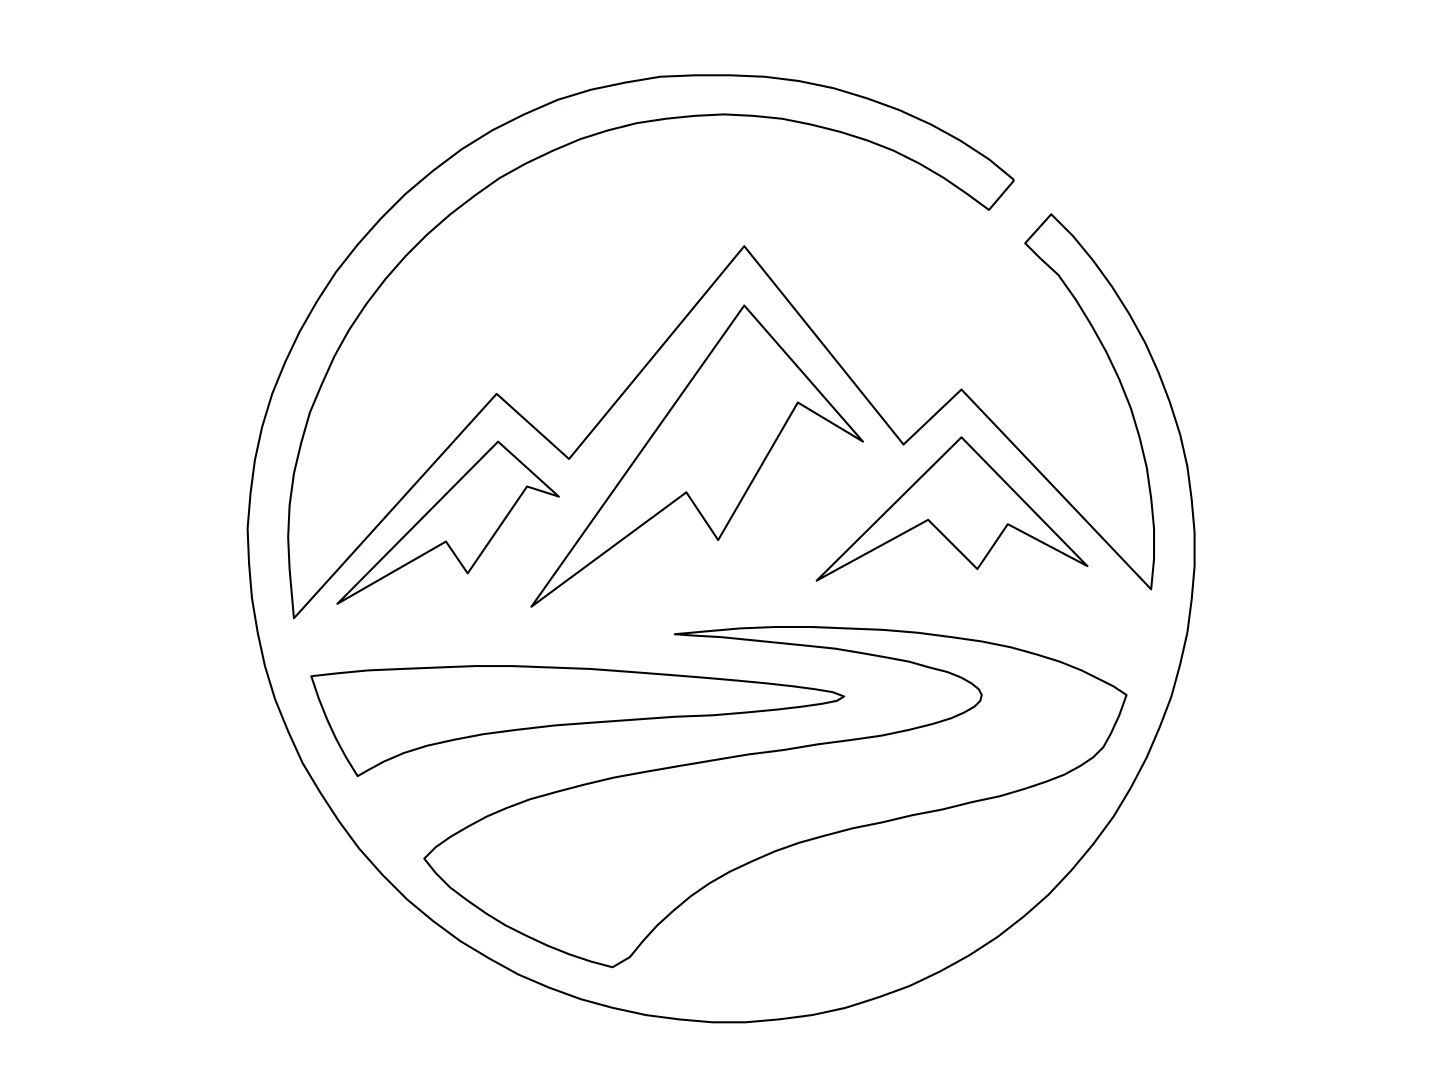
A geometric mark with open space

Graphic line art can combine curves, angles, and filled shapes in the same design. Compare the DXF with the source before adapting the mark for a sign or decorative layout.

Preserve the negative spaces that help the line art read clearly. When simplifying the DXF, review small openings and narrow gaps instead of closing them automatically because they appear unfinished.

CHOOSE THE CONTOUR YOUR PROJECT NEEDS

Line art can describe different kinds of paths.

Before using a DXF elsewhere, decide whether the source line art represents a visible stroke, an outer boundary, or a shape with an opening.

A stroke has more than one edge

A dark stroke in line art has width as well as direction. Interpreting its visible boundary can create an inner and outer contour in DXF rather than one path through the middle.

Line art to DXF does not guarantee automatic centerline extraction. Inspect the geometry and choose which edges serve your design before preparing the drawing for another tool.

An open line is not always a mistake

Line art may intentionally leave a circle open or use separate strokes to suggest a shape. Compare a gap in the DXF with the original before deciding that it needs closing.

If your process needs closed contours, make that decision in your editing software. The visual character of line art and the requirements of a fabrication workflow are not always the same.

Small details need a purpose

Fine line art can include tiny accents that disappear at a smaller size. Review the DXF at the scale you intend to use, not only at a comfortable zoom level on screen.

Use the line art as your guide while simplifying curves and interior marks. Removing detail deliberately can make the next drawing easier to work with than preserving every speck from the source image.

A DXF outline is a design asset

Line art in DXF can support signs, templates, or further CAD drafting. The file does not establish cutting order, material allowances, tool dimensions, or the settings a machine needs.

Inspect the line art contours, duplicate edges, and intended scale before taking the DXF into another process. SVG may be a better export when the next task is graphic path editing rather than CAD work.

TEST THE FORMAT FIRST

Try the converted DXF.

Open this converted DXF in your CAD application. Select an outline, adjust a curve, or move a segment to see how the drawing fits your workflow.

Keep the line beside the DXF while checking small details. Use a known measurement to set the scale before adding the drawing to your project.

Download line art sample
An animal contour in ink converted linework

Choose an element

Select a curve or line in the DXF. Compare this with placing a flat line art image on the canvas, where the pictured strokes are not separately editable.

Try a simpler outline

Move one element or adjust a circle. Consider which details of your own line art would benefit from similar refinement once the DXF is ready.

Set the intended size

This downloaded DXF is unitless. Choose import units and scale the drawing to the intended dimensions before adapting the line art for a physical project.

BEFORE YOUR FIRST CONVERSION

Line art to DXF questions

Strokes, contours, and the edits that make an outline useful.

YOUR REFERENCE. YOUR NEXT DRAWING.

Give your line art another direction.

Bring one outline into DXF, review its contours, and adapt the drawing in your own tools.

Guests: 1 free conversion daily. Eligible new accounts: 3 initial conversions.