EDITABLE 2D DRAWINGS

Image to DXF.Bring your reference into CAD.

Convert an image into editable DXF linework. Start with a photo, scan, or sketch and continue in your CAD editor.

See how it works

JPG, PNG, WebP · up to 20 MB

  • 1 free guest conversion daily
  • DXF + SVG + PNG
  • Files up to 20 MB
Image to DXF. — After
Image to DXF. — Before
BeforeAfter

THREE SIMPLE STEPS

From image to DXF, then back to work.

Bring your reference, create editable geometry, and take the DXF file into your own drafting workflow.

  1. 01

    Choose your image

    Upload a JPG, PNG, or WebP image up to 20 MB. Choose one drawing or object with clear edges. A focused image gives the conversion a more useful starting point than a page full of unrelated subjects.

  2. 02

    Create your DXF drawing

    The image to DXF process interprets visible features as 2D geometry. Review the result against your image, looking first at the overall outline and then at the smaller details that matter to your project.

  3. 03

    Download and keep editing

    Save the DXF file and open it in your CAD application. Move a line, refine a curve, or add dimensions. SVG and PNG downloads are included when a vector editing task or a quick preview is your next step.

START WITH A REAL REFERENCE

One converter. Different starting points.

Compare a floor plan, a building facade, and a part reference with their converted DXF drawings.

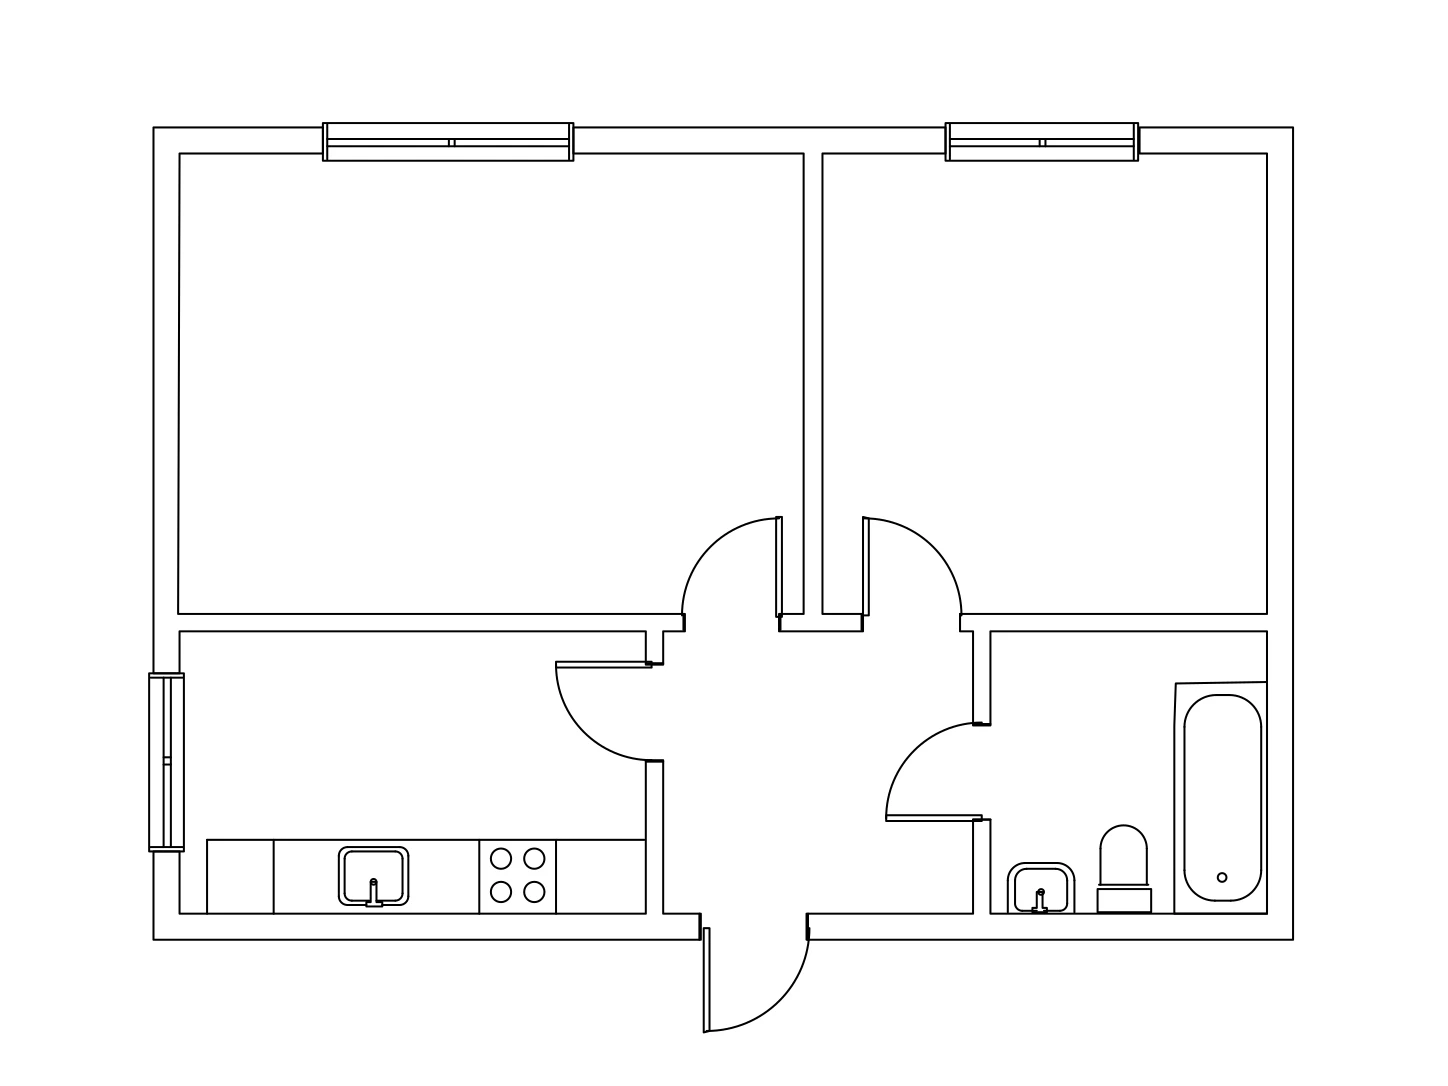
A floor plan without its original file — After
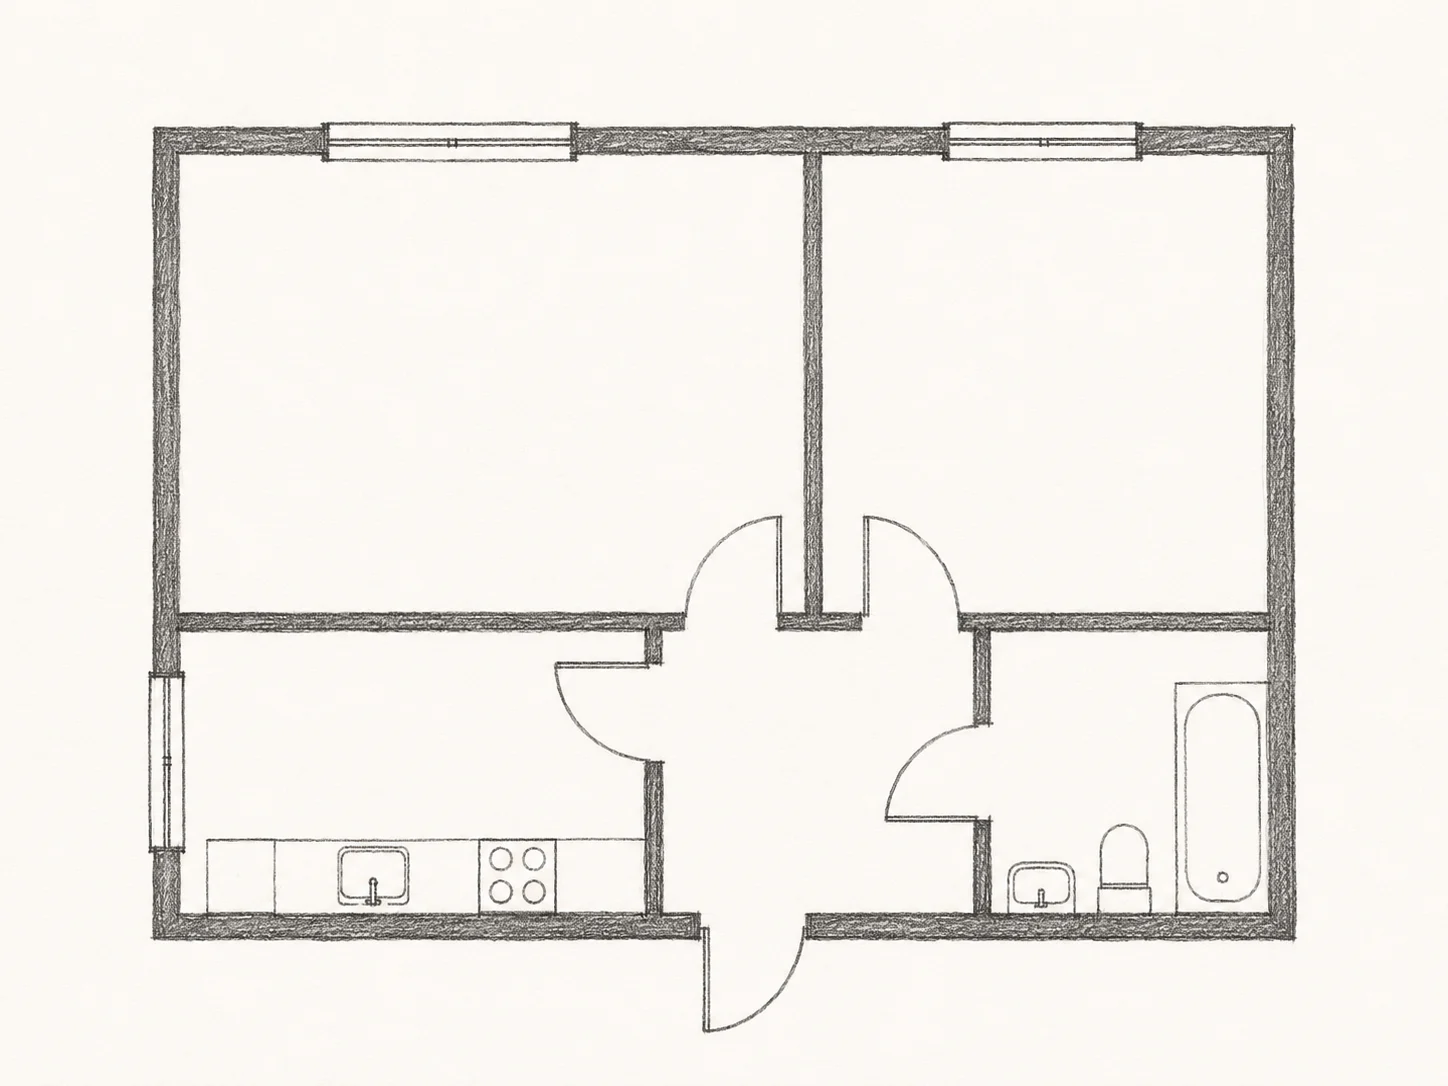
A floor plan without its original file — Before
BeforeAfter

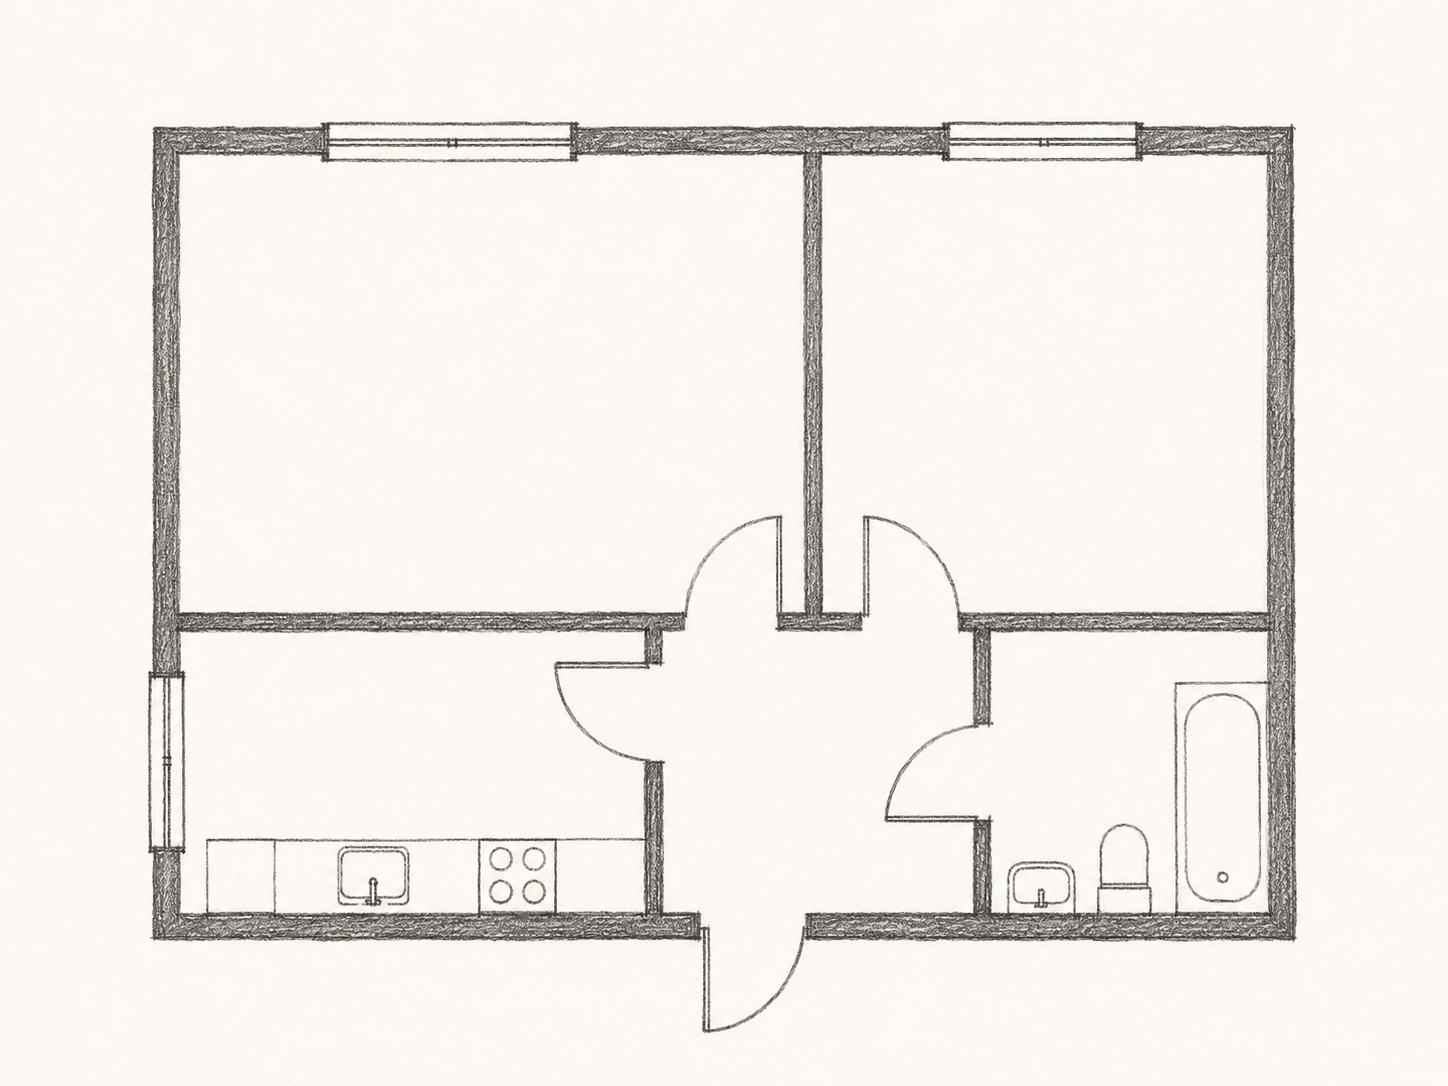
A floor plan without its original file

Use an image of a paper plan when the editable drawing is missing. Take the room boundaries into DXF, then explore furniture positions or discuss a layout change.

Keep a measured survey alongside the image. The DXF gives you geometry to work on; it does not establish the original building dimensions or replace an inspection of the space.

A facade worth documenting — After
A facade worth documenting — Before
BeforeAfter

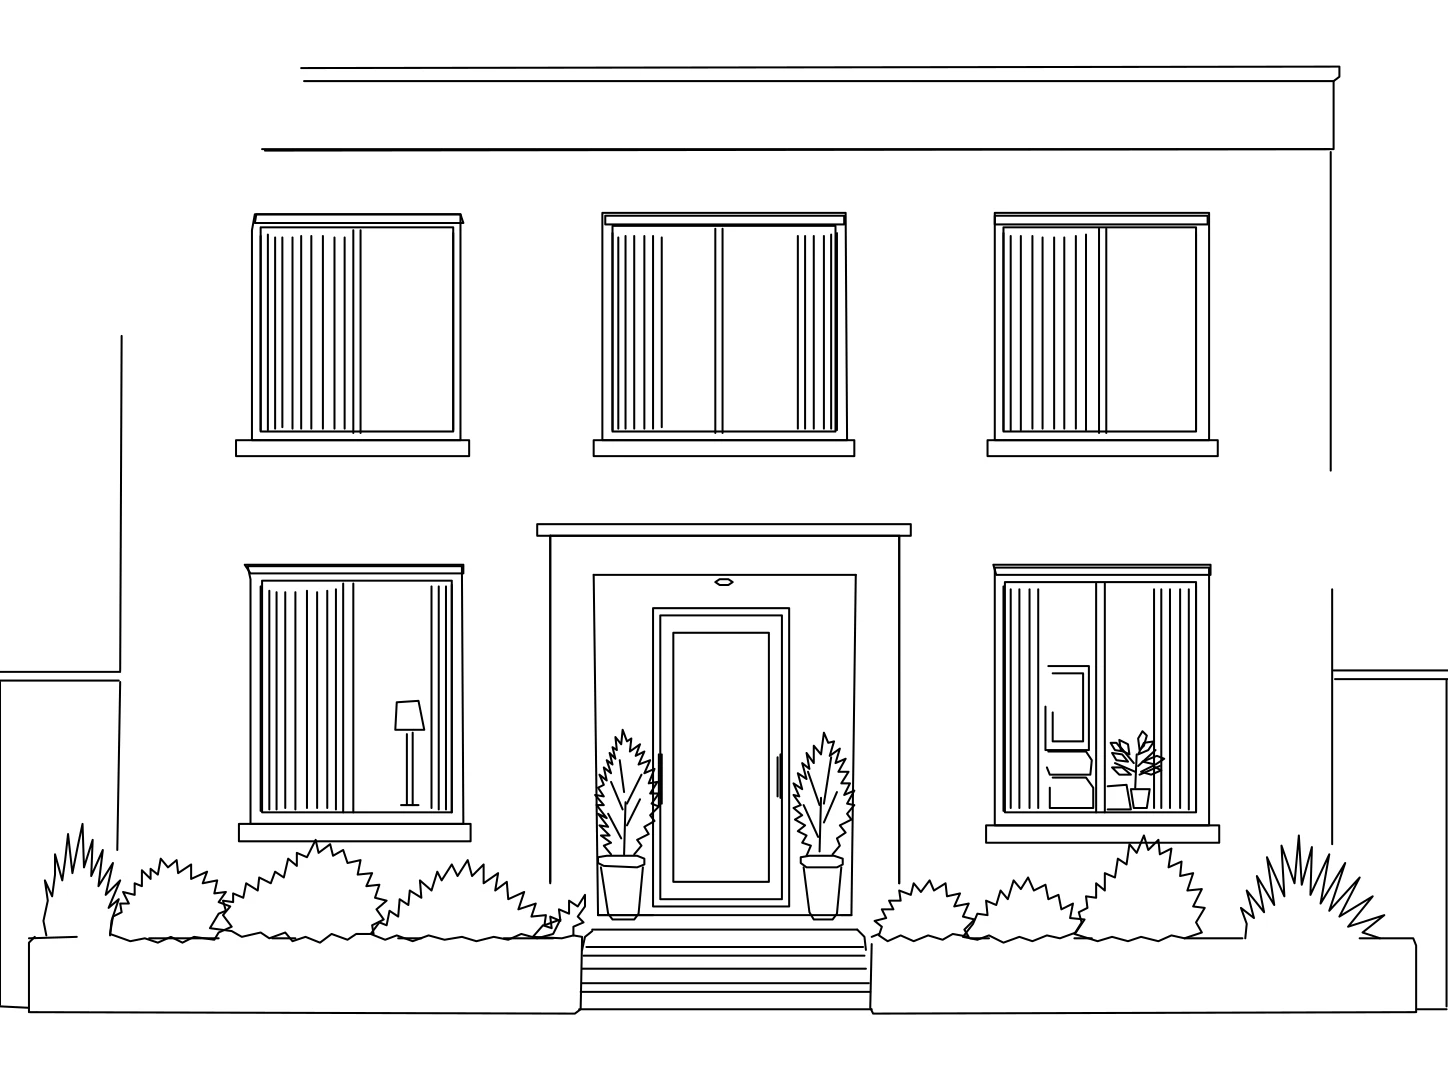
A facade worth documenting

A straight building image can provide visible outlines for a facade study. Use the DXF as a reference while developing an elevation, organizing openings, or comparing design alternatives.

A single image cannot reveal the building behind its visible face. Perspective, plants, and reflections can interrupt edges, so decide which parts to retain and which to redraw in your editor.

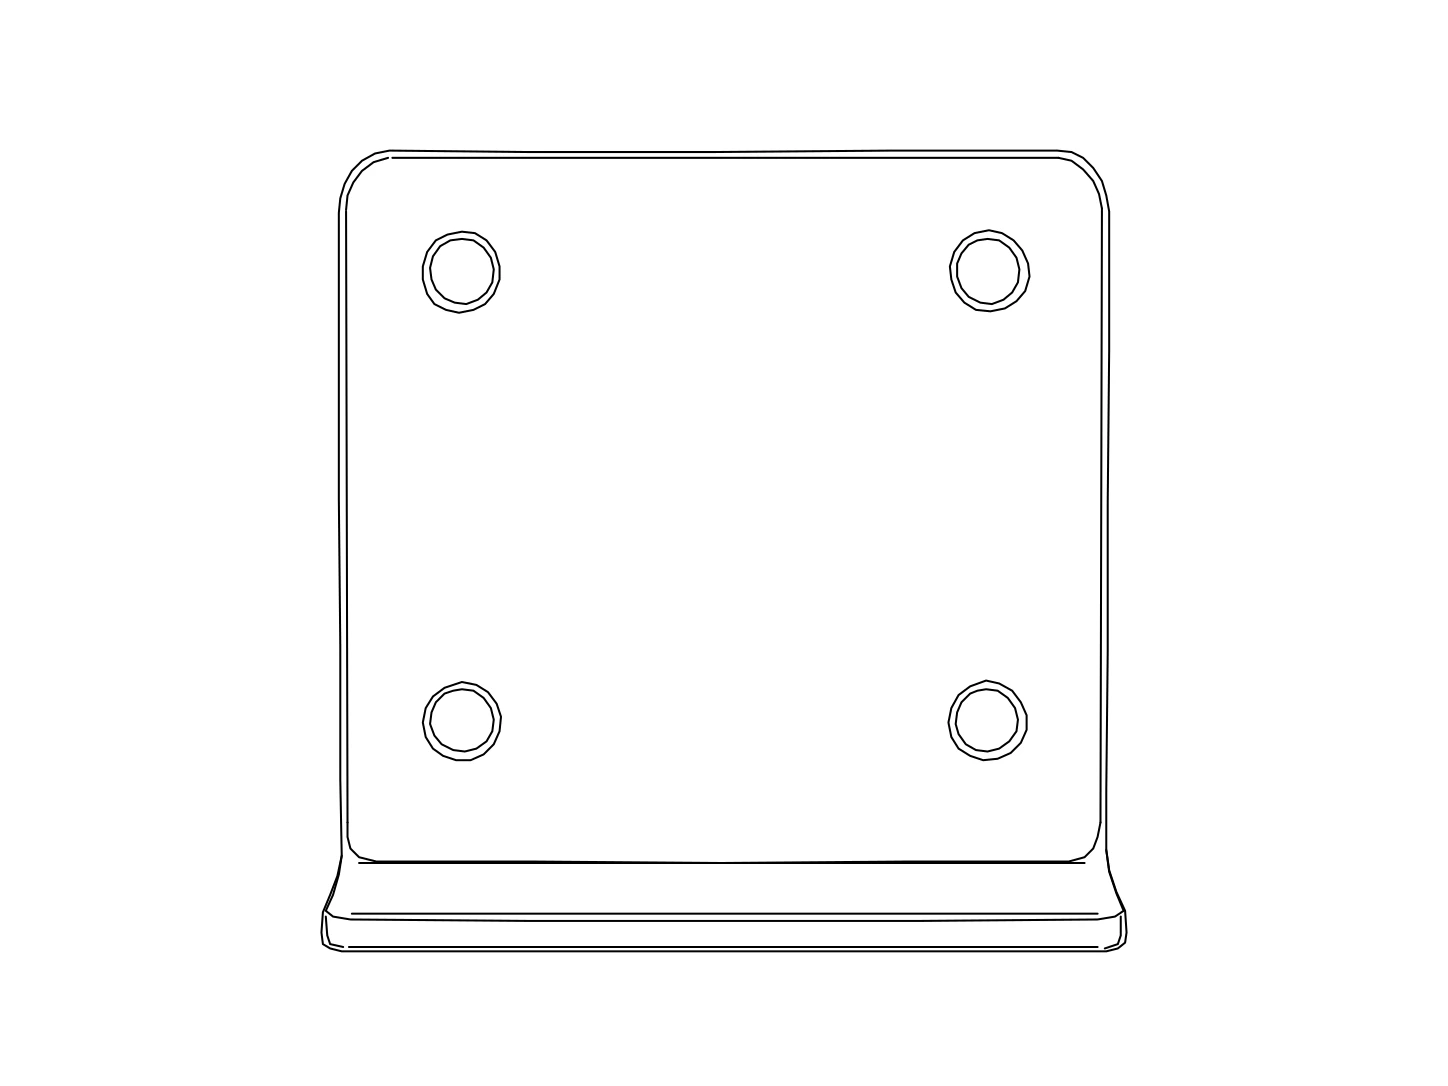
A part you want to develop — After
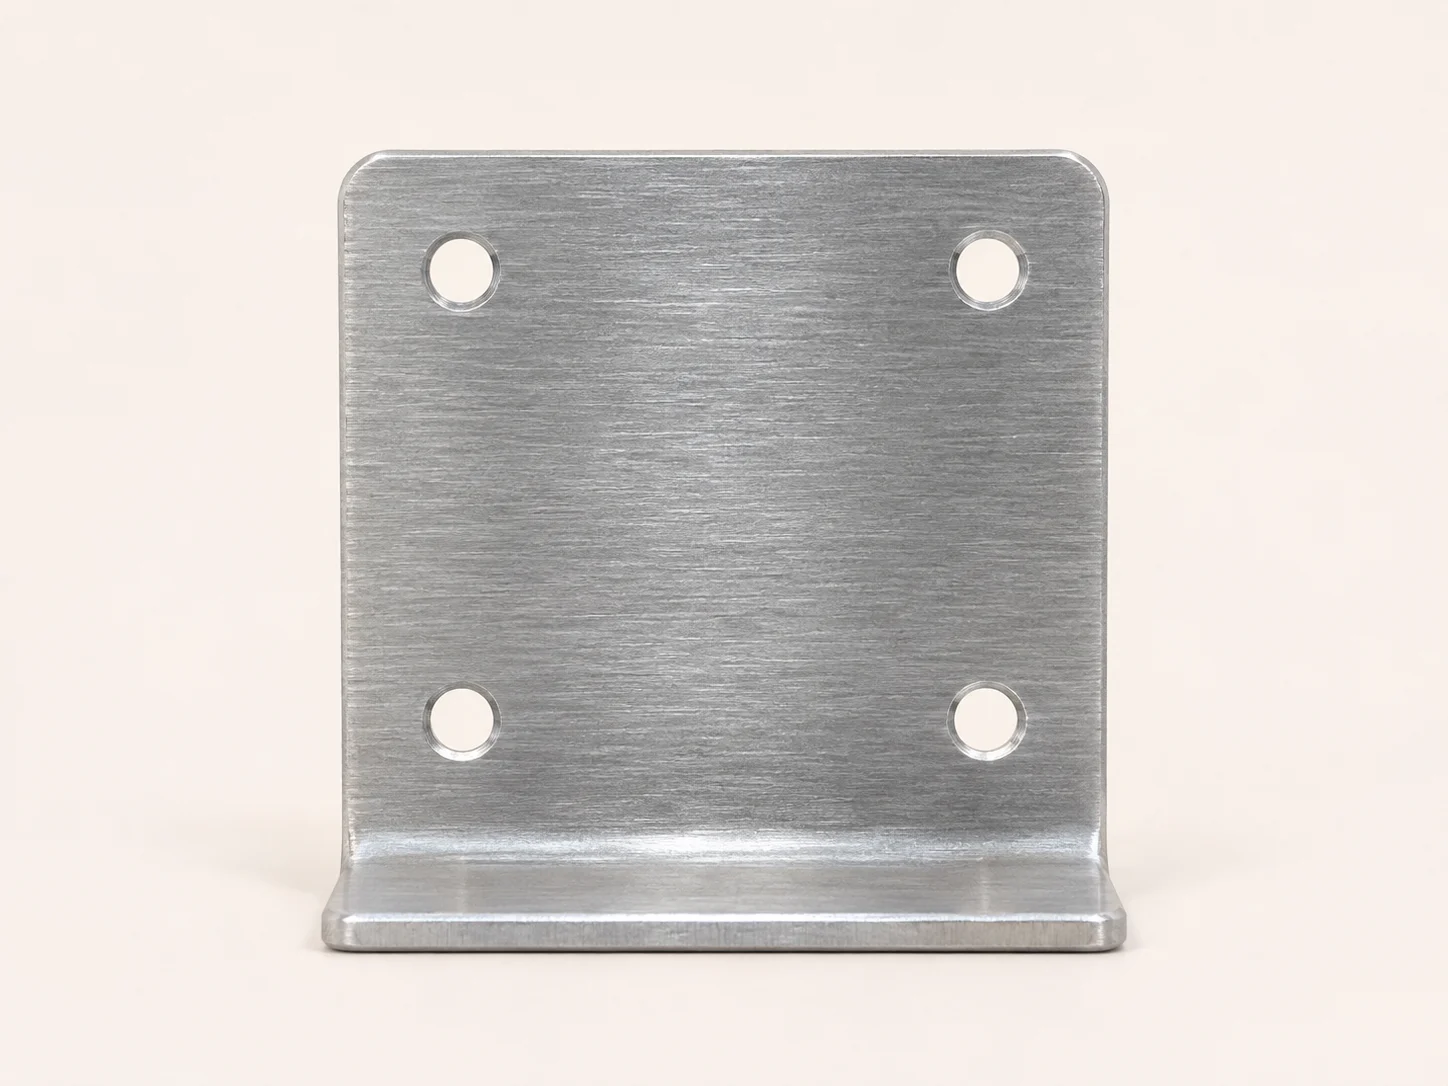
A part you want to develop — Before
BeforeAfter

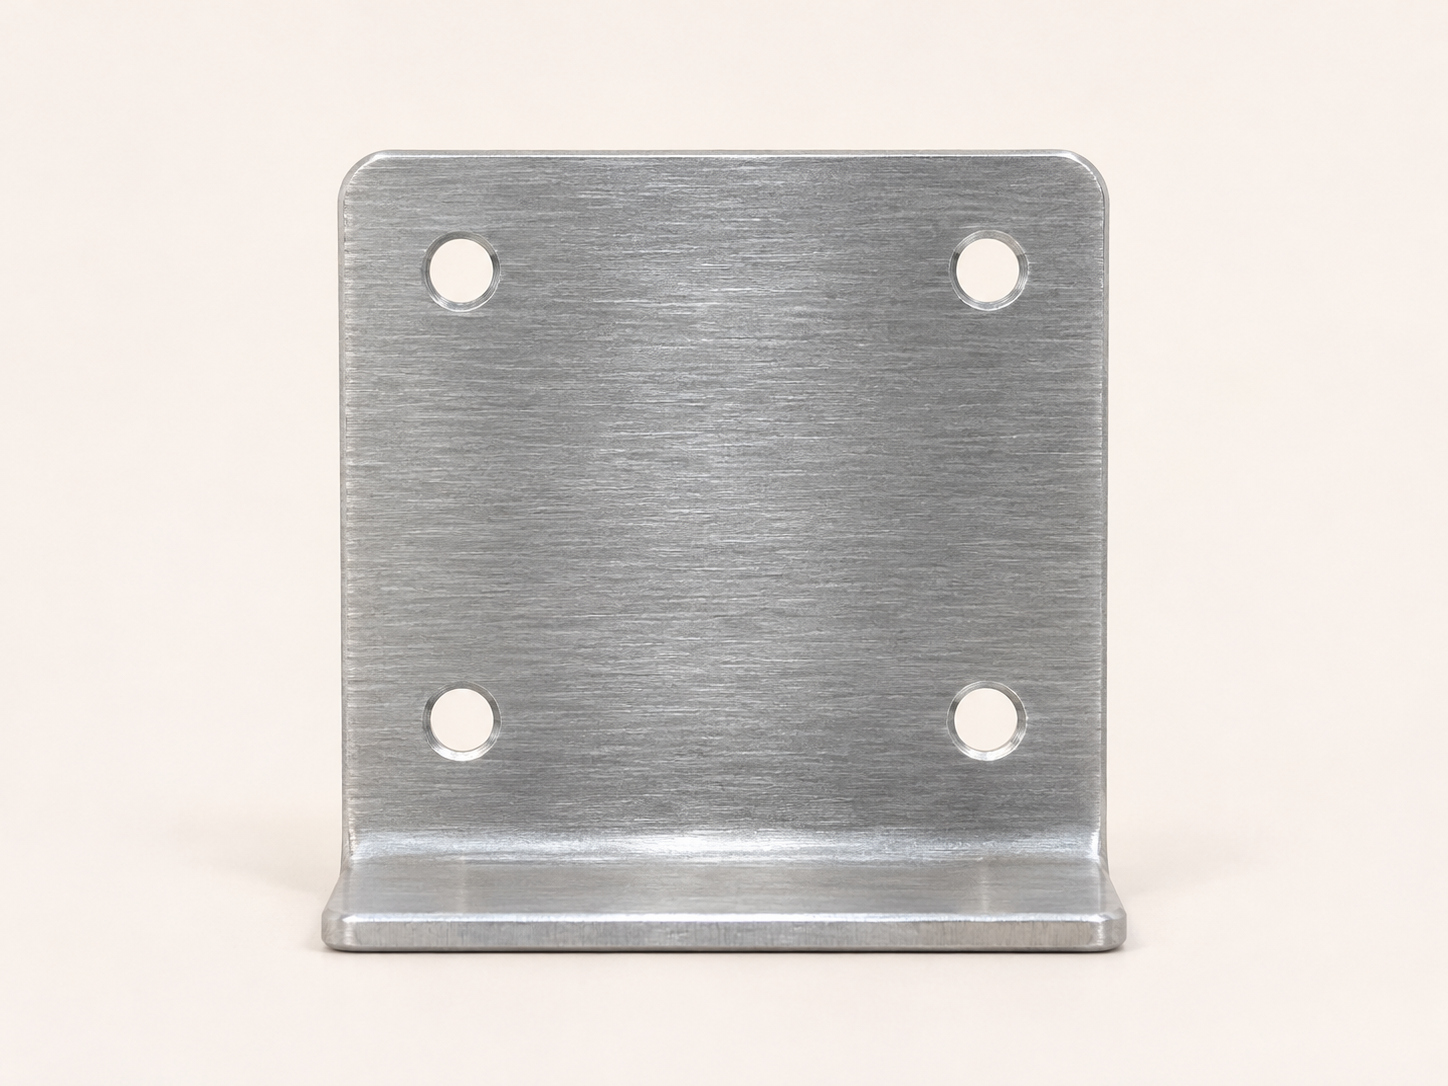
A part you want to develop

Bring a clear product image into DXF when you need a starting profile rather than another flat reference on the canvas. A simple bracket provides an outline and visible hole positions to examine.

Continue the engineering work in CAD. Use measurements to set the DXF scale and define the features that the image cannot establish, including thickness, tolerances, and any hidden geometry.

UNDERSTAND THE HANDOFF

What changes when pixels become geometry?

An image and a DXF drawing serve different purposes. Knowing the difference helps you choose a source and decide what to do with the result.

An image describes appearance

An image stores a picture of your subject. Inserting that image into a CAD document gives you a visual reference, but its pictured edges are not automatically selectable drawing elements.

Image to DXF is intended to bridge that gap: an interpretation you can edit instead of another picture to trace. A clear source still makes the intended shapes easier to distinguish.

DXF carries editable geometry

Open the DXF to work with its generated drawing elements. The useful distinction is being able to adjust the linework as your design develops, rather than changing the pixels of the source image.

Do not expect a recovered original file. DXF output does not guarantee the same layers, constraints, dimensions, or text layout that might have existed before the image was created.

Your project supplies the scale

An image can show the shape of an object without showing its physical size. Use a known distance to size the DXF in your editor, then verify other important measurements.

This matters for an image of a printed plan as much as for a product photo. Cropping, resizing, and photographing a drawing can all change the relationship between pixels and your intended units.

Choose the export for the next task

Use DXF when the image is a starting point for drafting. Choose SVG for path editing in a vector application, or PNG when a collaborator only needs to see the result.

These exports accompany the same conversion. You can keep the DXF for ongoing work and share the preview separately, without asking everyone on your project to open a CAD file.

TEST THE FORMAT FIRST

Try the converted DXF.

Open this converted DXF in your CAD application. Select an outline, adjust a curve, or move a segment to see how the drawing fits your workflow.

Keep the image beside the DXF while checking small details. Use a known measurement to set the scale before adding the drawing to your project.

Download sample DXF
A facade worth documenting converted linework

Select a wall outline

Open the DXF and select an element. Confirm that your CAD application treats it as drawing geometry rather than as an inserted image.

Try one revision

Move a segment or redraw an opening. Notice how the DXF fits the editing commands you normally use, then consider the changes your own image would need.

Choose your import units

The sample is unitless. Choose appropriate units on import; use a known measurement to scale the DXF generated from your own image.

BEFORE YOUR FIRST CONVERSION

Image to DXF questions

Formats, downloads, and what to expect from your drawing.

YOUR REFERENCE. YOUR NEXT DRAWING.

Ready to turn your image into DXF?

Start with one source you know well. Open the result, make an edit, and see how it fits your work.

Guests: 1 free conversion daily. Eligible new accounts: 3 initial conversions.